Inventory-Importer
In this tutorial, we’ll take a look at how to import multiple devices into Samedis.care at once using the Import-Tool.
1. Overview of the Import Process
The process consists of three main phases:
- Upload & Mapping:
You upload your Excel file, map the columns to the corresponding fields, and create initial drafts from it. - Harmonization:
Each device type is matched to an entry in the catalog or, if necessary, newly created. - Finalization:
The verified drafts are imported as completed inventories.
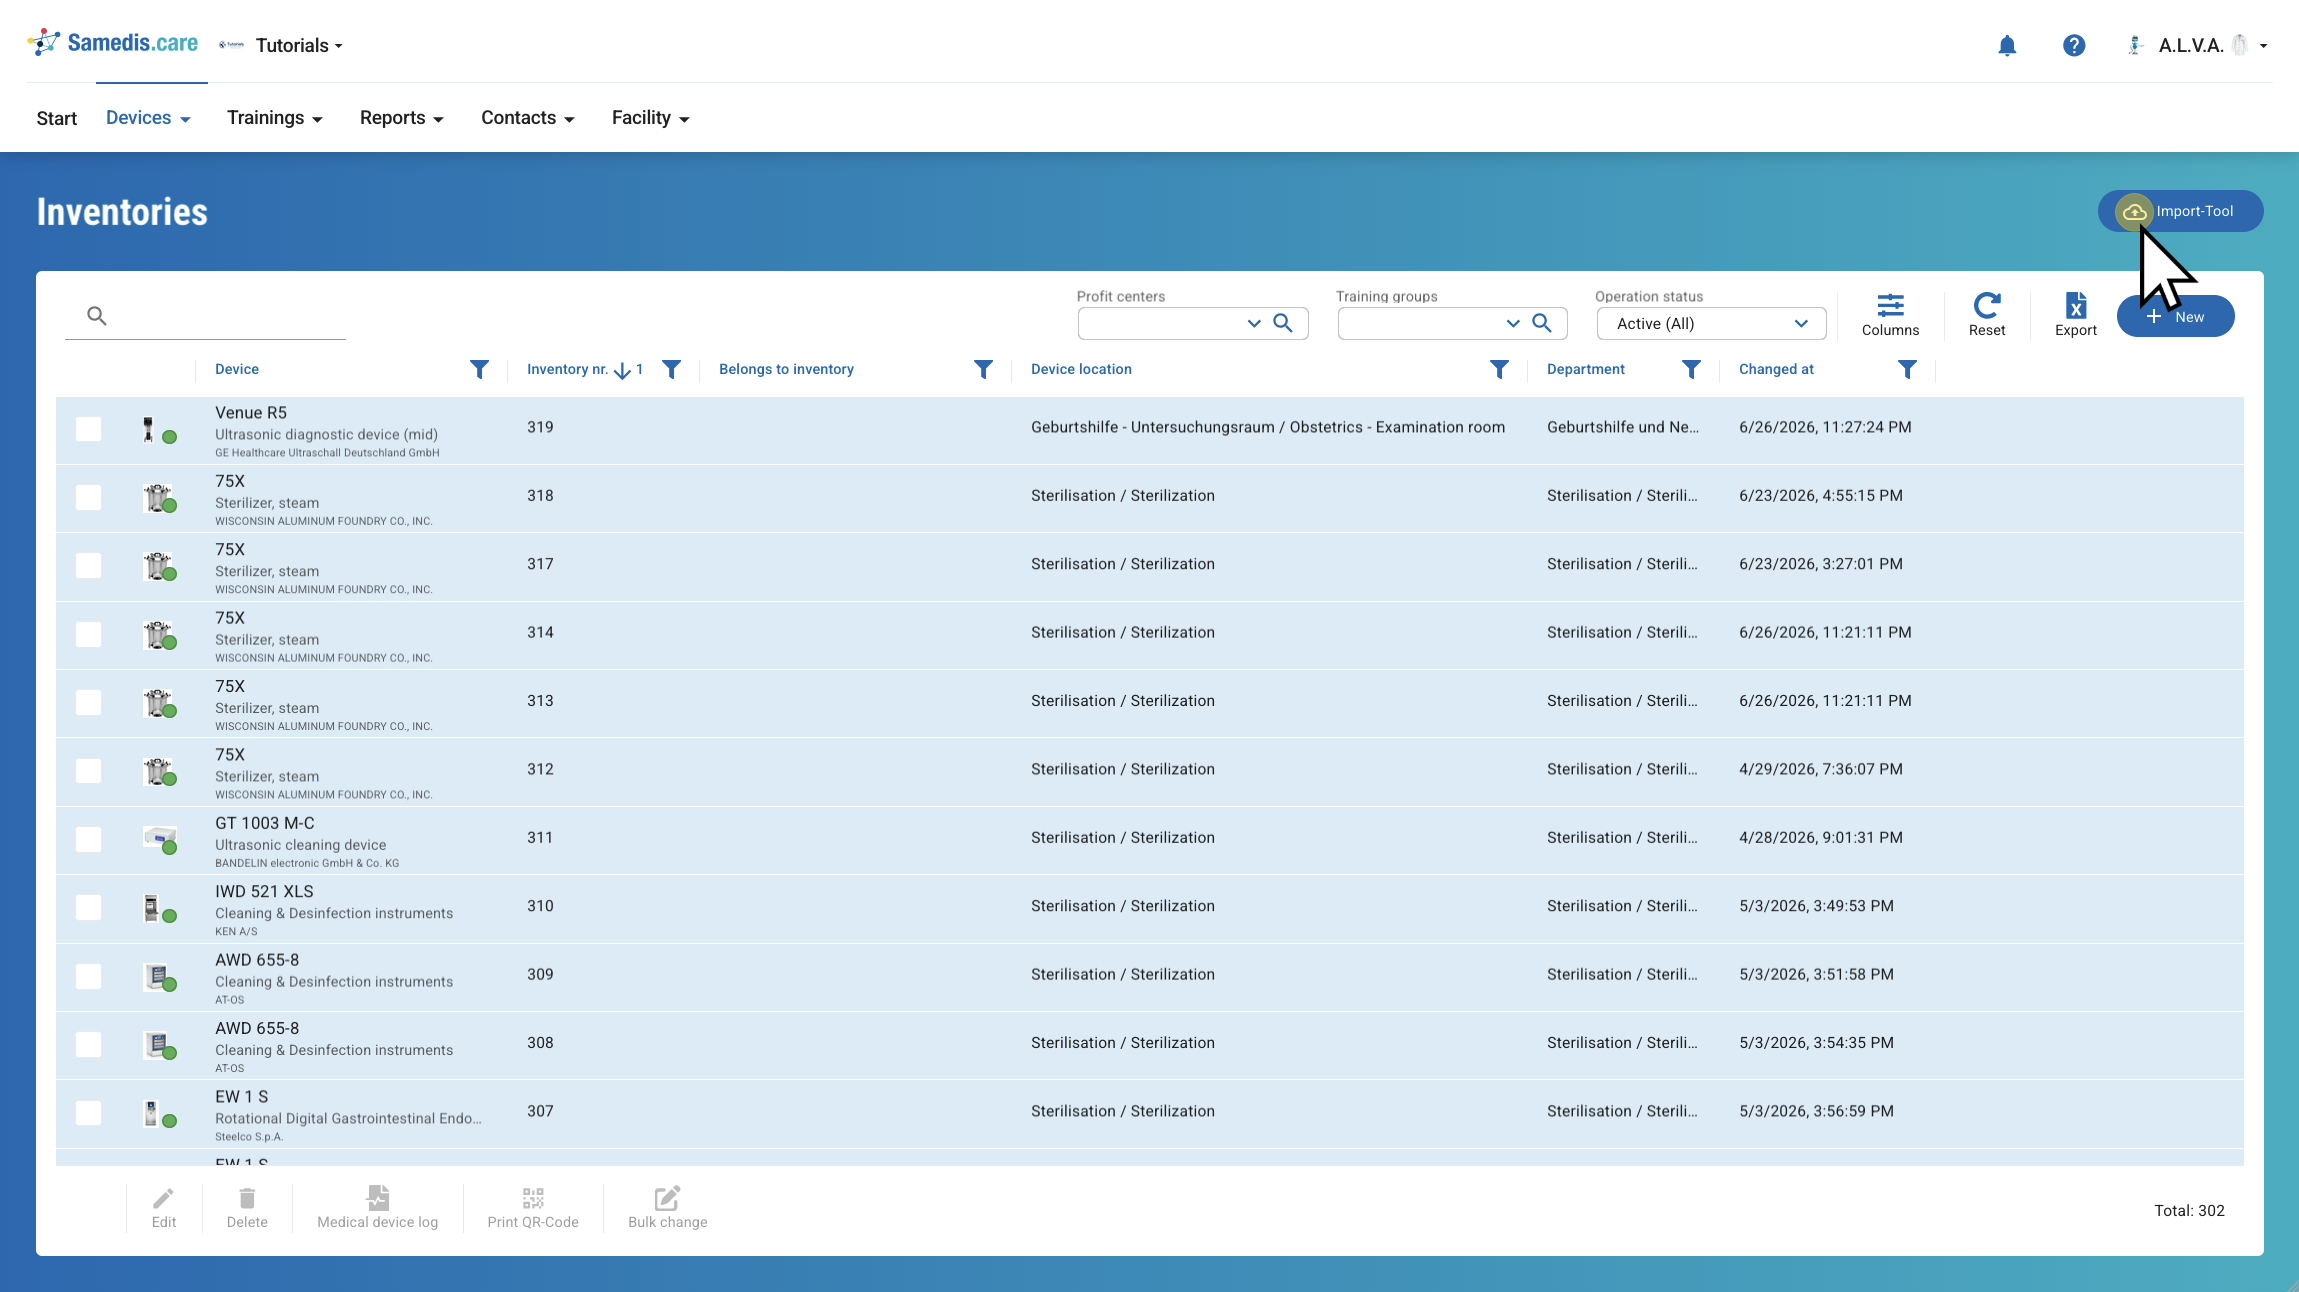
You can find the Import-Tool in the Devices section under Inventories.
Tip
You need the Device data import permission as well as an active subscription to use this feature.
2. Importer
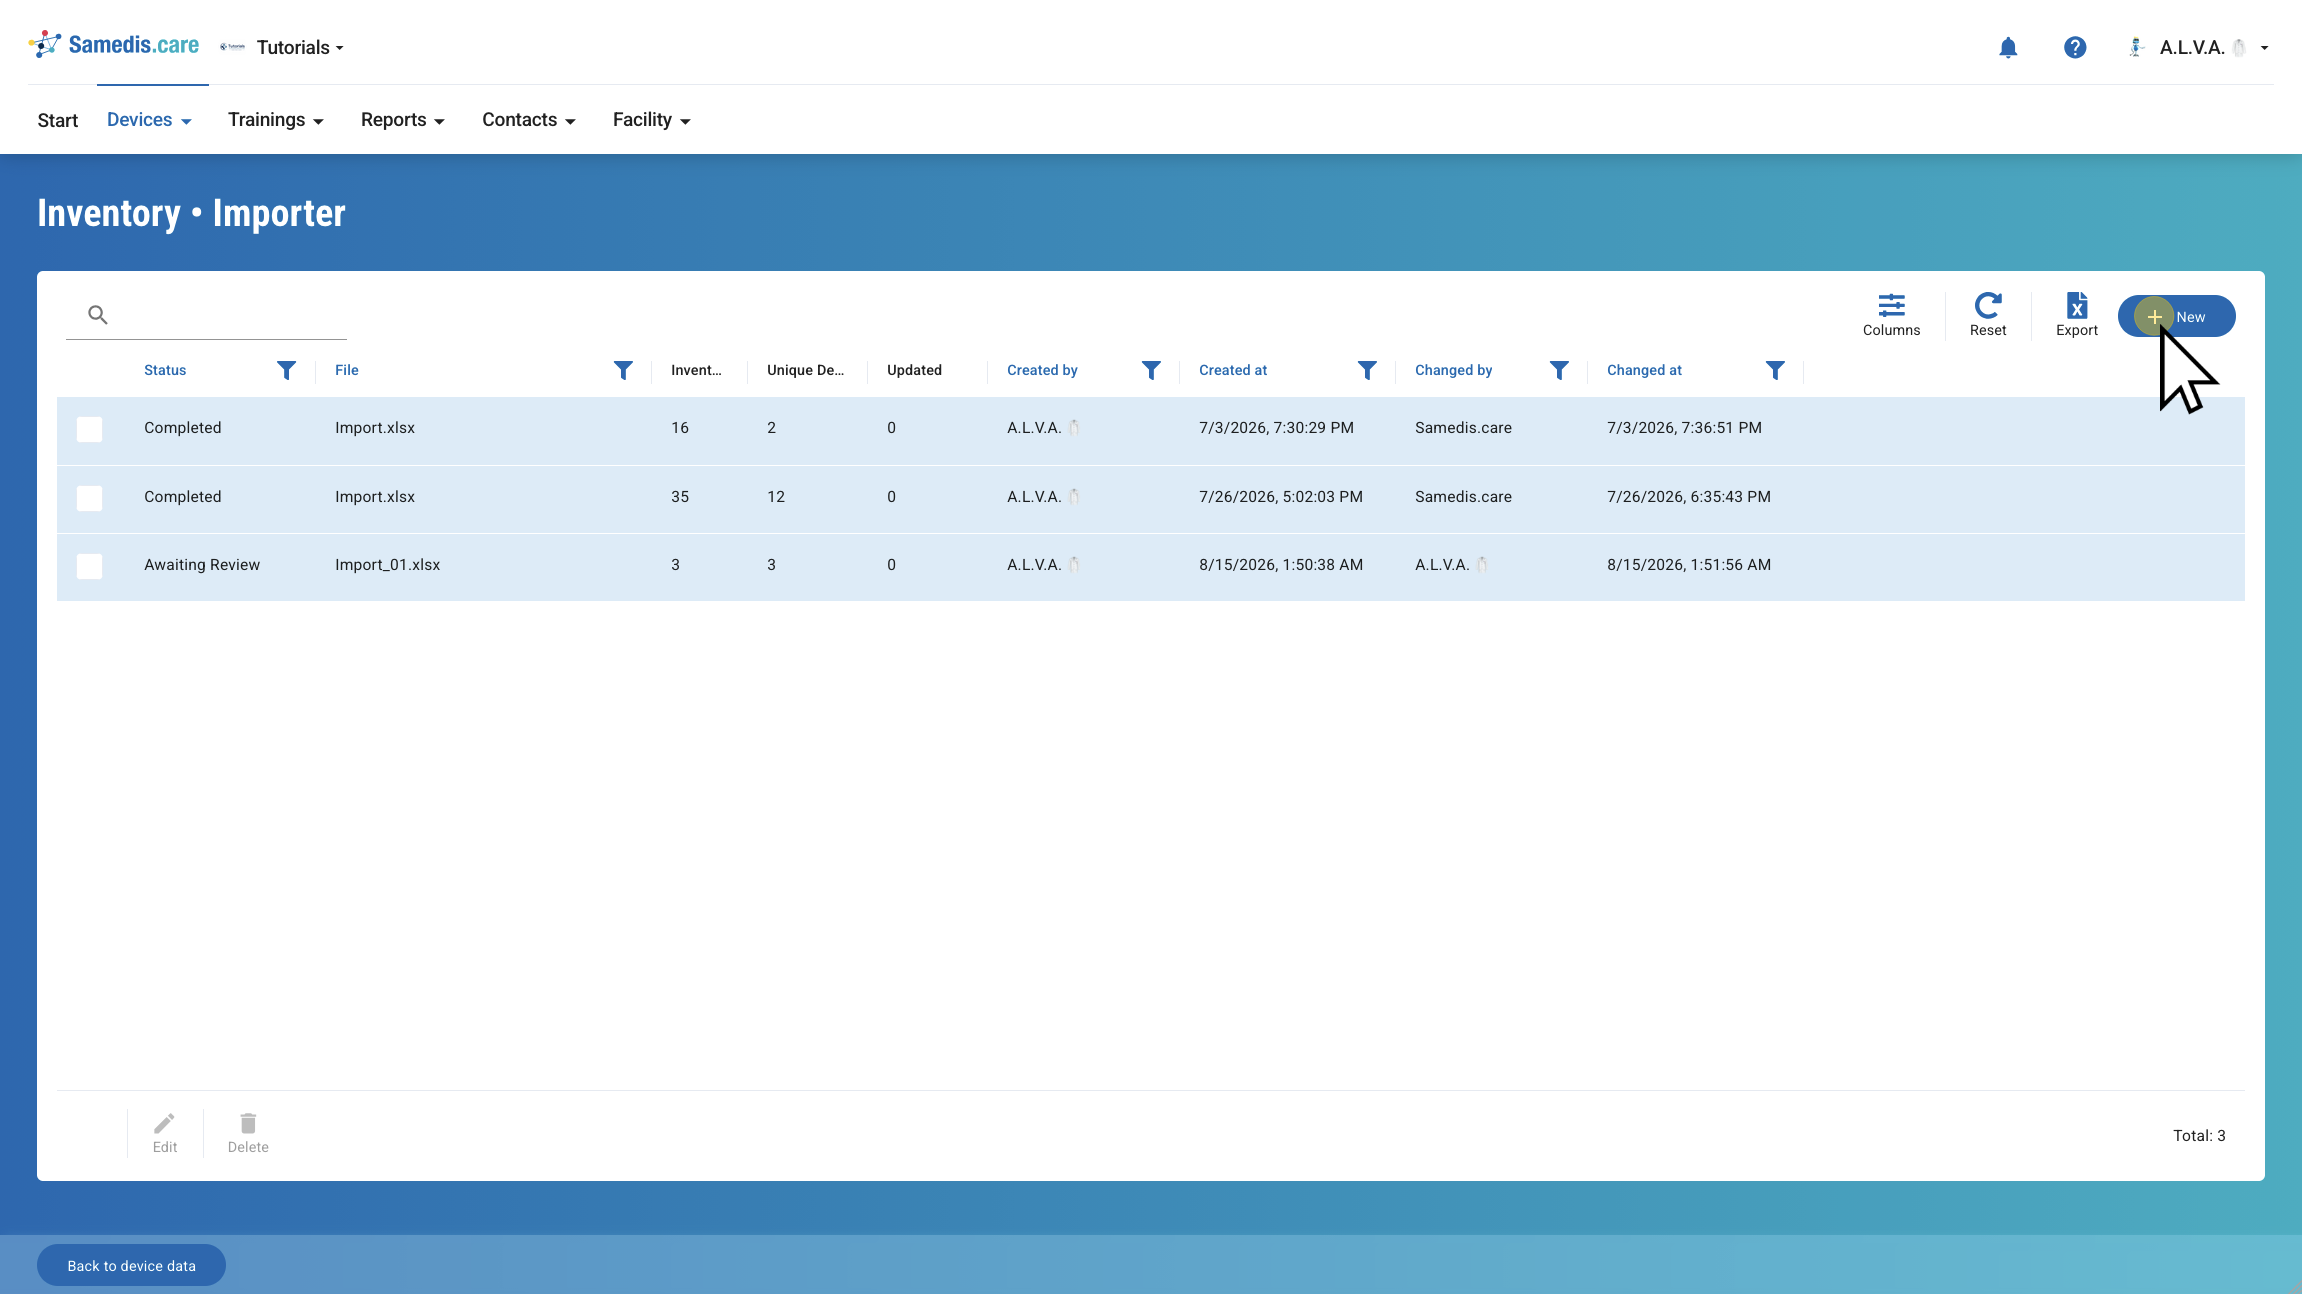
Samedis.care allows you to run multiple imports simultaneously and continue working on them independently. In this overview, you can see all ongoing and completed imports.
Click + New to start a new import process.
3. Before you start: Requirements for the Excel file
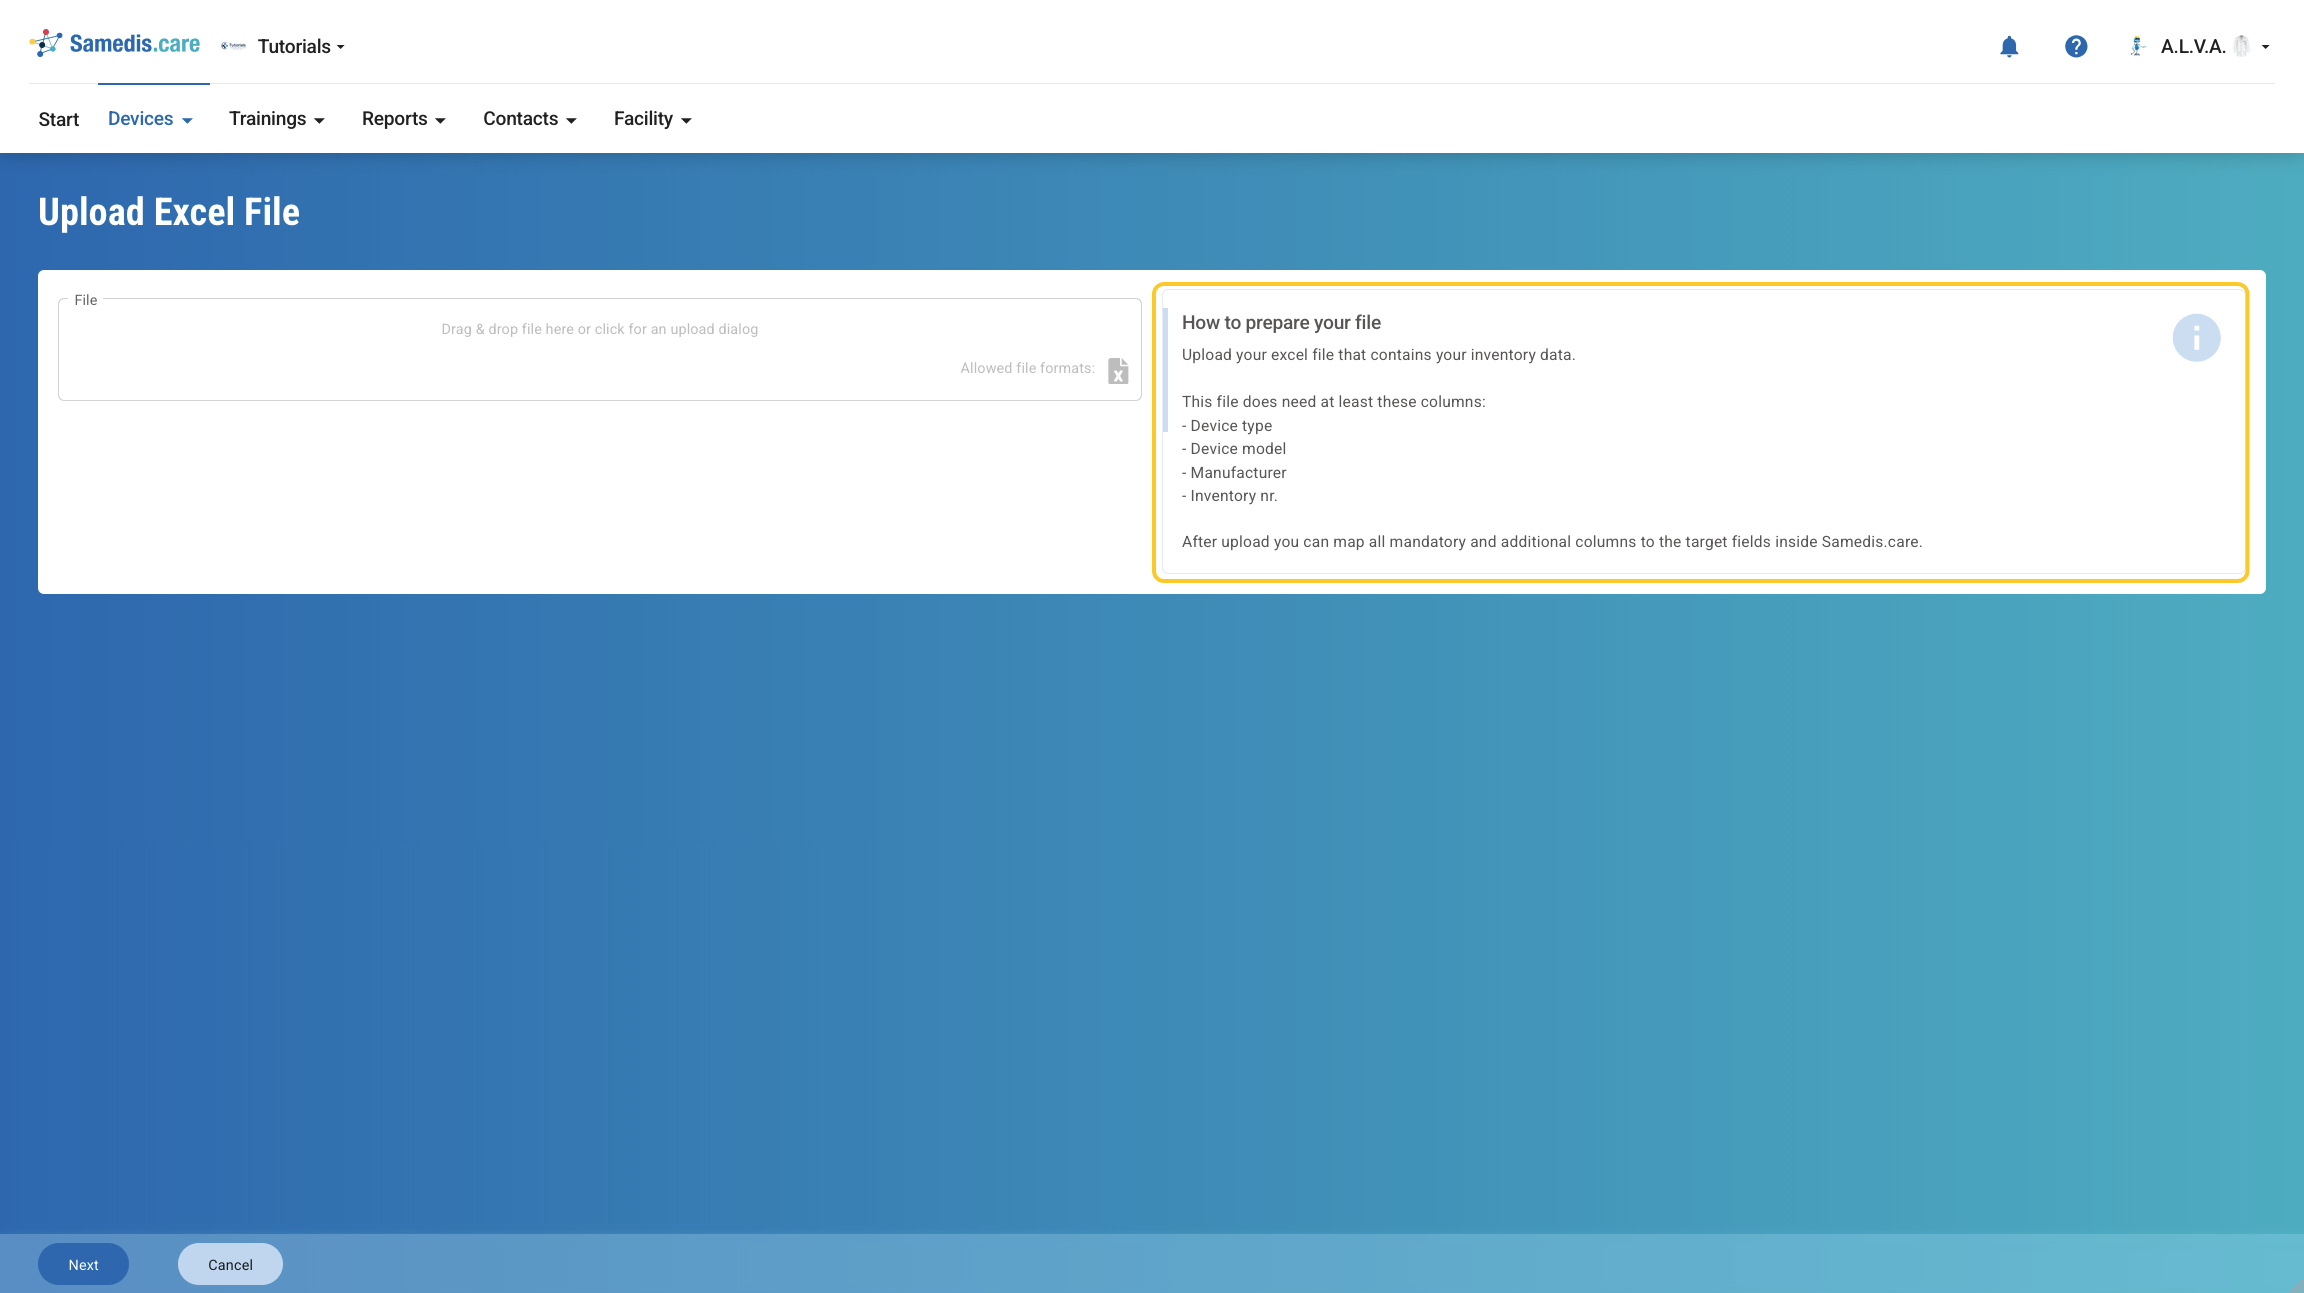
For the upload to be processed successfully, your file must meet several requirements.
The file must be in .xlsx format. Other formats, especially **.**xlsm (macro files), are rejected. The actual file signature is checked, not just the file extension. In addition, the file must not exceed 10 MB and must not be password-protected or encrypted. Protected files will be rejected with a corresponding error message.
Tip
During processing, the system automatically cleans certain values. Placeholders for “empty” or “unknown” are standardized to “empty” so they do not interfere with the matching process. This includes, among others, symbols such as -, –, as well as entries like n/a, k.A., none, null, unknown, unknown, empty, not specified, or not available. Leading and trailing spaces are also removed. Fields such as device model are processed as text so that, for example, leading zeros or part numbers are preserved correctly.
3.1. Excel file
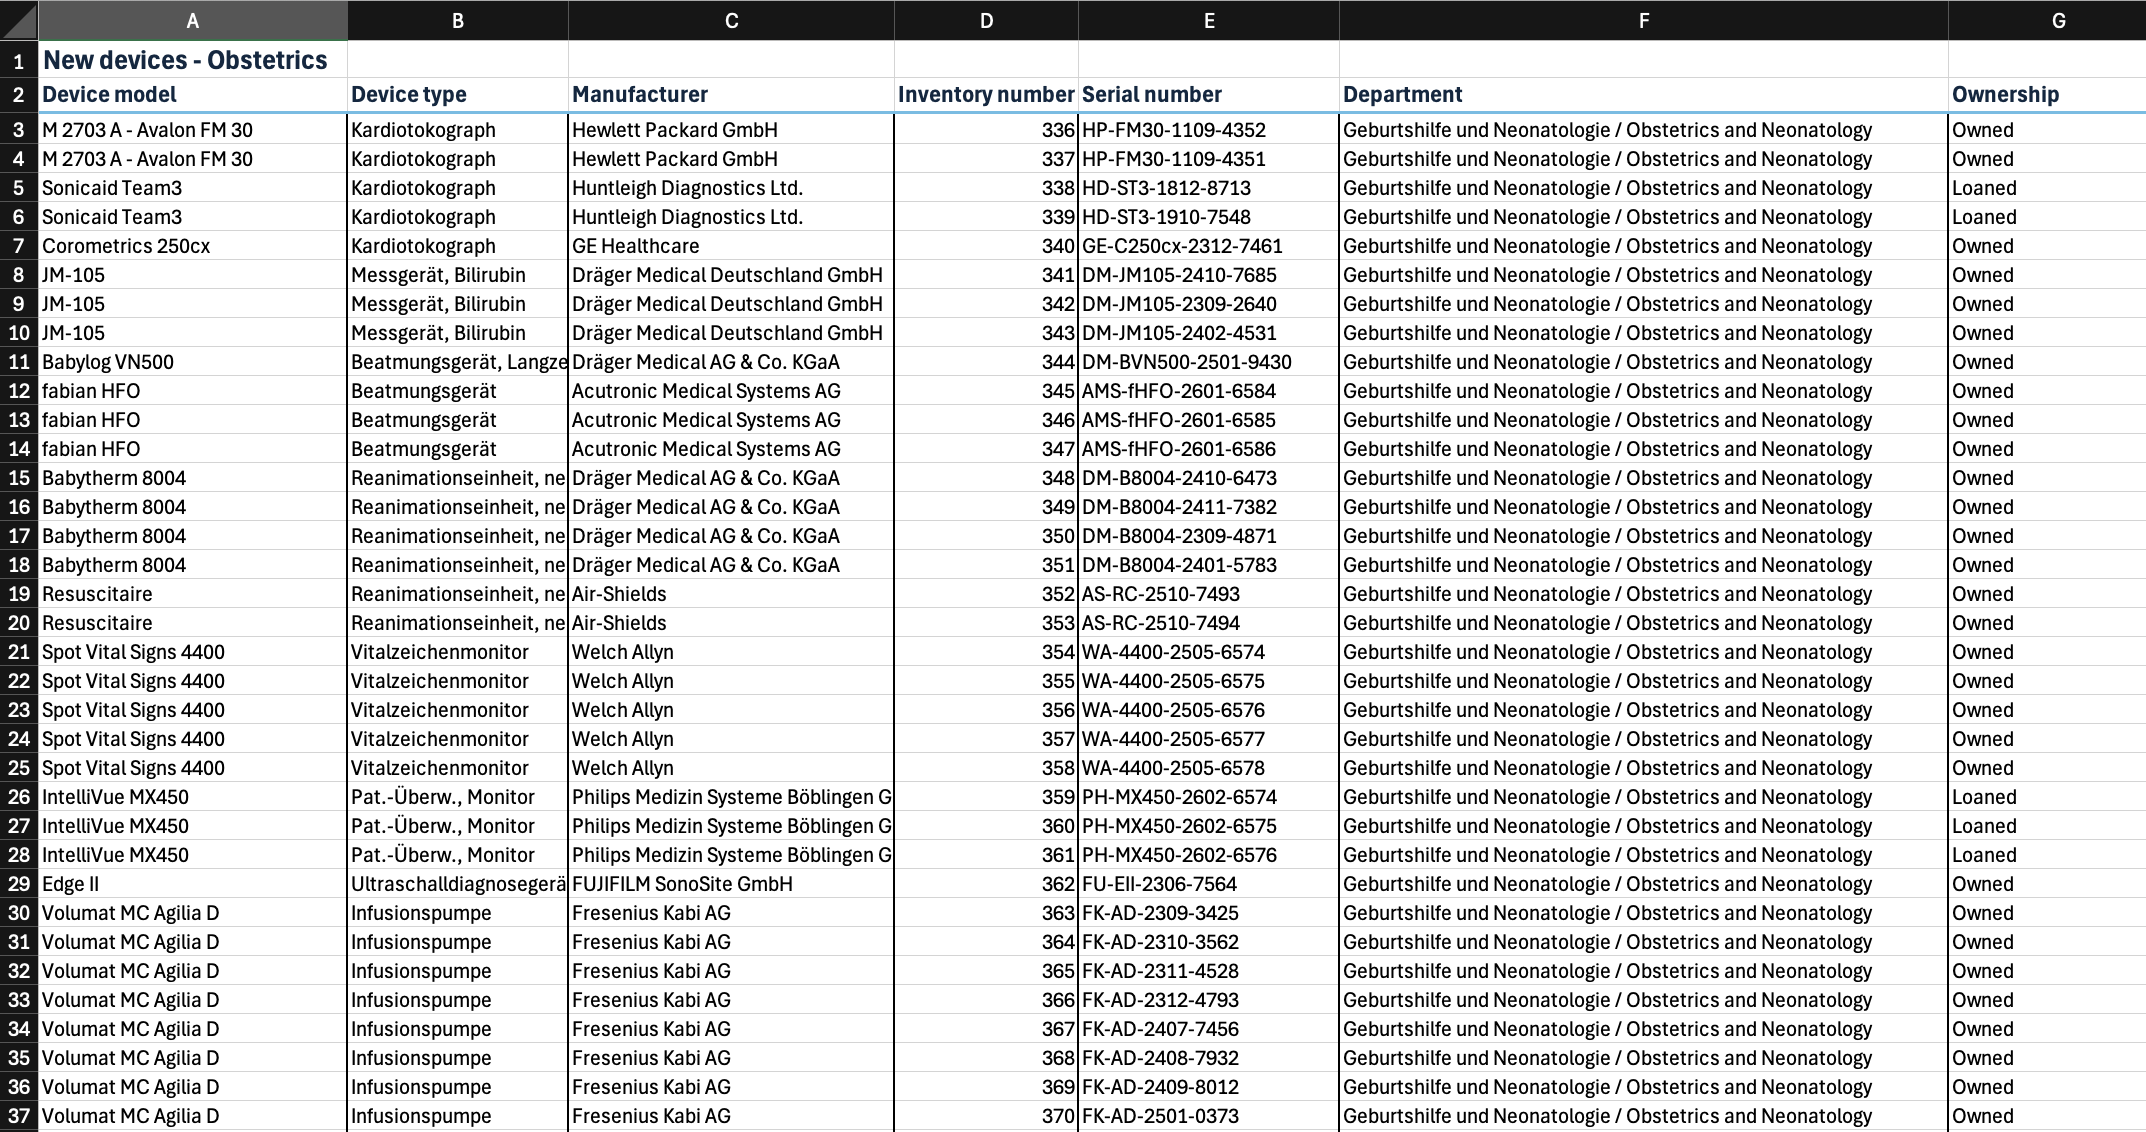
The first row must contain the column names. Any title rows above it are automatically ignored.
There are four mandatory columns that must be present and mapped in order for the import to start: the device type, the device model with the exact model designation, the manufacturer according to the nameplate, and the inventory number as a unique identifier per device. All other columns, such as serial number, manufacturer number, department, location, or ownership, are optional. They can be included in the mapping or omitted.
Warning
Ownership: If you map an ownership column, the values must match one of the following allowed terms: Self-owned, Patient-owned, No ownership, Rental/Leasing, Pay-per-use, or Loan device. Common variations such as “Owned”, “Leasing”, or “Rental” are also recognized. If a value cannot be mapped, the import will be blocked. If no ownership column is mapped, the default value Self-owned is automatically used.
4. Upload Excel file
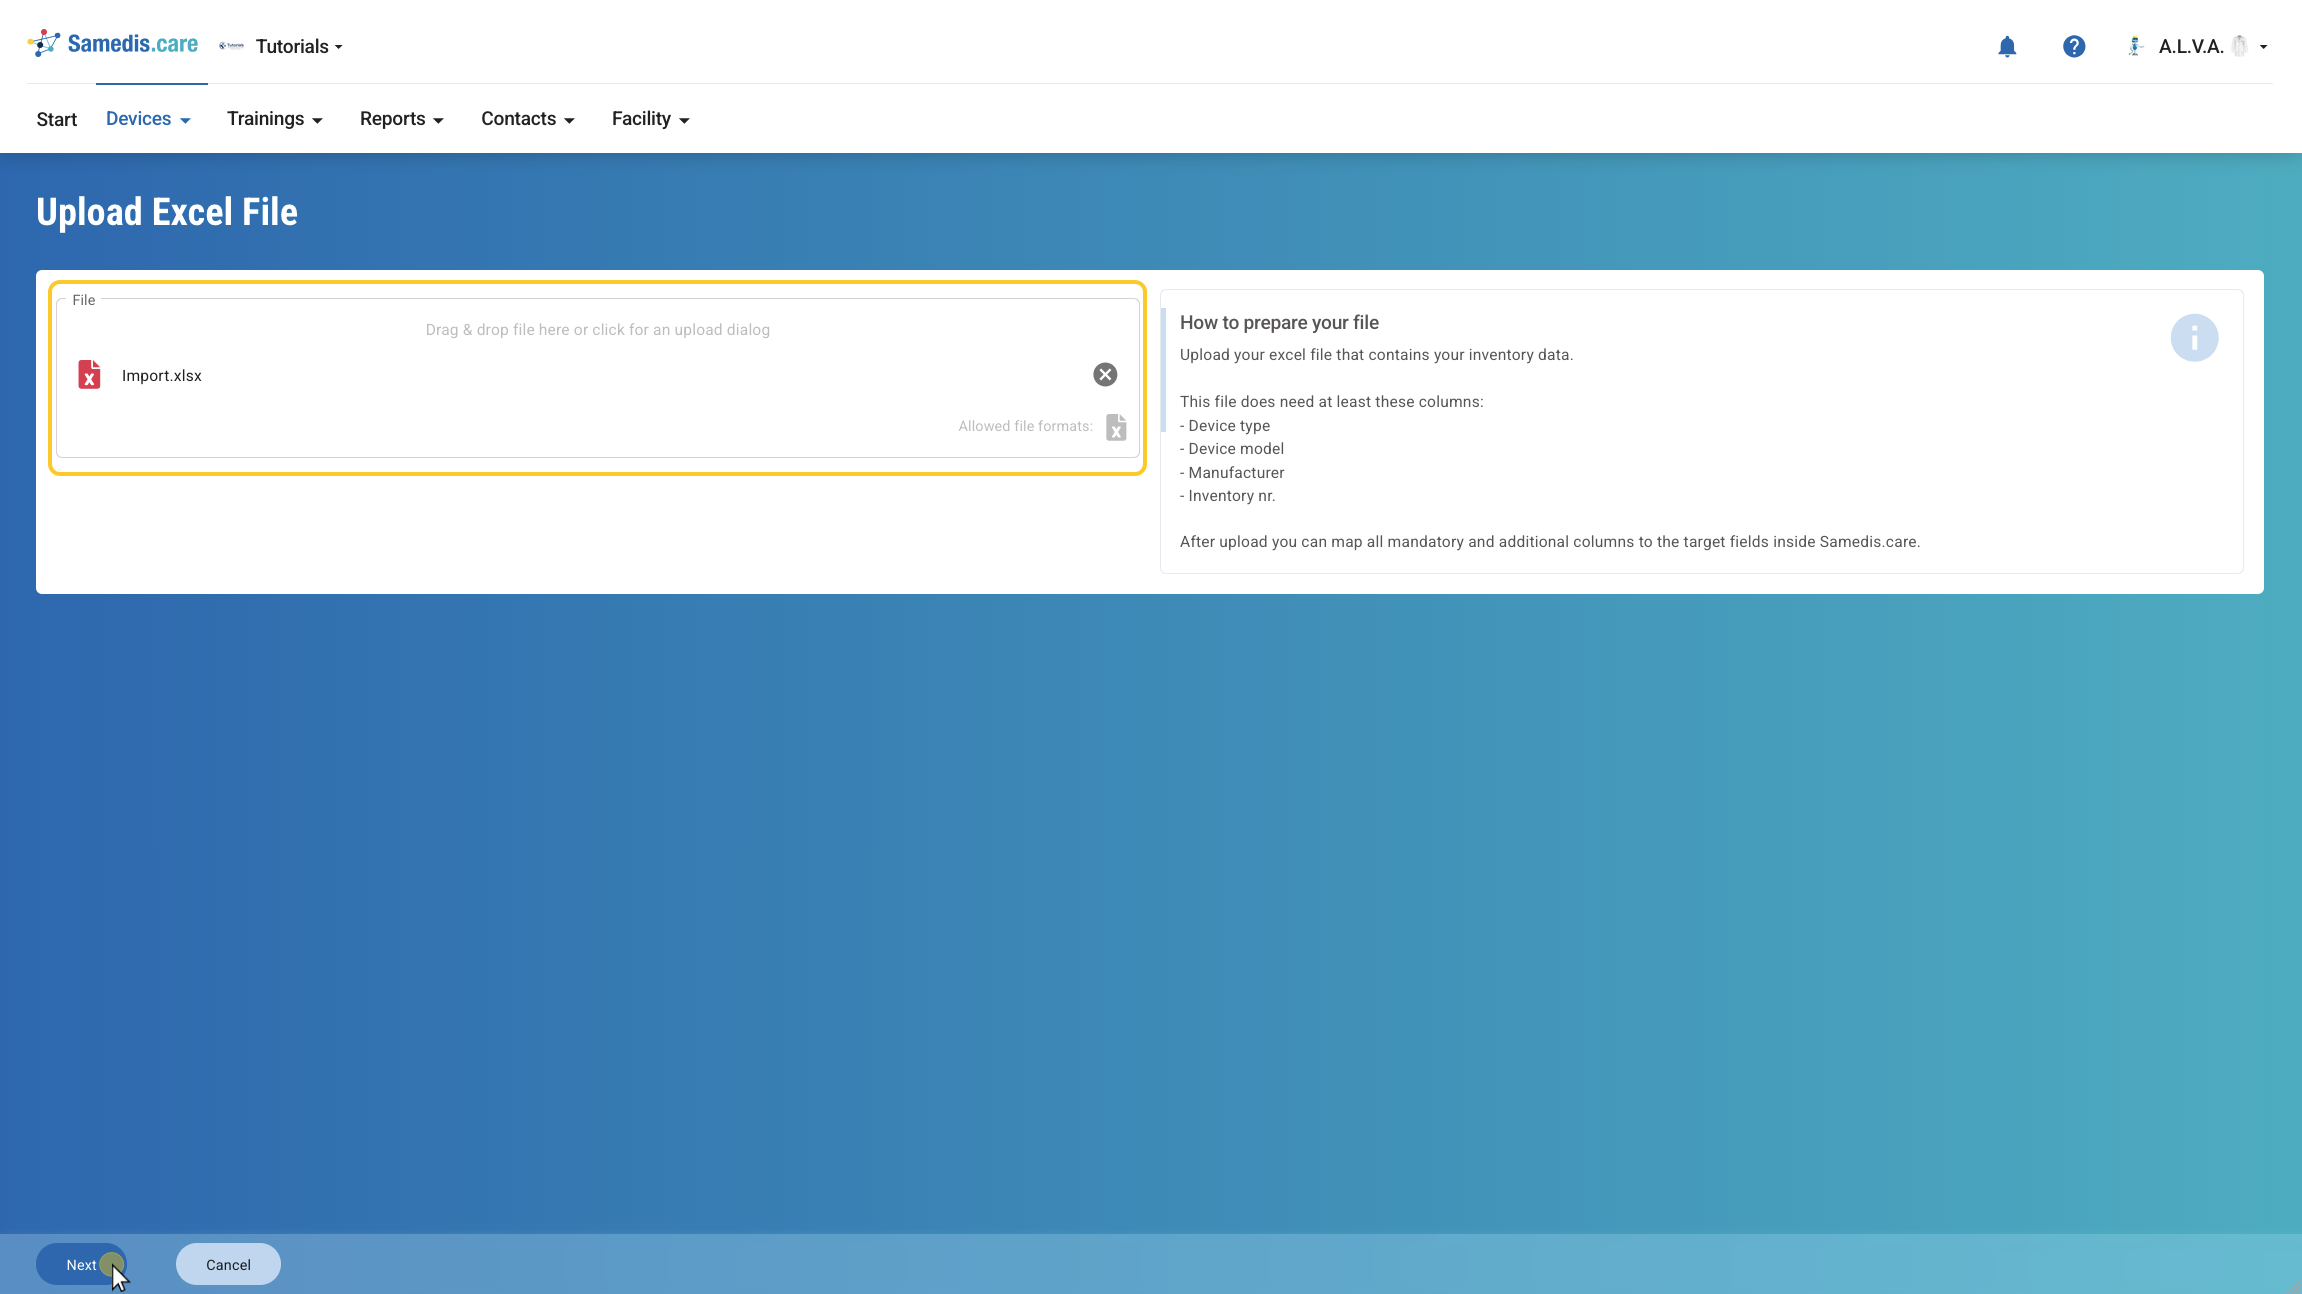
If your file meets all requirements, you can upload it in the next step via drag & drop or by using the file picker, and start the import by clicking Next.
5. Phase 1: Upload
At the top, you can see the individual steps of the import process: Upload, Mapping, Import, and Processing.
Step 1 - Upload
After you have uploaded your .xlsx file in the previous step, it is now being read and the contained columns are automatically detected.
6. Phase 2: Mapping
Step 2 - Mapping:
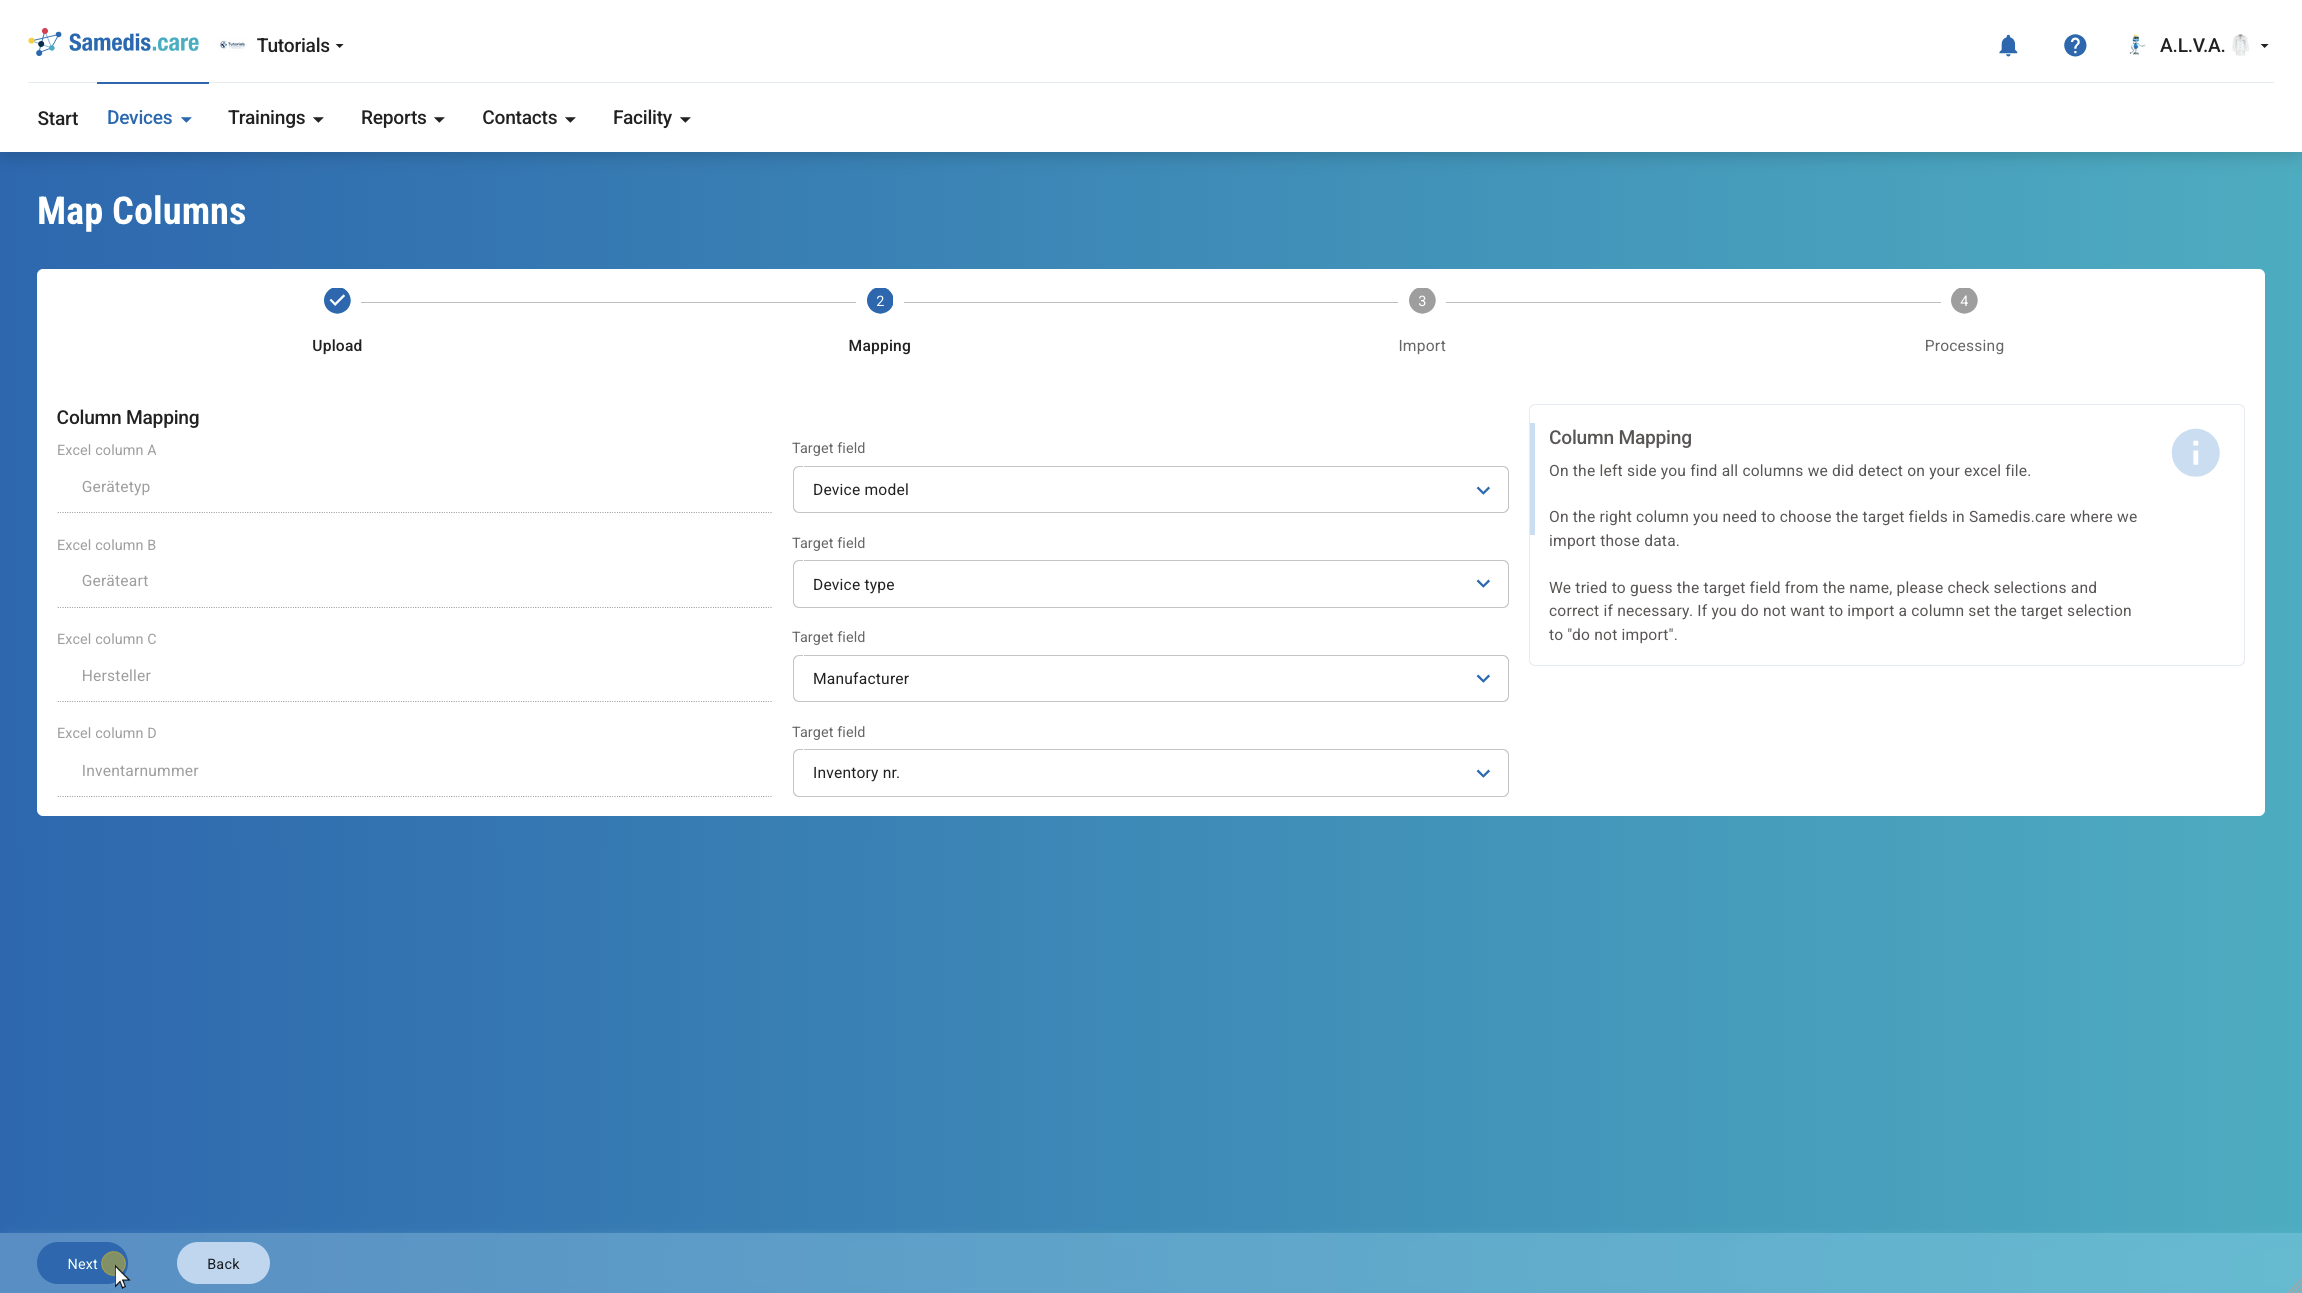
On the left, all columns from your Excel file are displayed. On the right, you select the corresponding target field in Samedis.care. The system automatically suggests suitable mappings based on the column names. Review these suggestions and adjust them if necessary. Columns that should not be imported can be set to Do not import.
Then click Next.
Tip
To continue, the mandatory fields Device type, Device model, Manufacturer and Inventory number must be mapped. Otherwise, the message Required fields have not been mapped will appear.
7. Phase 3: Import
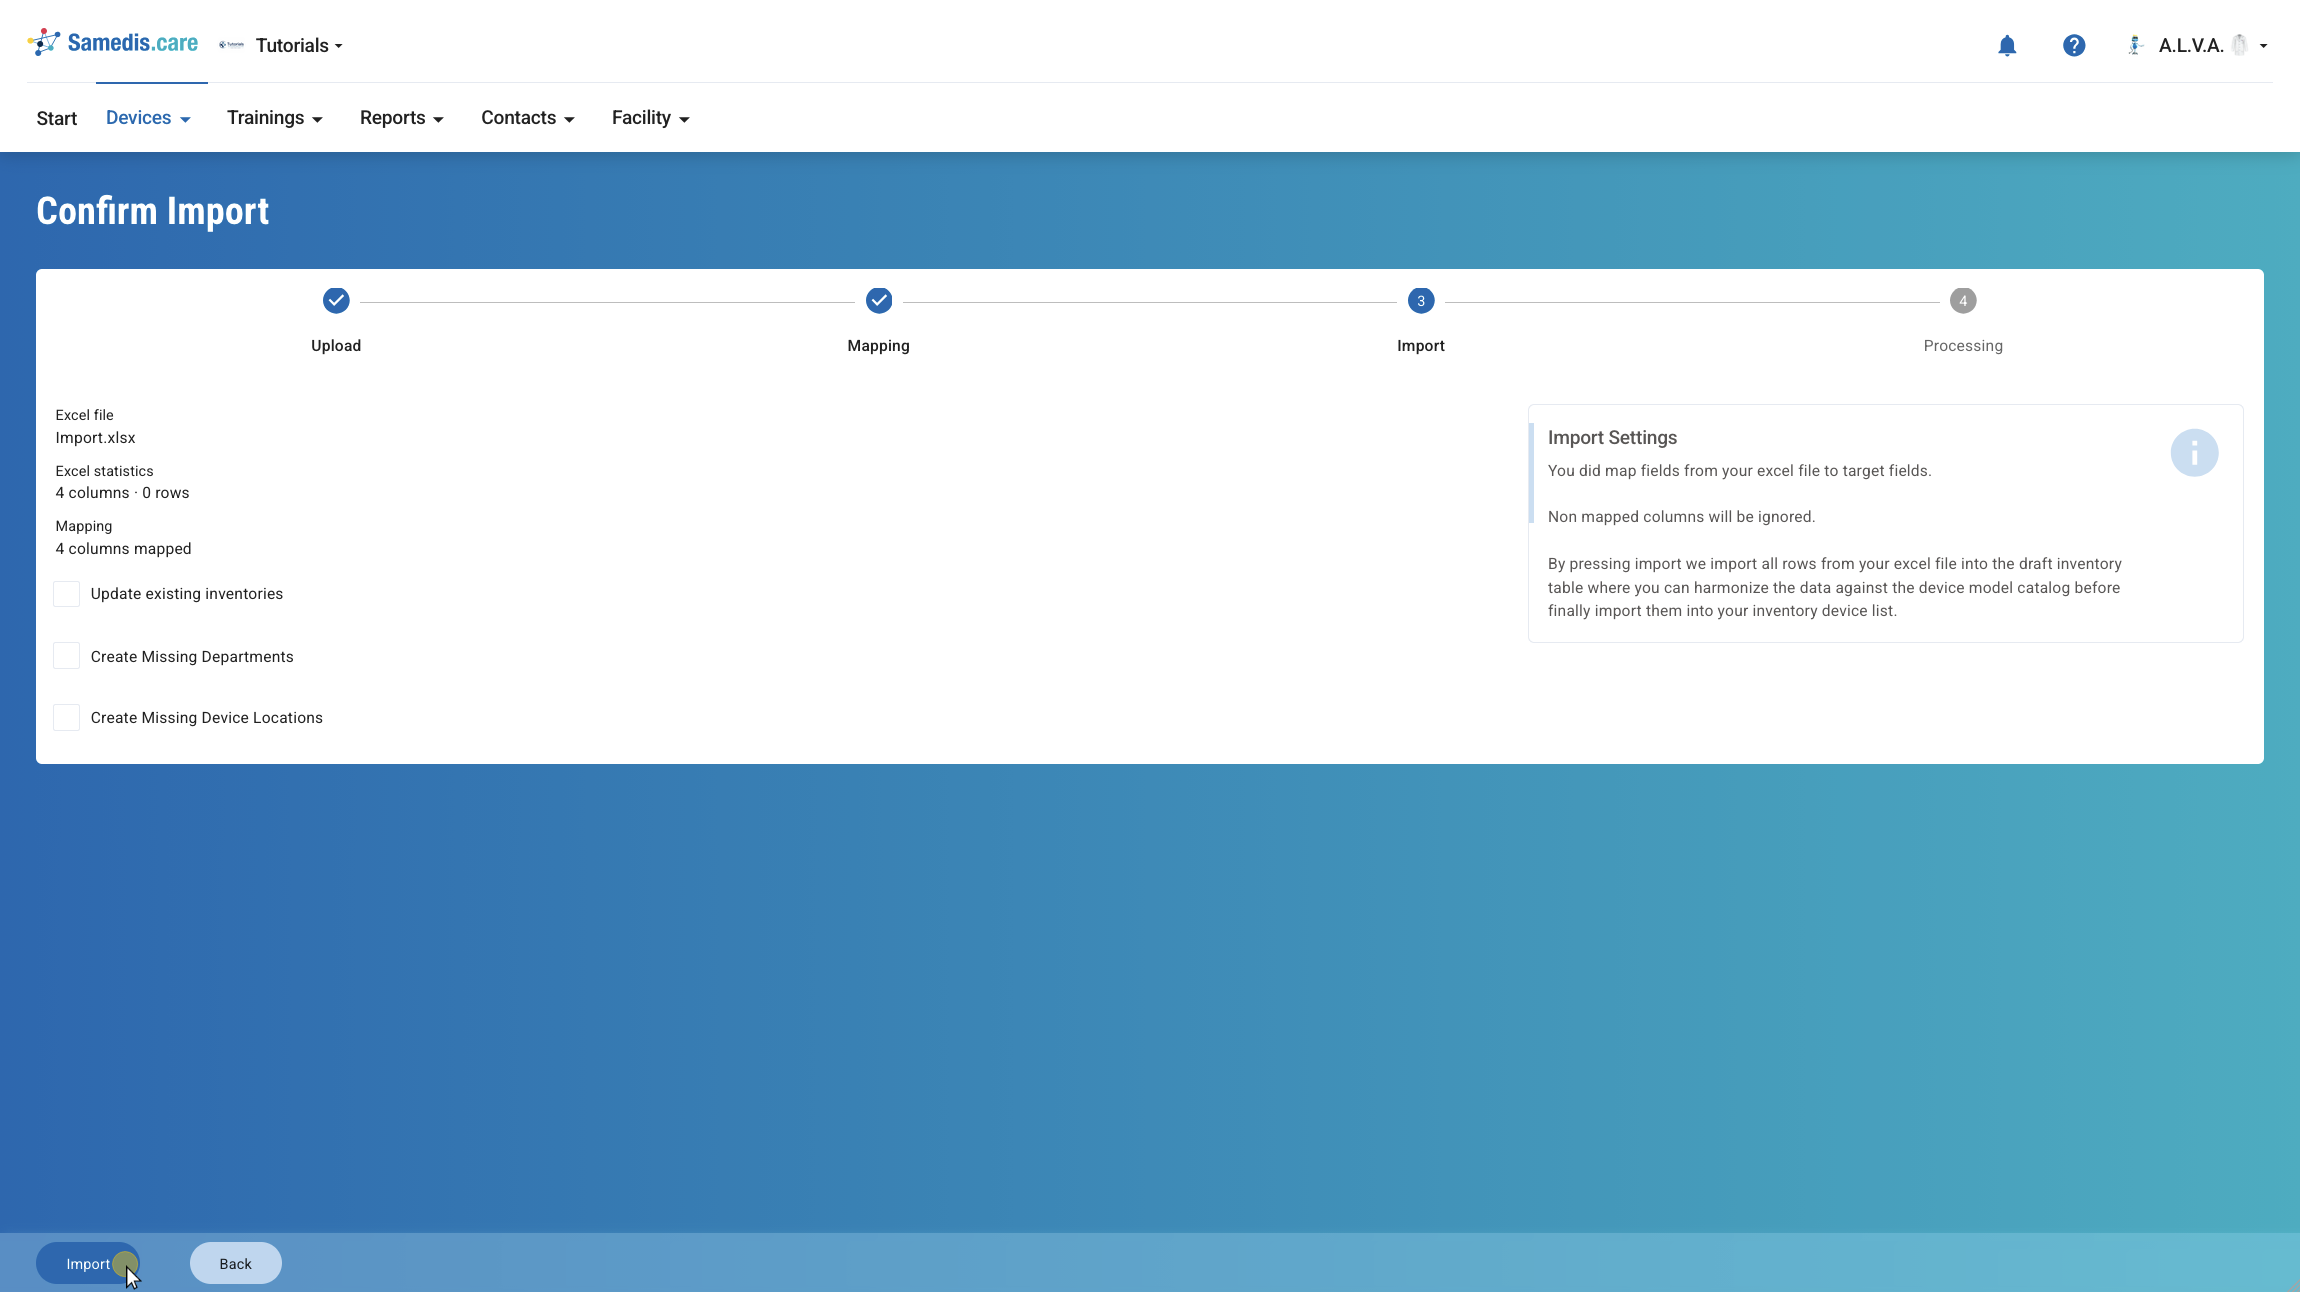
Step 3 - Confirm Import:
Before the import starts, you will see a summary of your file. This includes, among other details, the file name as well as the number of detected rows, columns, and mappings.
In addition, you can define how the import should handle certain data:
- Update existing inventories Existing inventories with the same asset number will be updated instead of skipped.
- Create missing departments Departments included in the file that do not yet exist will be created automatically.
- Create missing device locations Locations included in the file that do not yet exist will also be created automatically.
Click Import to start the processing.
Tip
In this step, no inventories are created yet. The imported data is first prepared as drafts and reviewed. The actual inventories are only created in Phase 4.
8. Overview: Device Matches
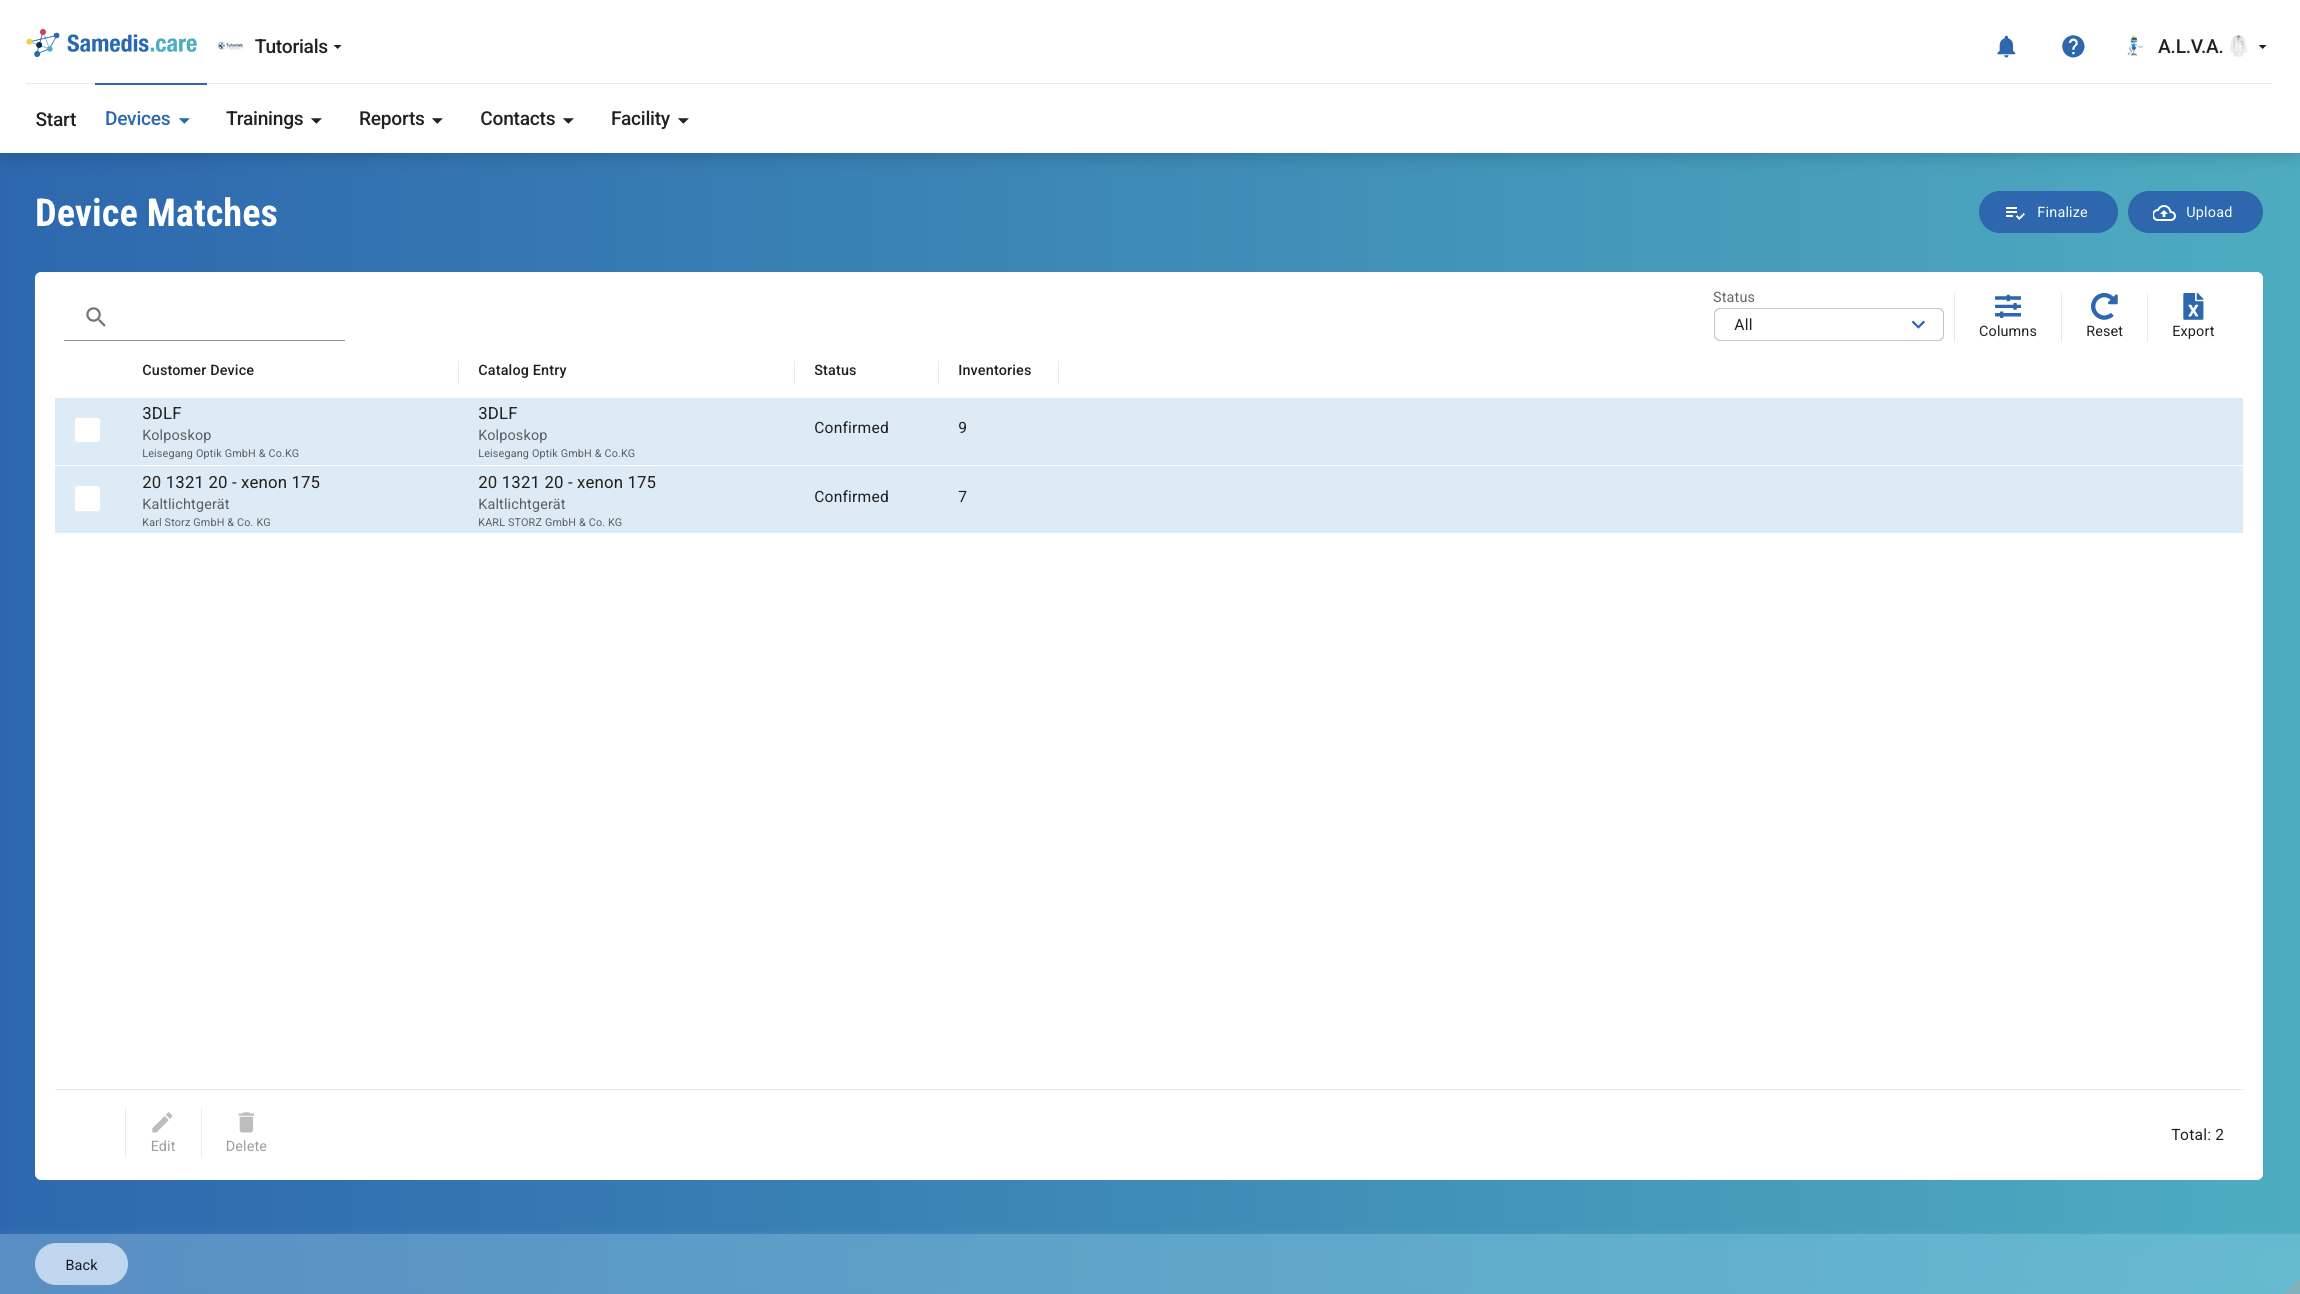
In this phase, you assign each imported device type to a matching catalog entry or, if necessary, create a new catalog entry. Two views are available for this: the overview and the detail view.
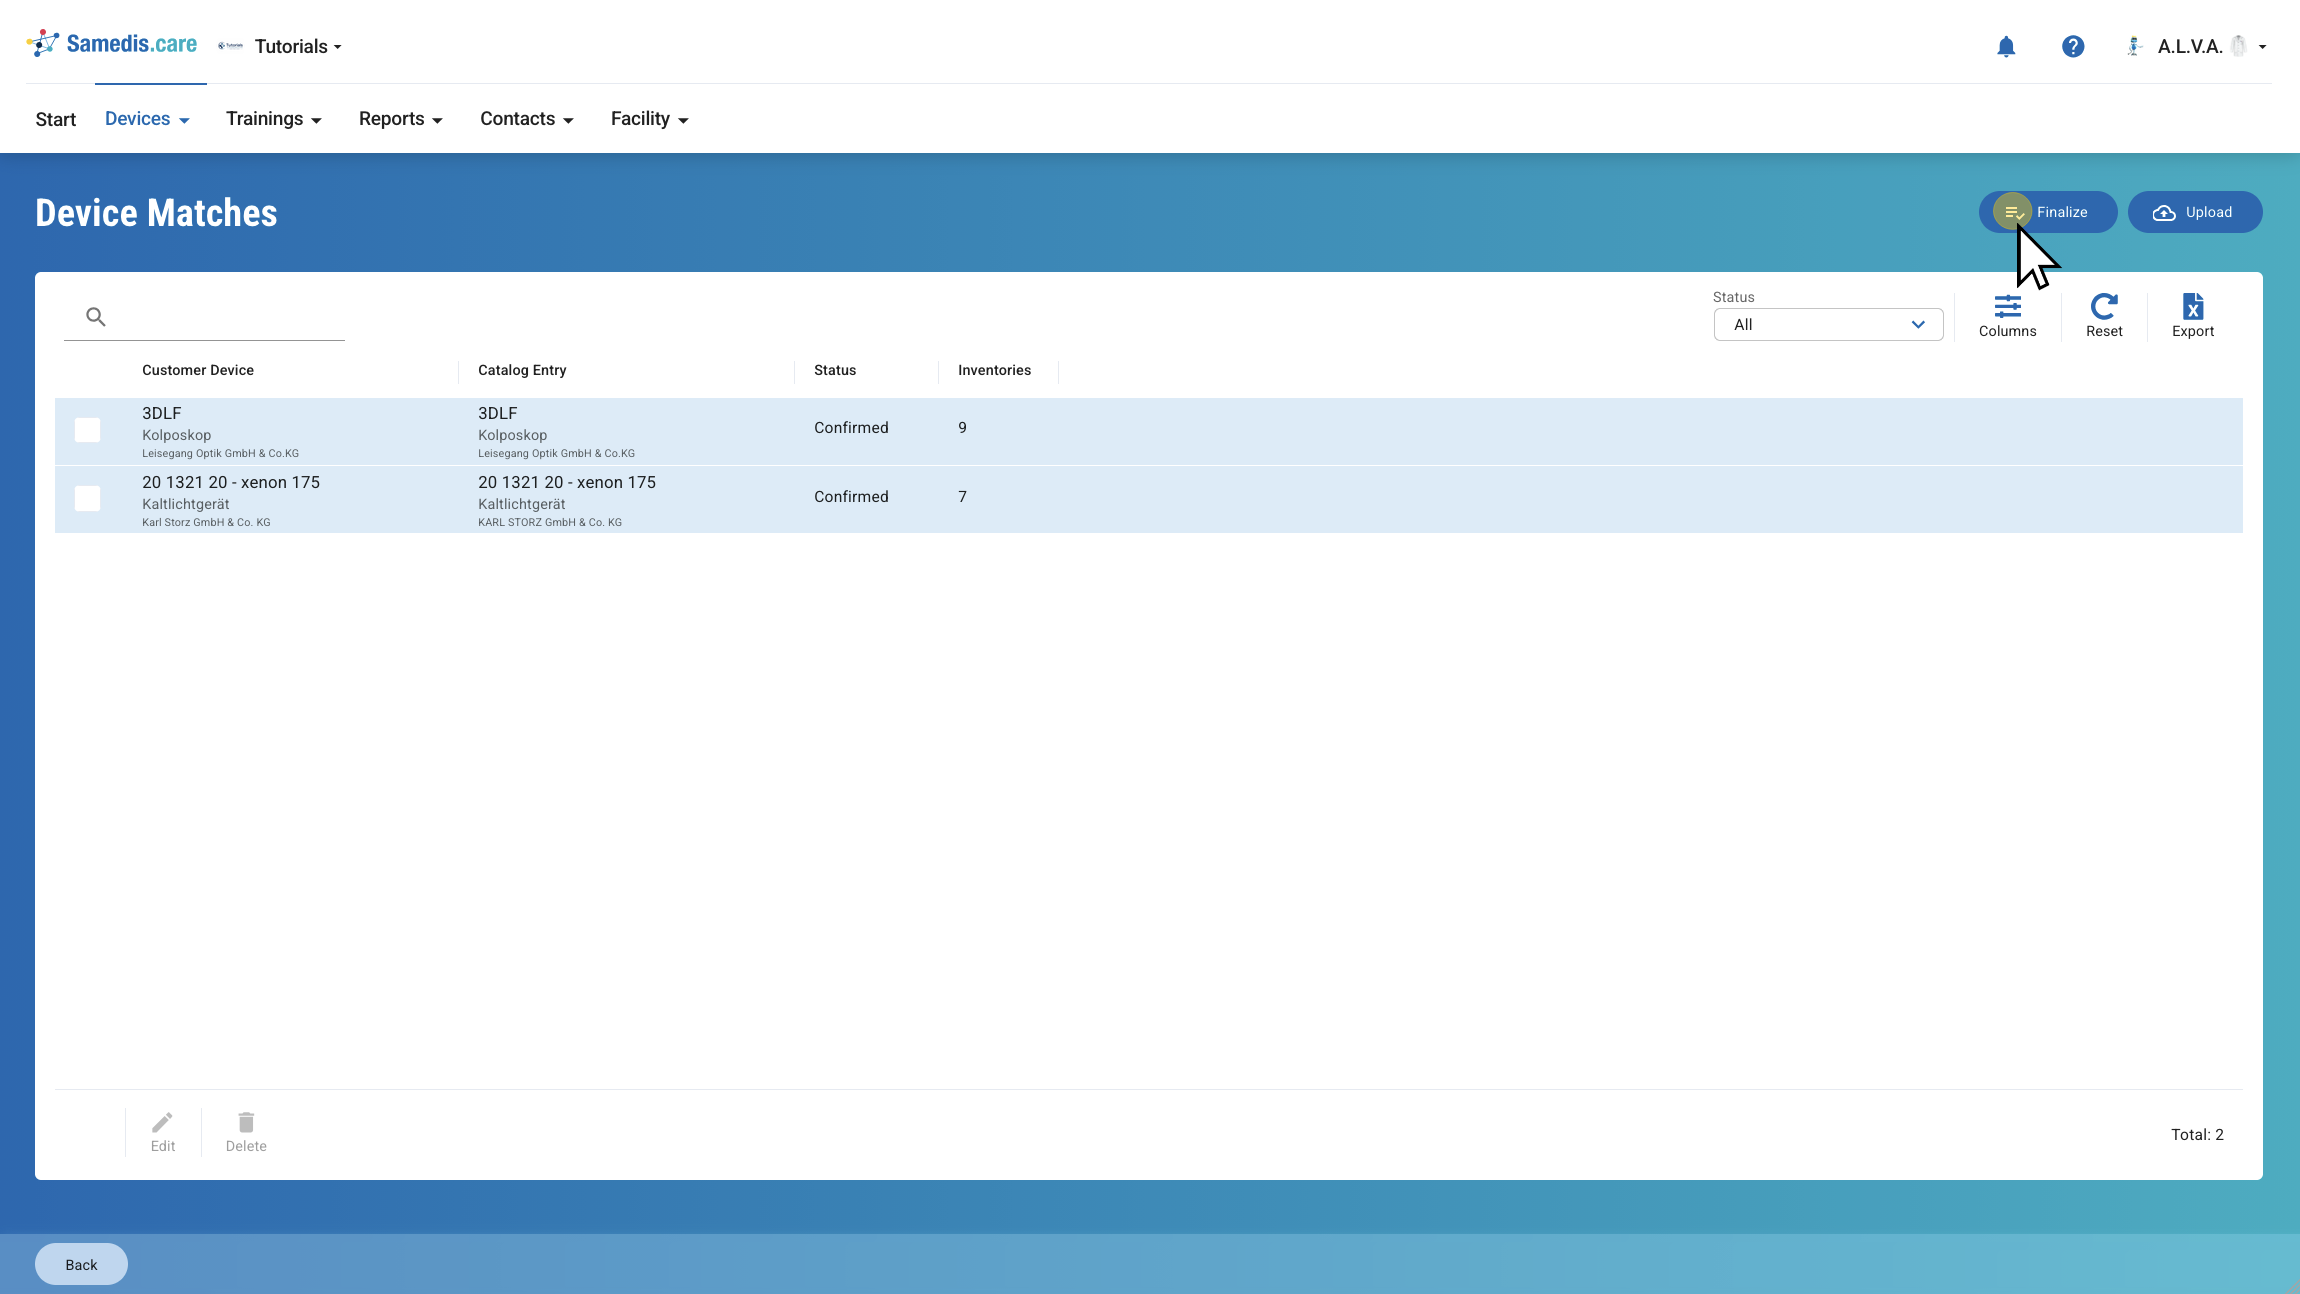
In the overview, you can see all unique device types from your import. Displayed are the device type, device model and manufacturer from your Excel file, as well as the current status, the assigned catalog entry and the number of associated inventories.
The individual statuses have the following meanings:
- Status: Pending
The device type was imported from the Excel file but has not yet been assigned to a catalog entry and still needs to be processed. - Status: Confirmed
The device type has been assigned to a catalog entry. The assignment was either automatically detected or confirmed by you. - Status: Adjusted
The automatically suggested assignment was modified by you. - Status: Existing
The device type already exists in your tenant’s catalog. - Status: Ignored
The device type was intentionally not assigned and will be skipped.
Tip
You can use the search function and status filters to narrow down the displayed entries. You can also show or hide columns, reset filters, return to the upload step via Upload, or proceed to the next phase via Finalize.
8.1. Detail View: assign a device model
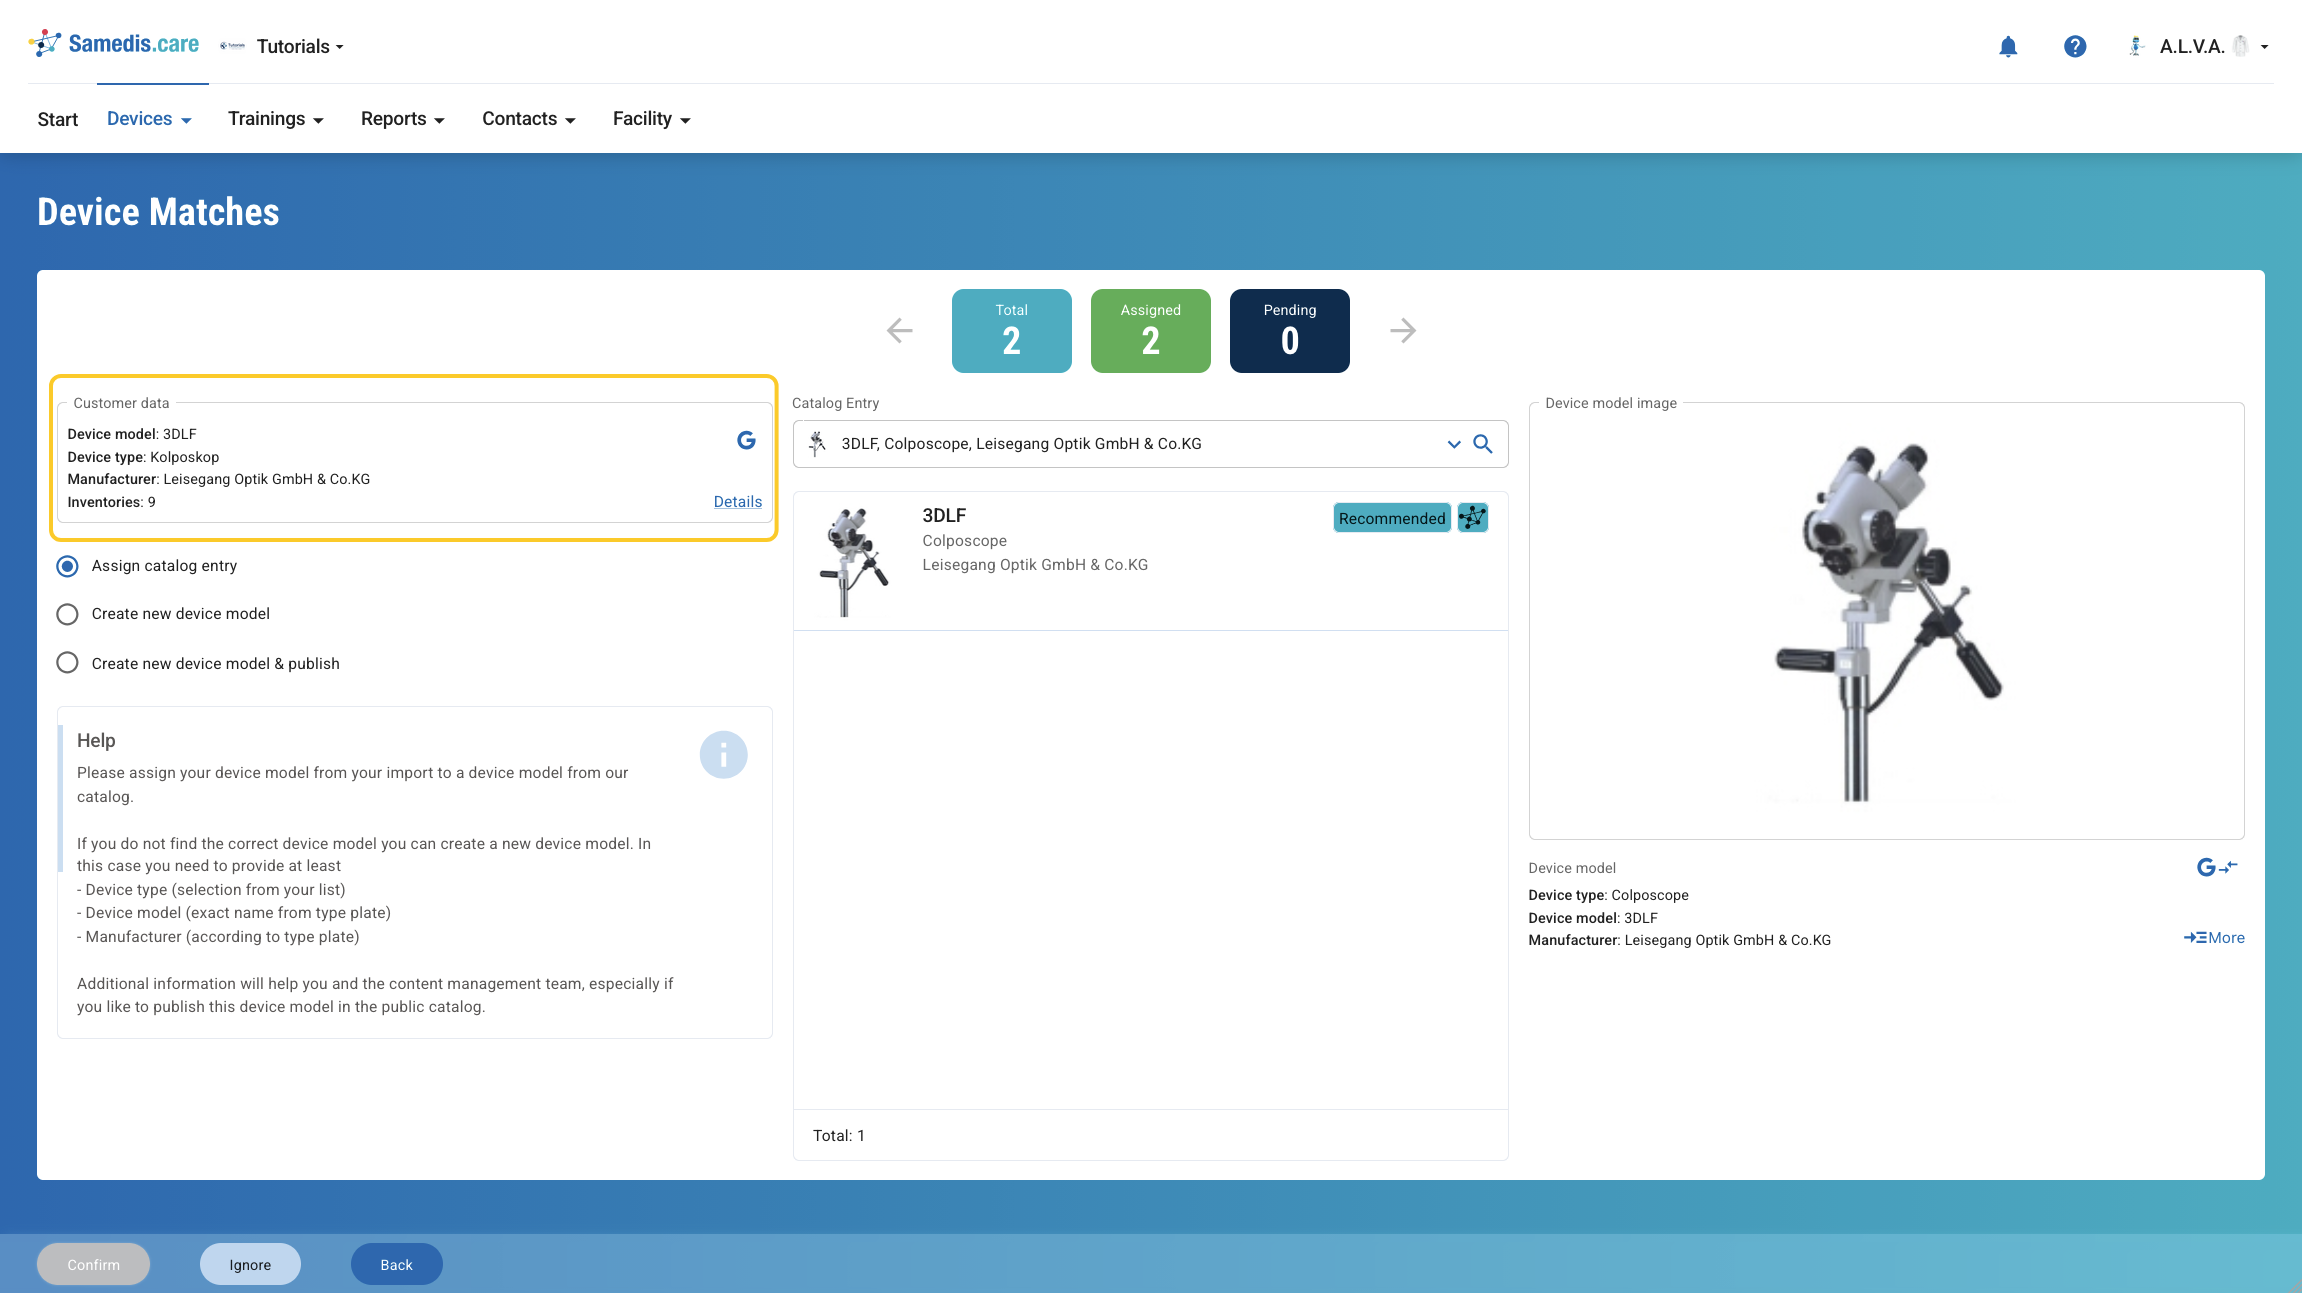
You can open the detail view of a selected device type via Edit or by double-clicking it.
The counters above the list always keep you informed. Total shows all imported device types, Assigned shows all entries that have already been processed, and Pending shows all device types that still need to be reviewed.
On the left, you can see the information from your Excel file. This includes the device model, device type, manufacturer and the number of associated inventories. Under Details, you can view all inventories for this device type. Click the Google icon to open a pre-filled Google search for the selected device. This allows you to quickly find additional information about the device.
Next, you define how the device type should be handled. You can assign it to an existing catalog entry, create a new device model for your tenant only, or create a new device model and additionally mark it for publication in the public catalog.
8.2. Detail View: Assign catalog entry
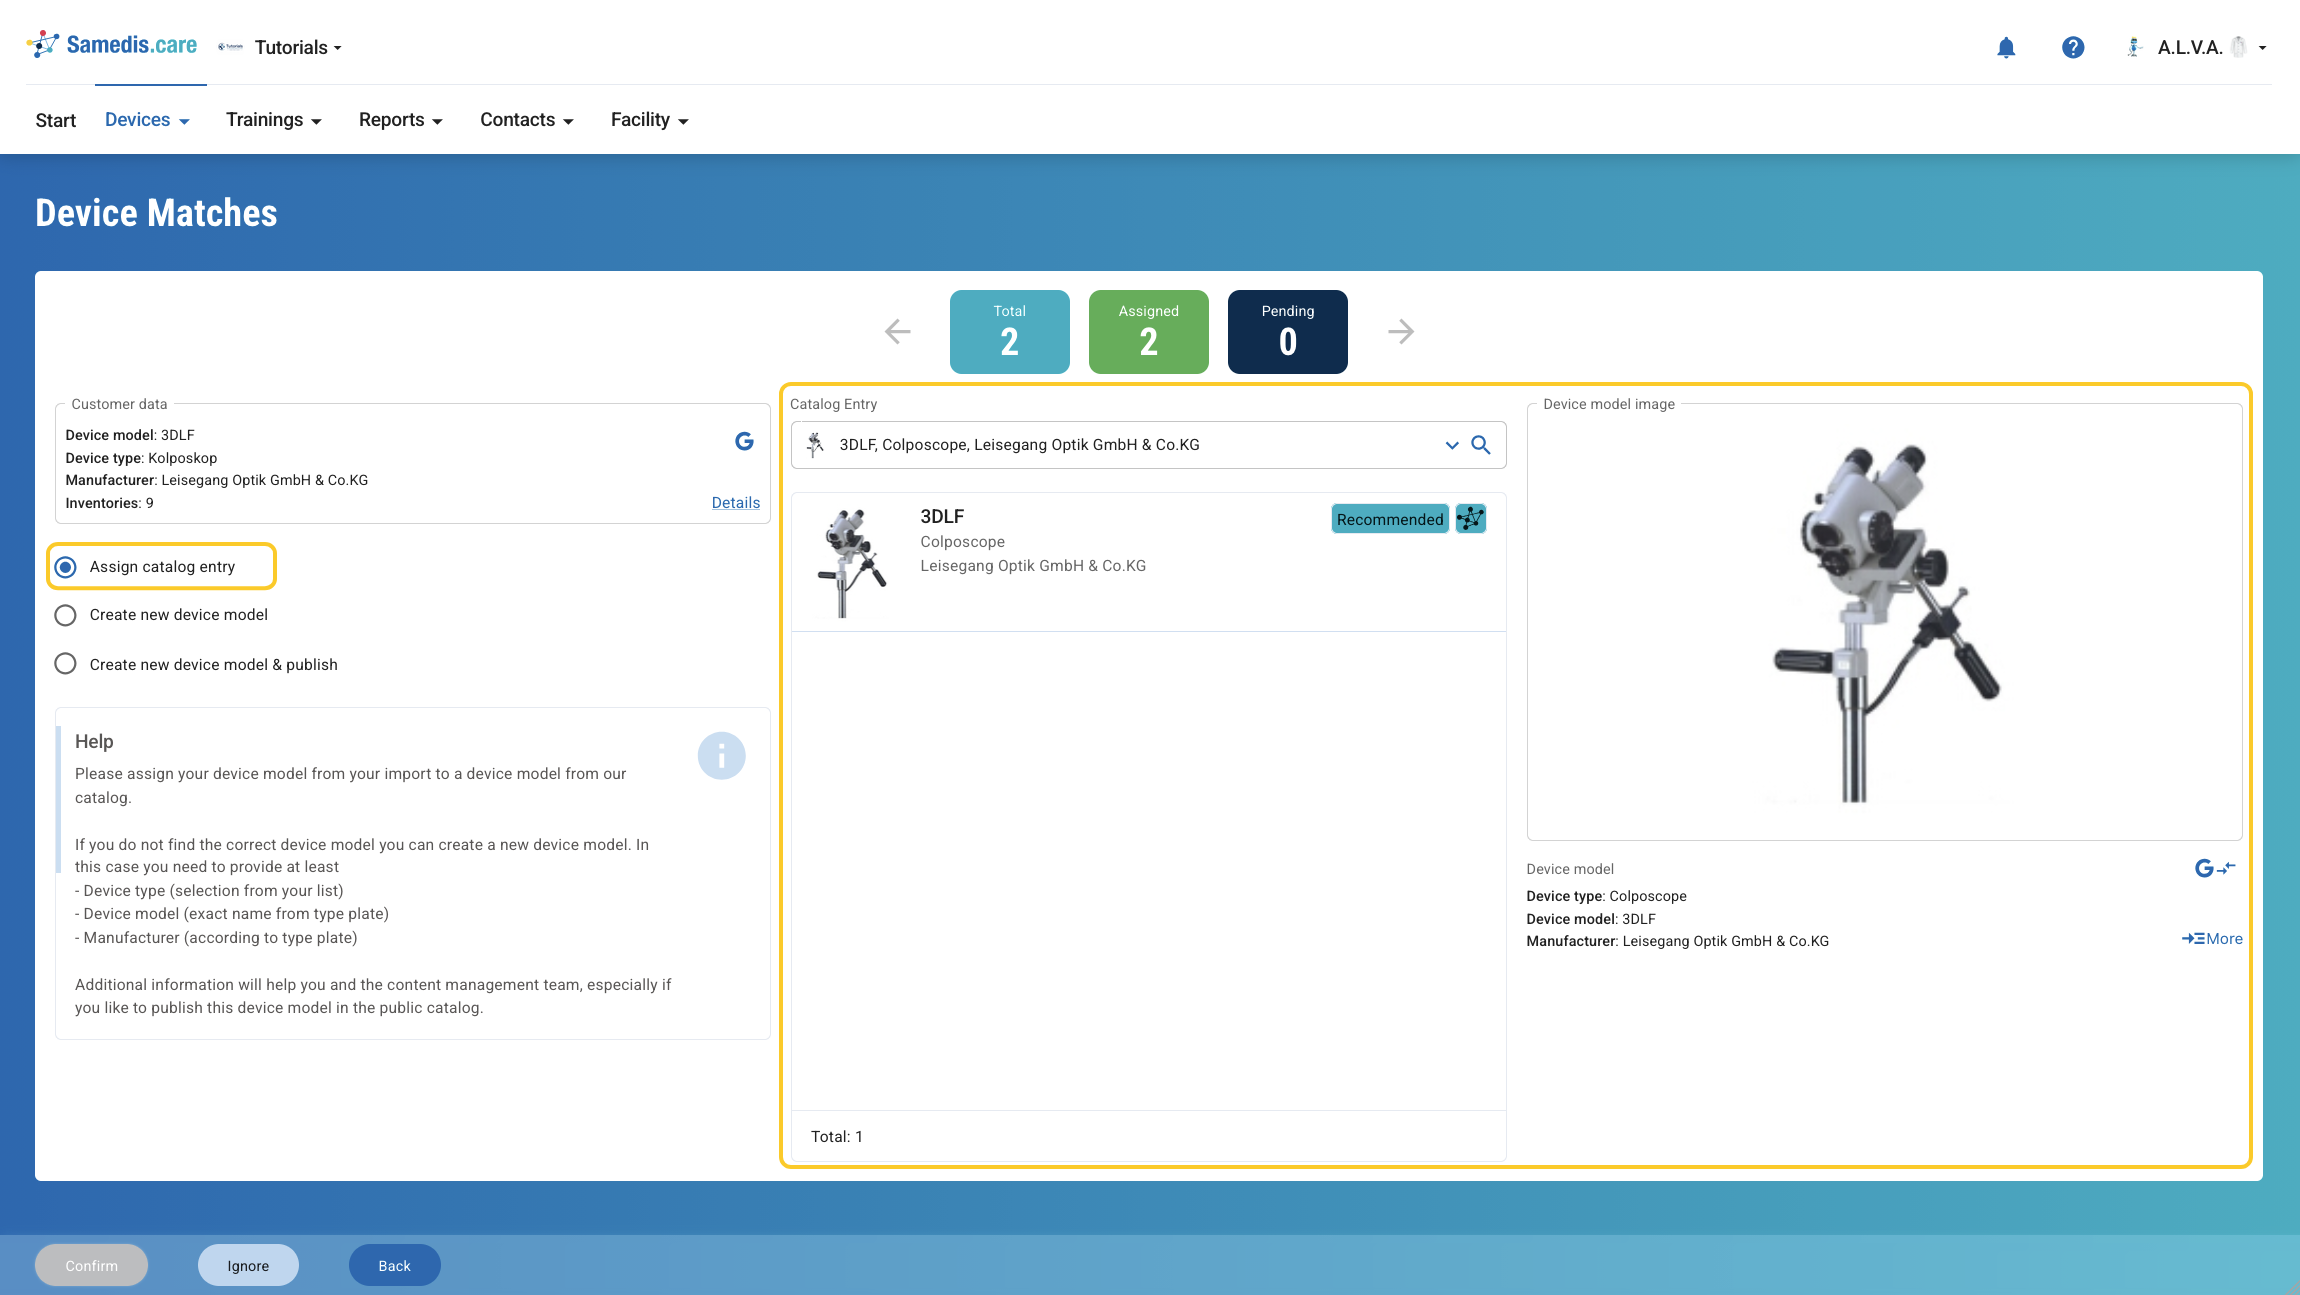
In this option, you assign the imported device type to an existing catalog entry.
In the middle column, you can search the public catalog.
The search fields are already preselected using the information from your Excel file, so Samedis.care suggests matching catalog entries. These suggestions are sorted by relevance and labeled as Recommended, Alternative, Suggestion, or SDH-Suggestion.
You can select a device type by clicking it either in the suggestions or directly in the catalog.
In the right column, you see a preview of the selected catalog entry with the most important information and images. Using Compare, indicated by the Google icon with two opposing arrows, you can compare the data from your Excel file with the catalog entry. Click More to open the device model’s catalog entry.
Once you have confirmed or ignored your selection, the next device model that still needs to be processed will open automatically. This allows you to work through all pending entries step by step until the harmonization is complete.
Click Back at any time to return to the overview.
Warning
Only assign a device model to an existing catalog entry if there is a clear match. Even small differences in the name can indicate different devices or variants. If you are unsure or there is no suitable catalog entry, create a new device model instead.
8.3. Detail View: Create new device mode
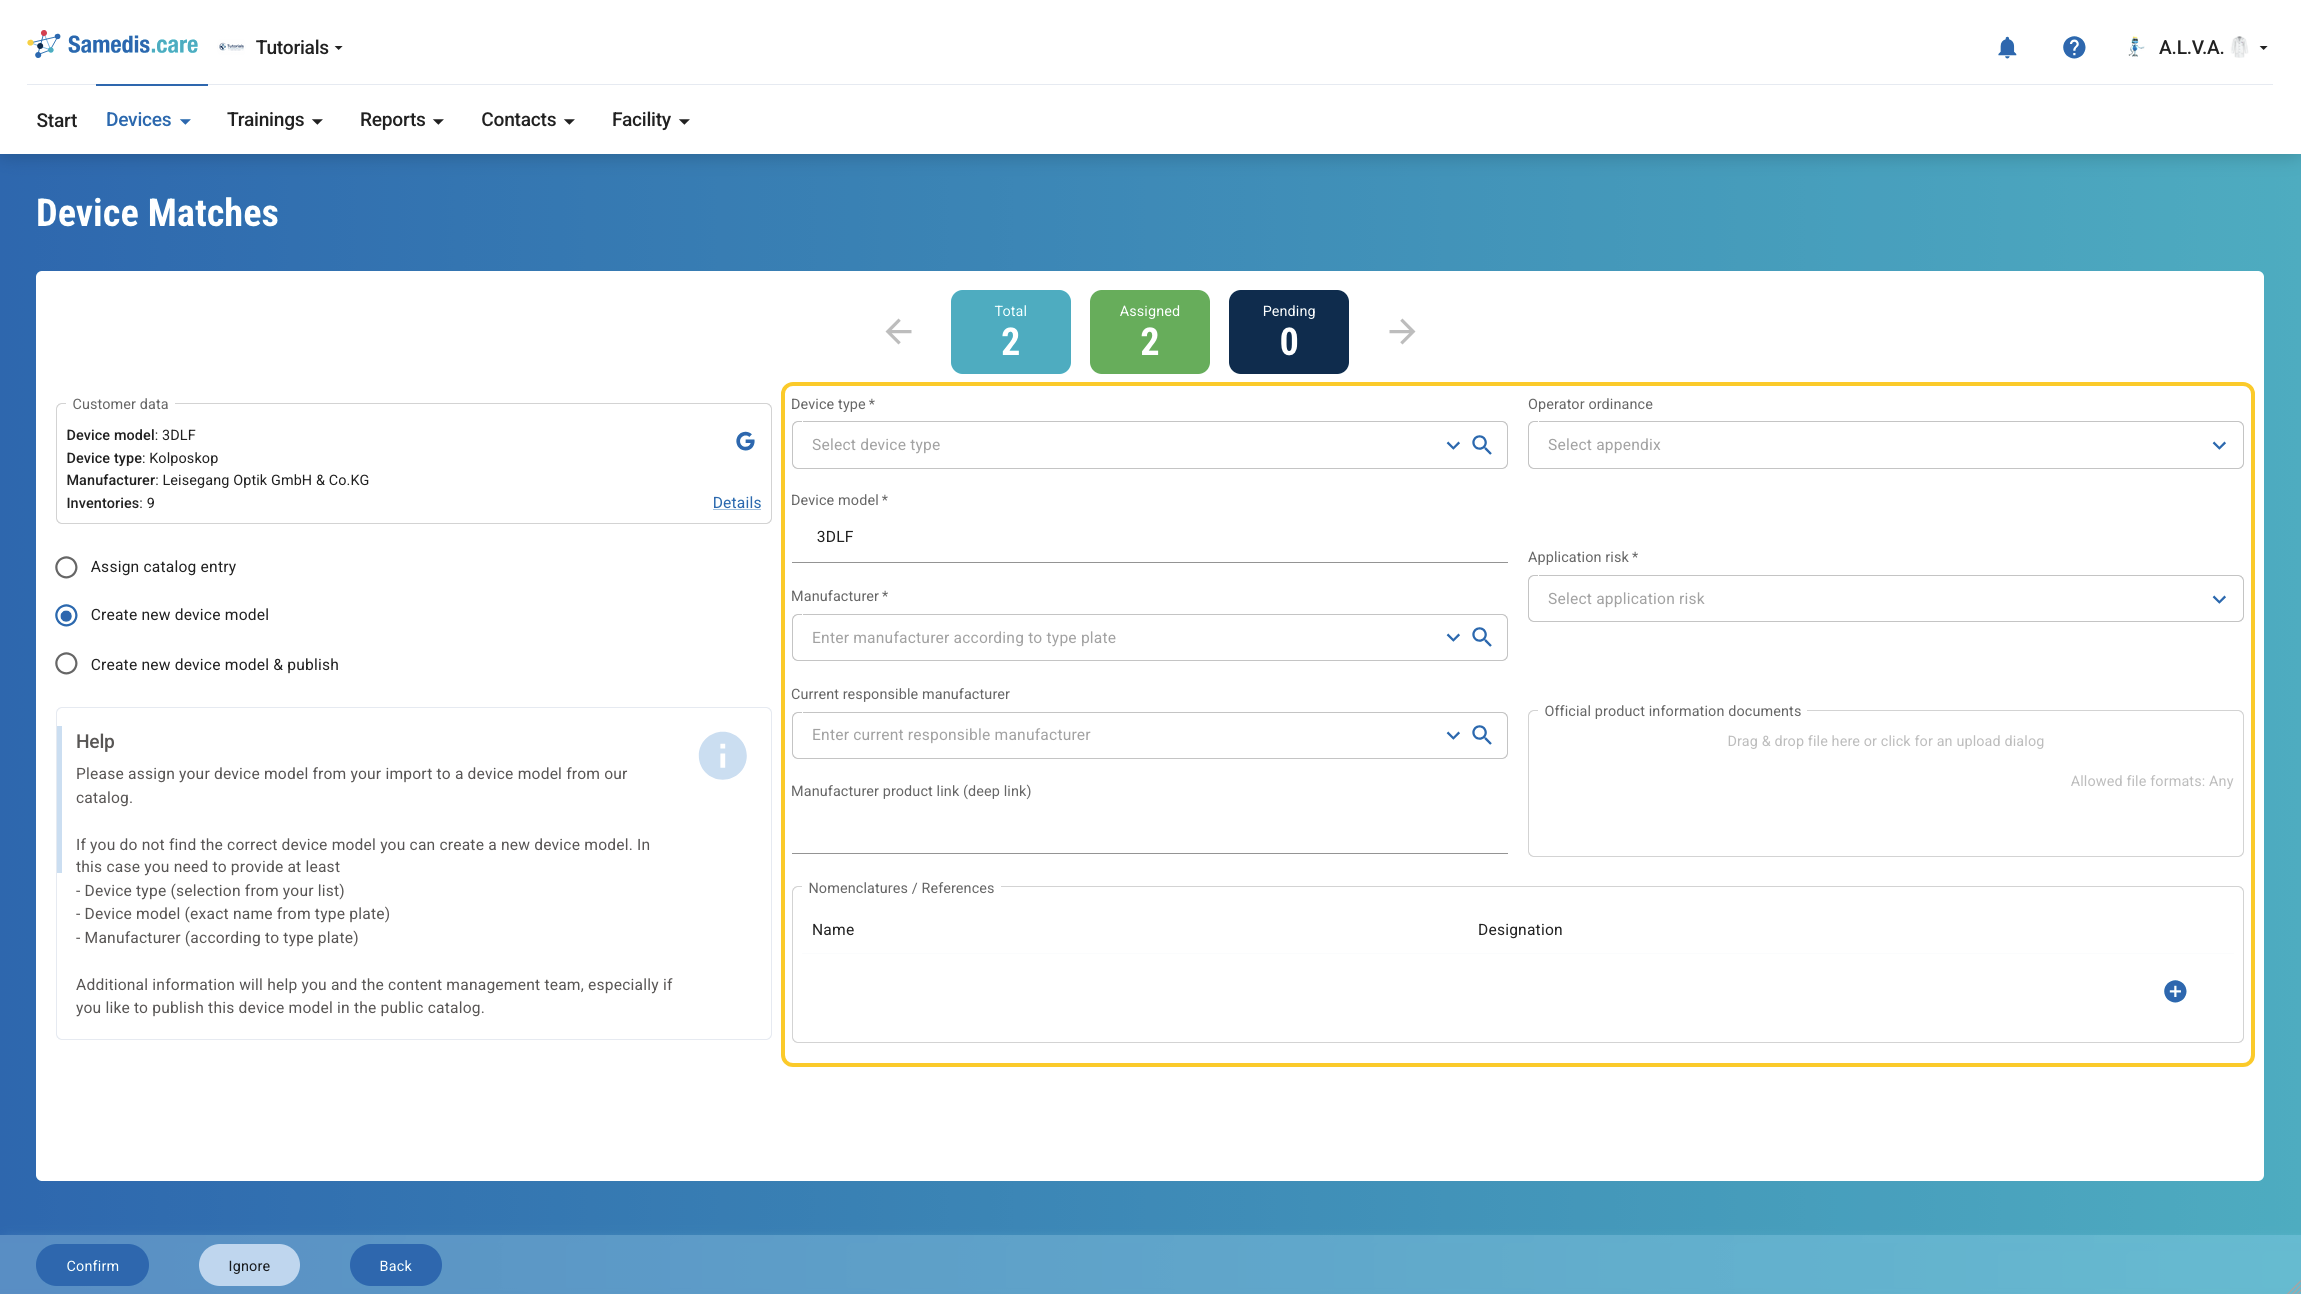
If no suitable catalog entry exists, you can create a new device model for your tenant.
To do so, complete the form in the middle column. The required fields are device type, device model (with the exact designation according to the nameplate), manufacturer according to the nameplate and the application risk. You can optionally add further details such as the responsible manufacturer, information on regulatory requirements, a product link, or product documents.
Then click Confirm.
8.4. Detail View: Create new device model & publish
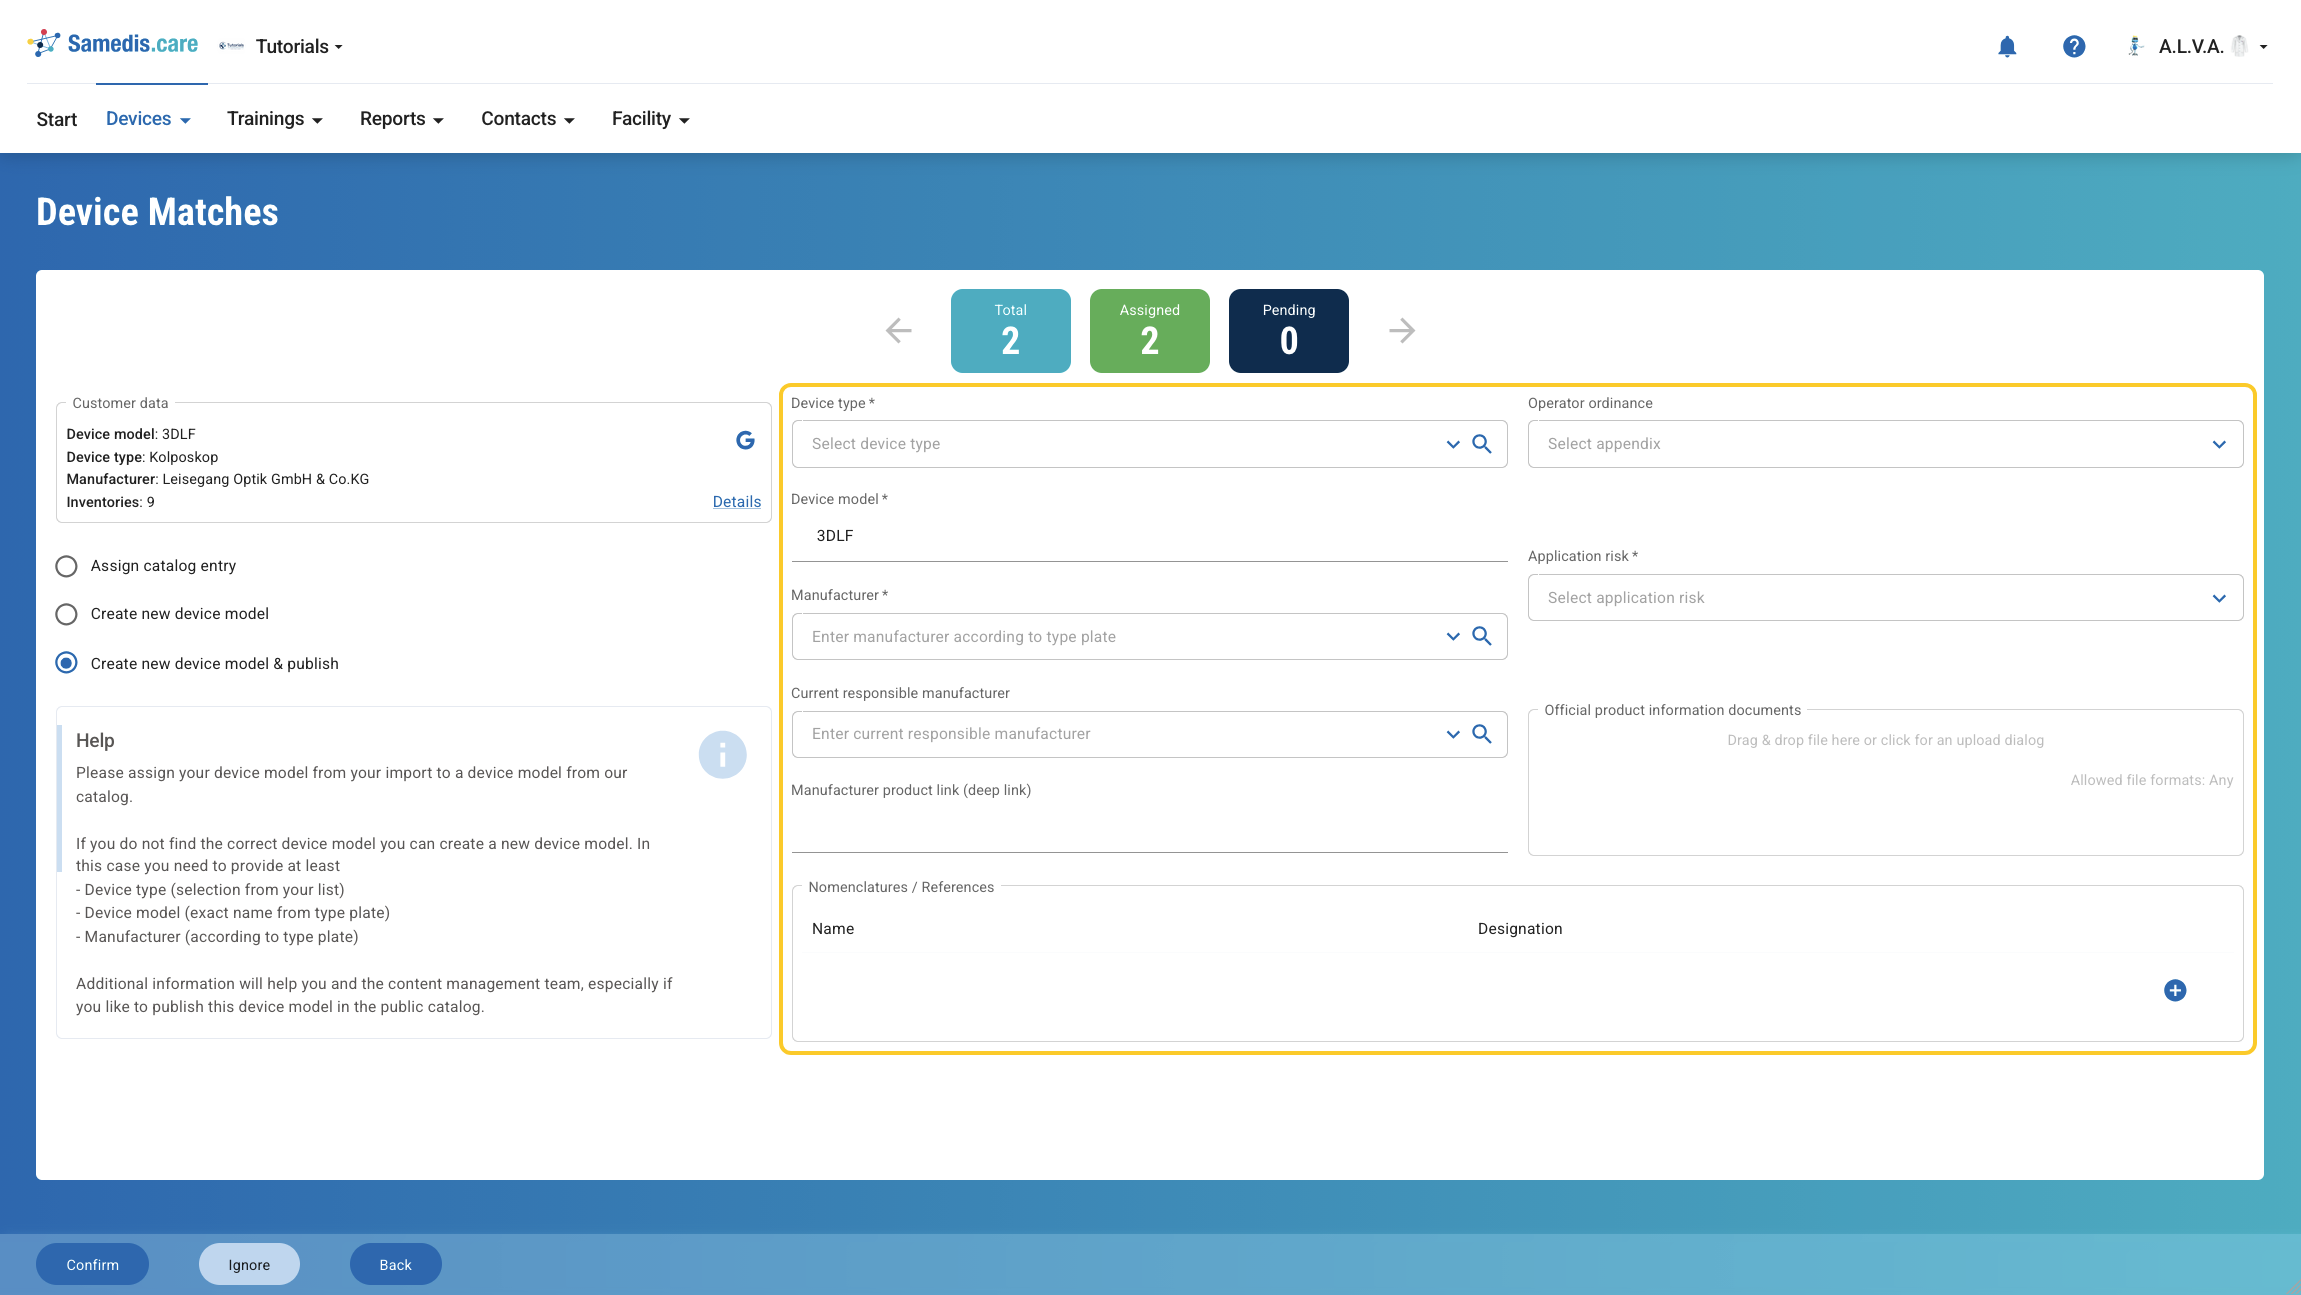
Choose this option if you want to create a new device model and at the same time mark it for publication in the public catalog. Fill out the form as you would when creating a new device model and click Confirm.
Once approved, the device model will also be available to other users in the public catalog and will be regularly updated and supplemented with additional information by our team.
9. Phase 4: Finalization
Via Finalize, you access the overview of all inventories that are ready for import. All entries are displayed whose device type has already been assigned or newly created.
9.1. Complete Import
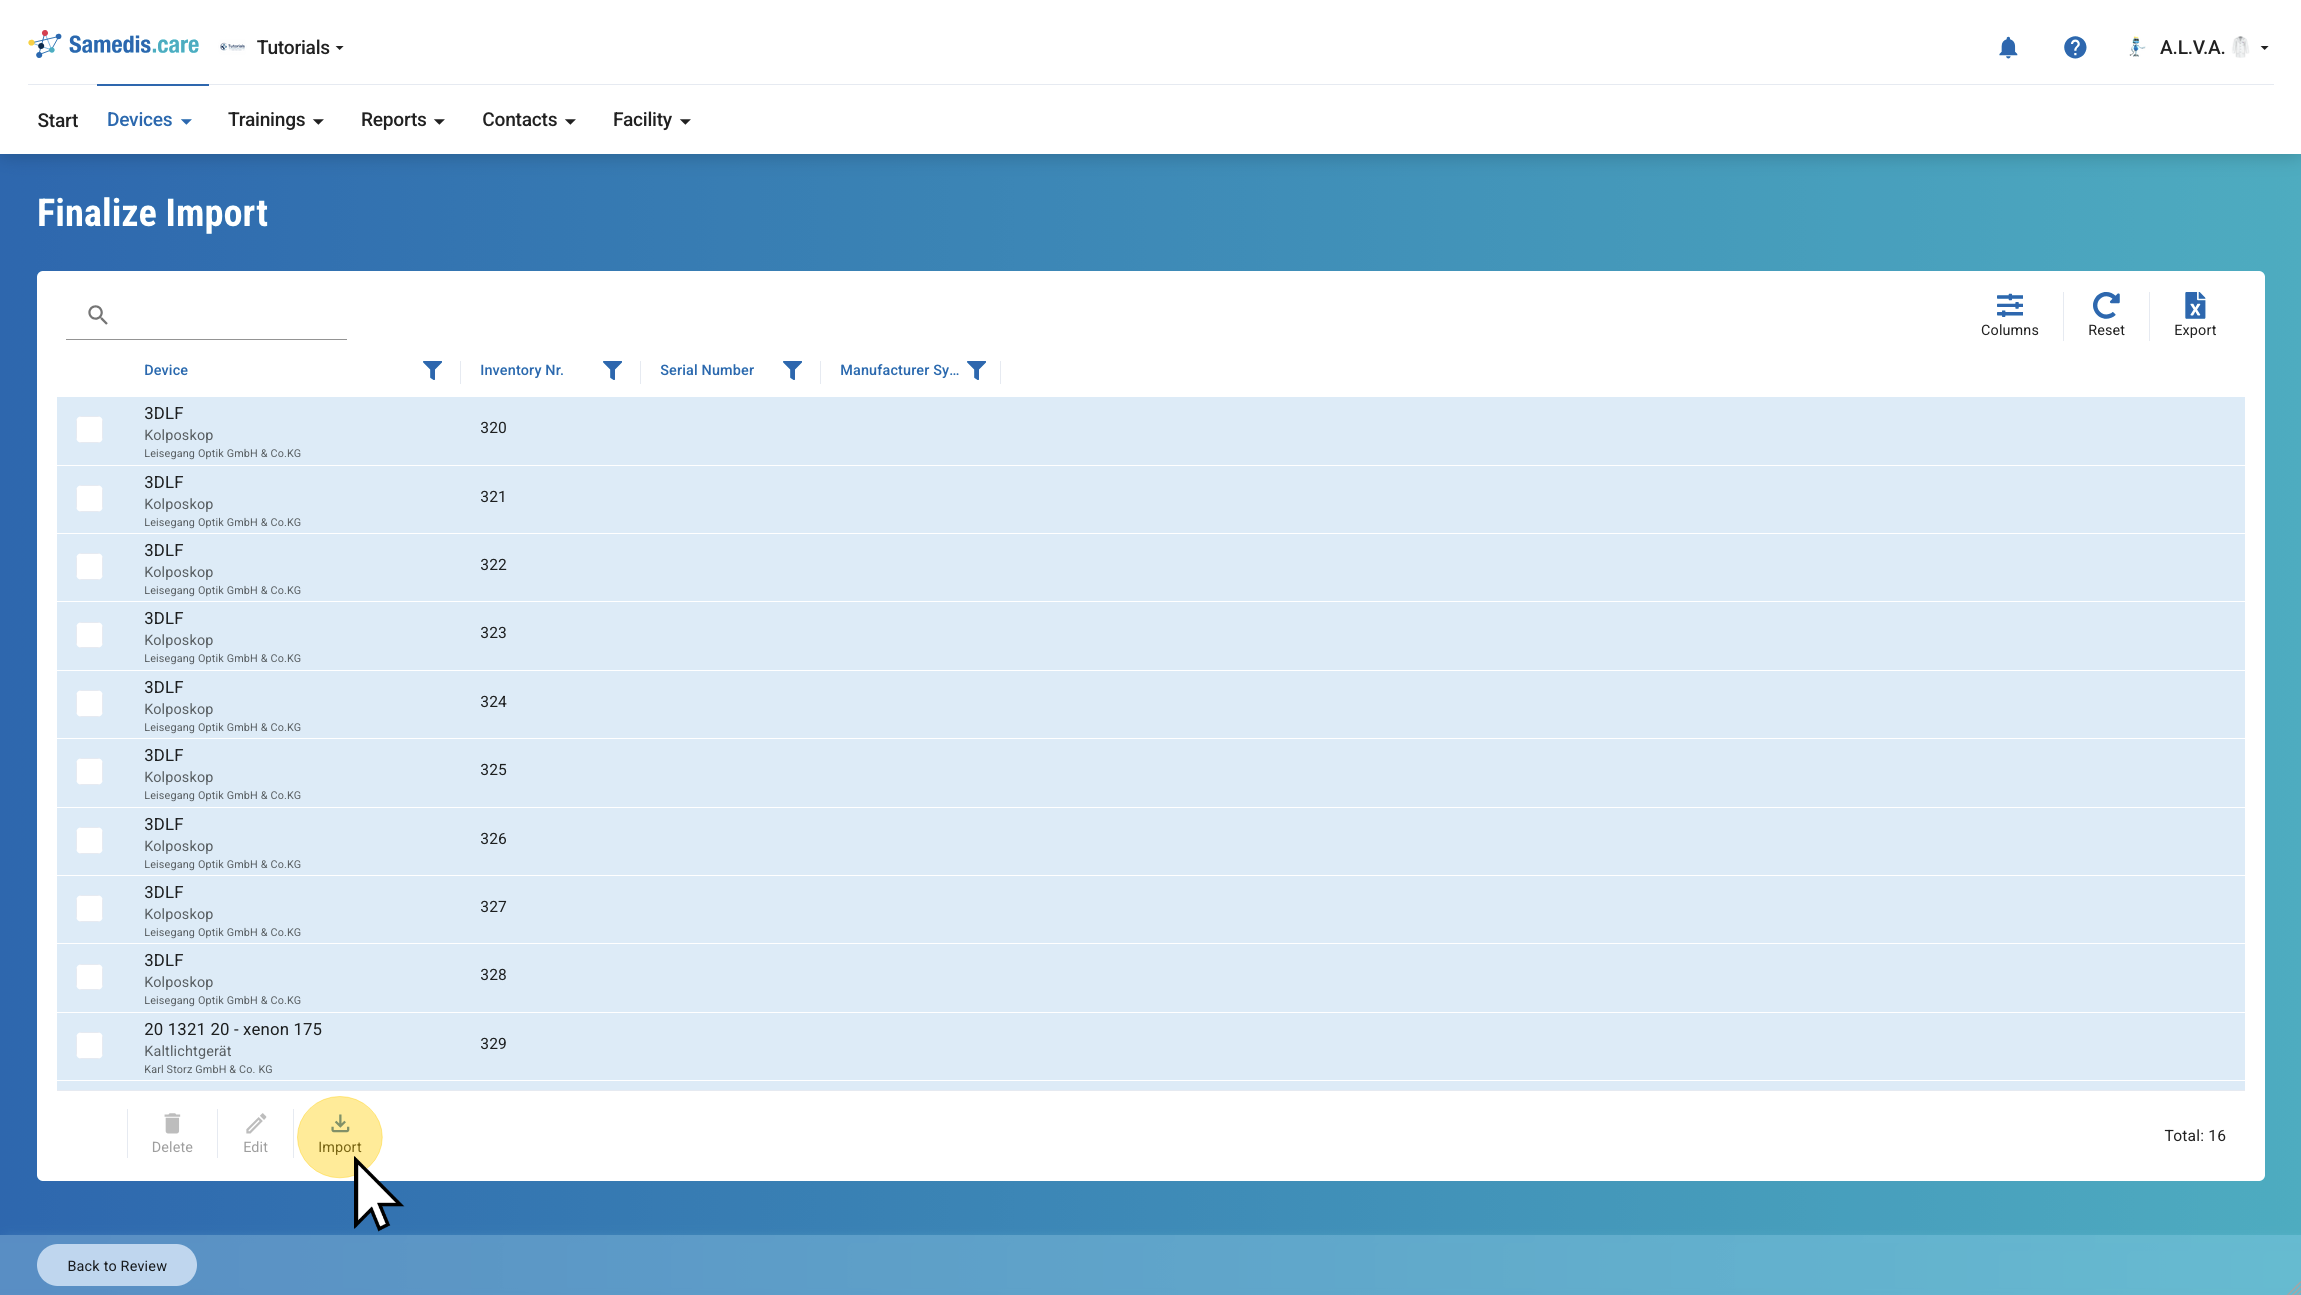
Review your entries. If something is not correct, you can return to the detail view via Edit and adjust the mapping.
Click Import to start the actual import.
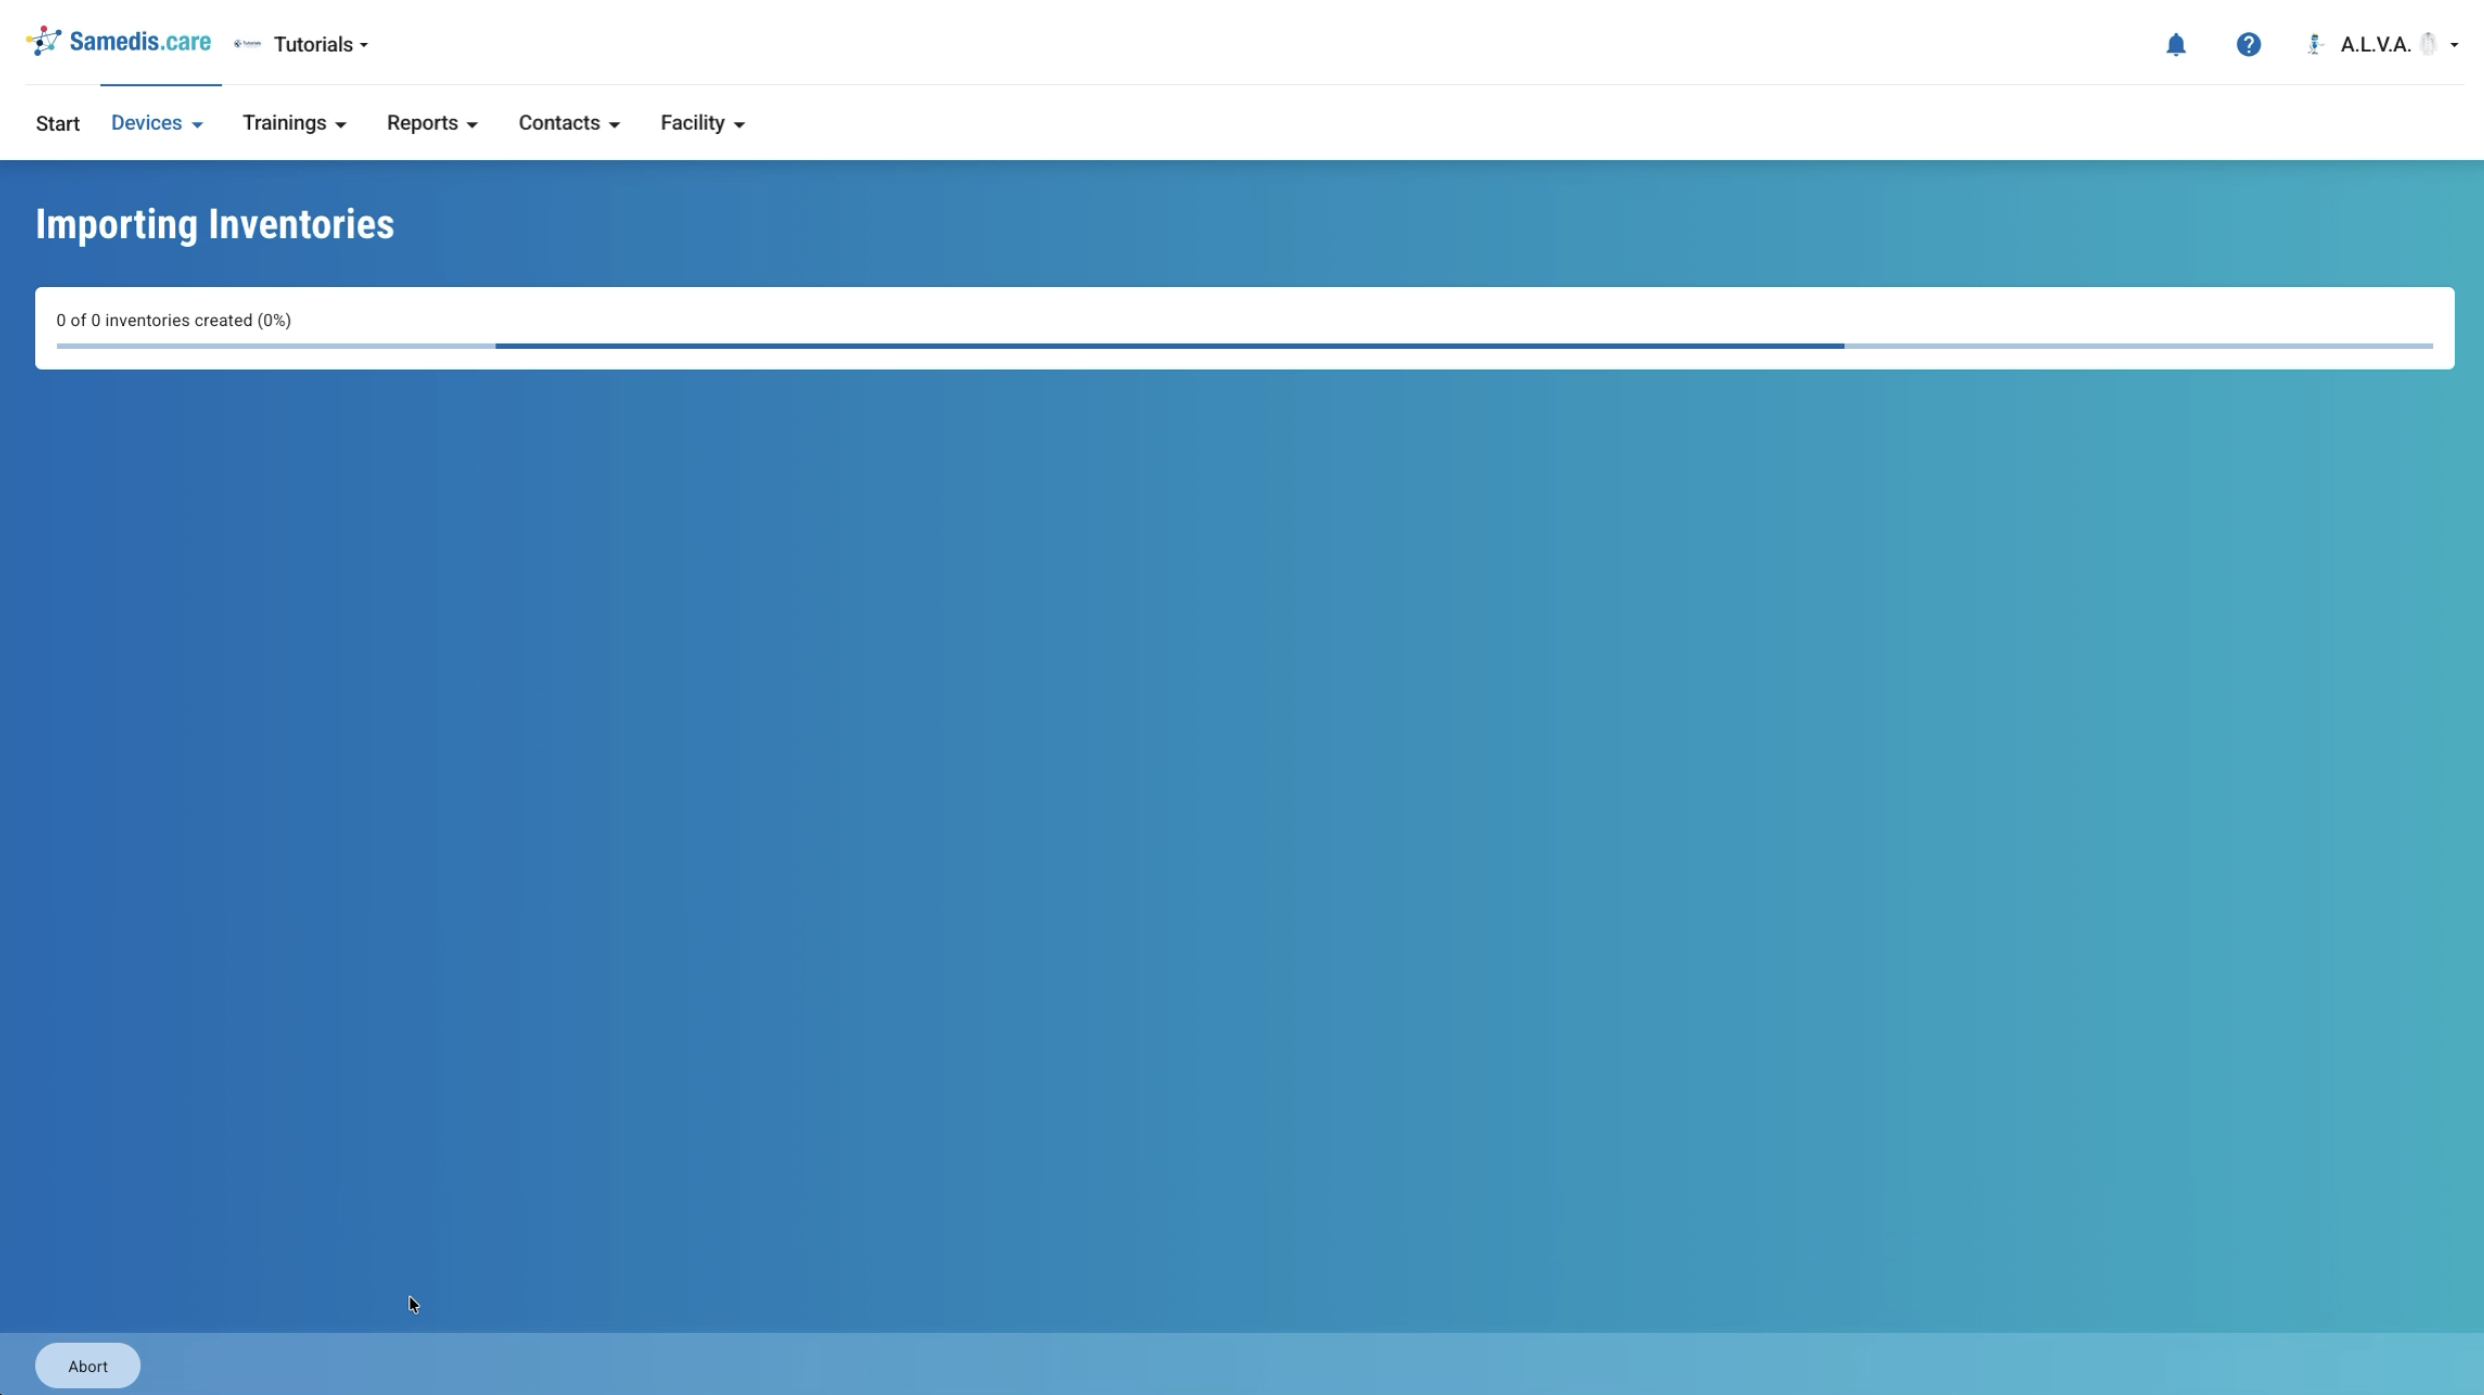
10. Importing Inventories
During the import, a progress bar shows the current processing status. Once completed, the inventories are created and the import is finished.
If errors occur during the import, the process will be aborted and a list of the affected rows along with the corresponding error messages will be displayed. You can use Back to correct the affected entries and then restart the import.