Add new task
Plan and document all device tasks with Samedis.care – simple, structured, and legally compliant.
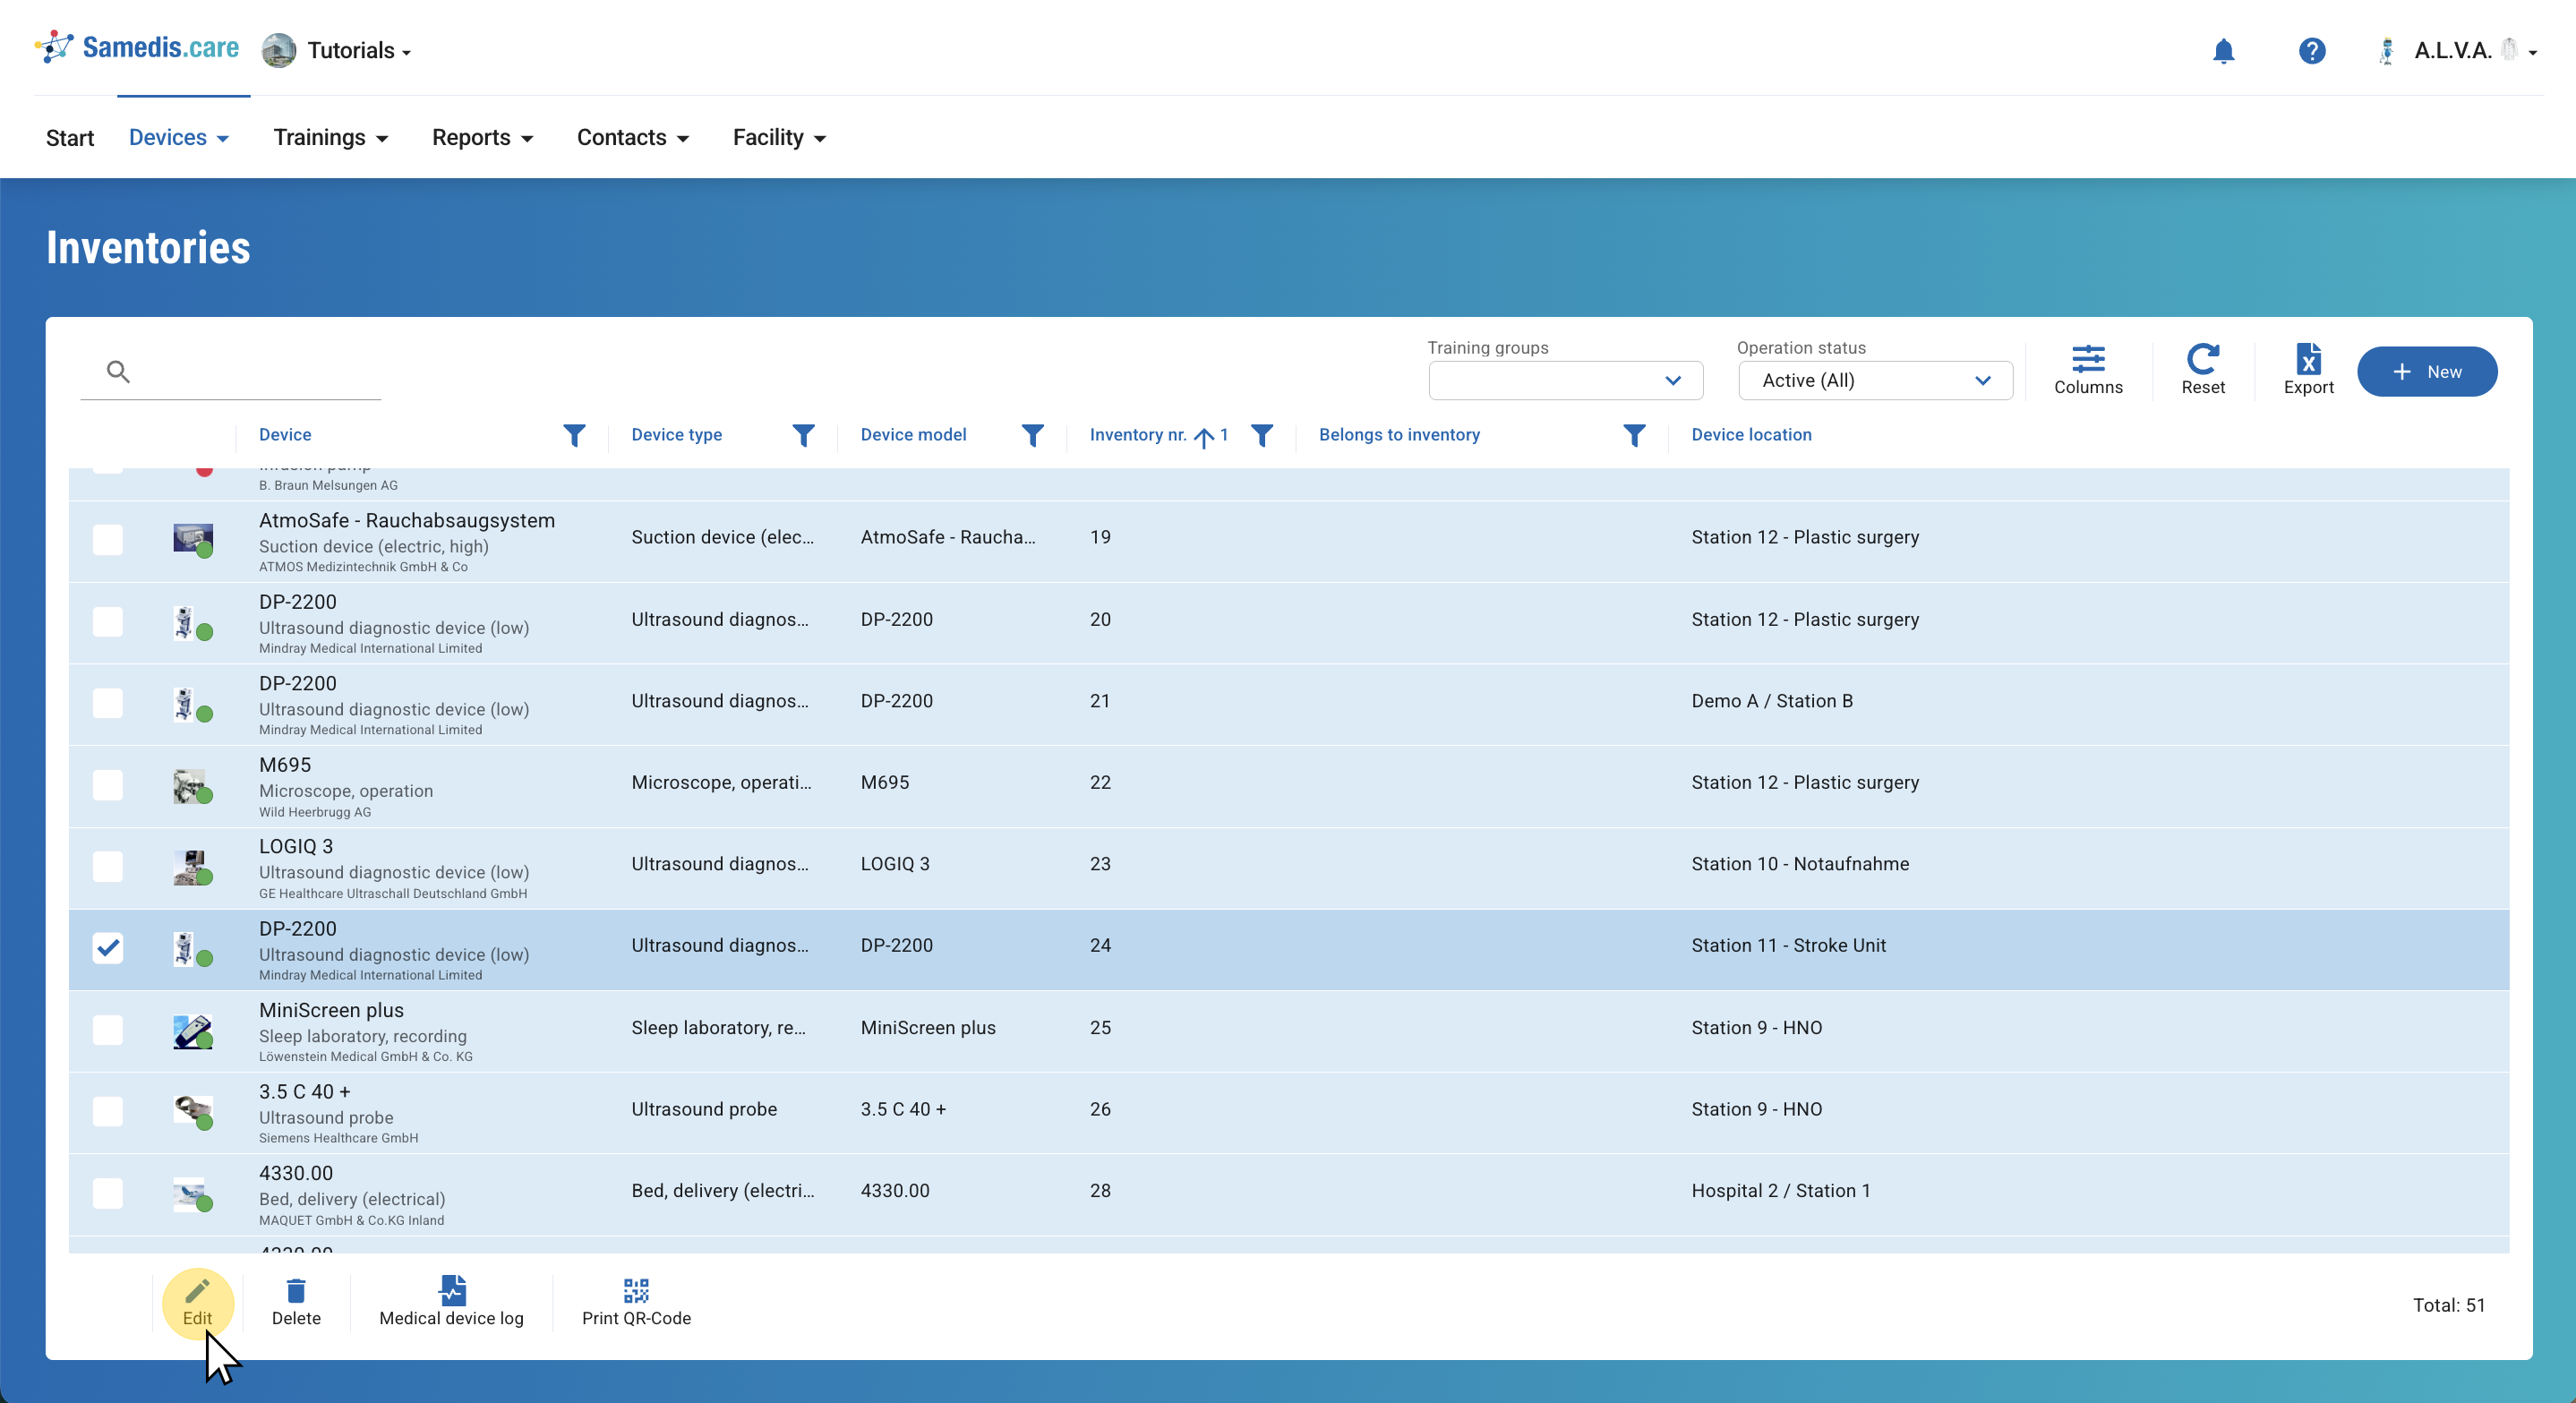
1. Select device
First select the device for which you want to create the task.
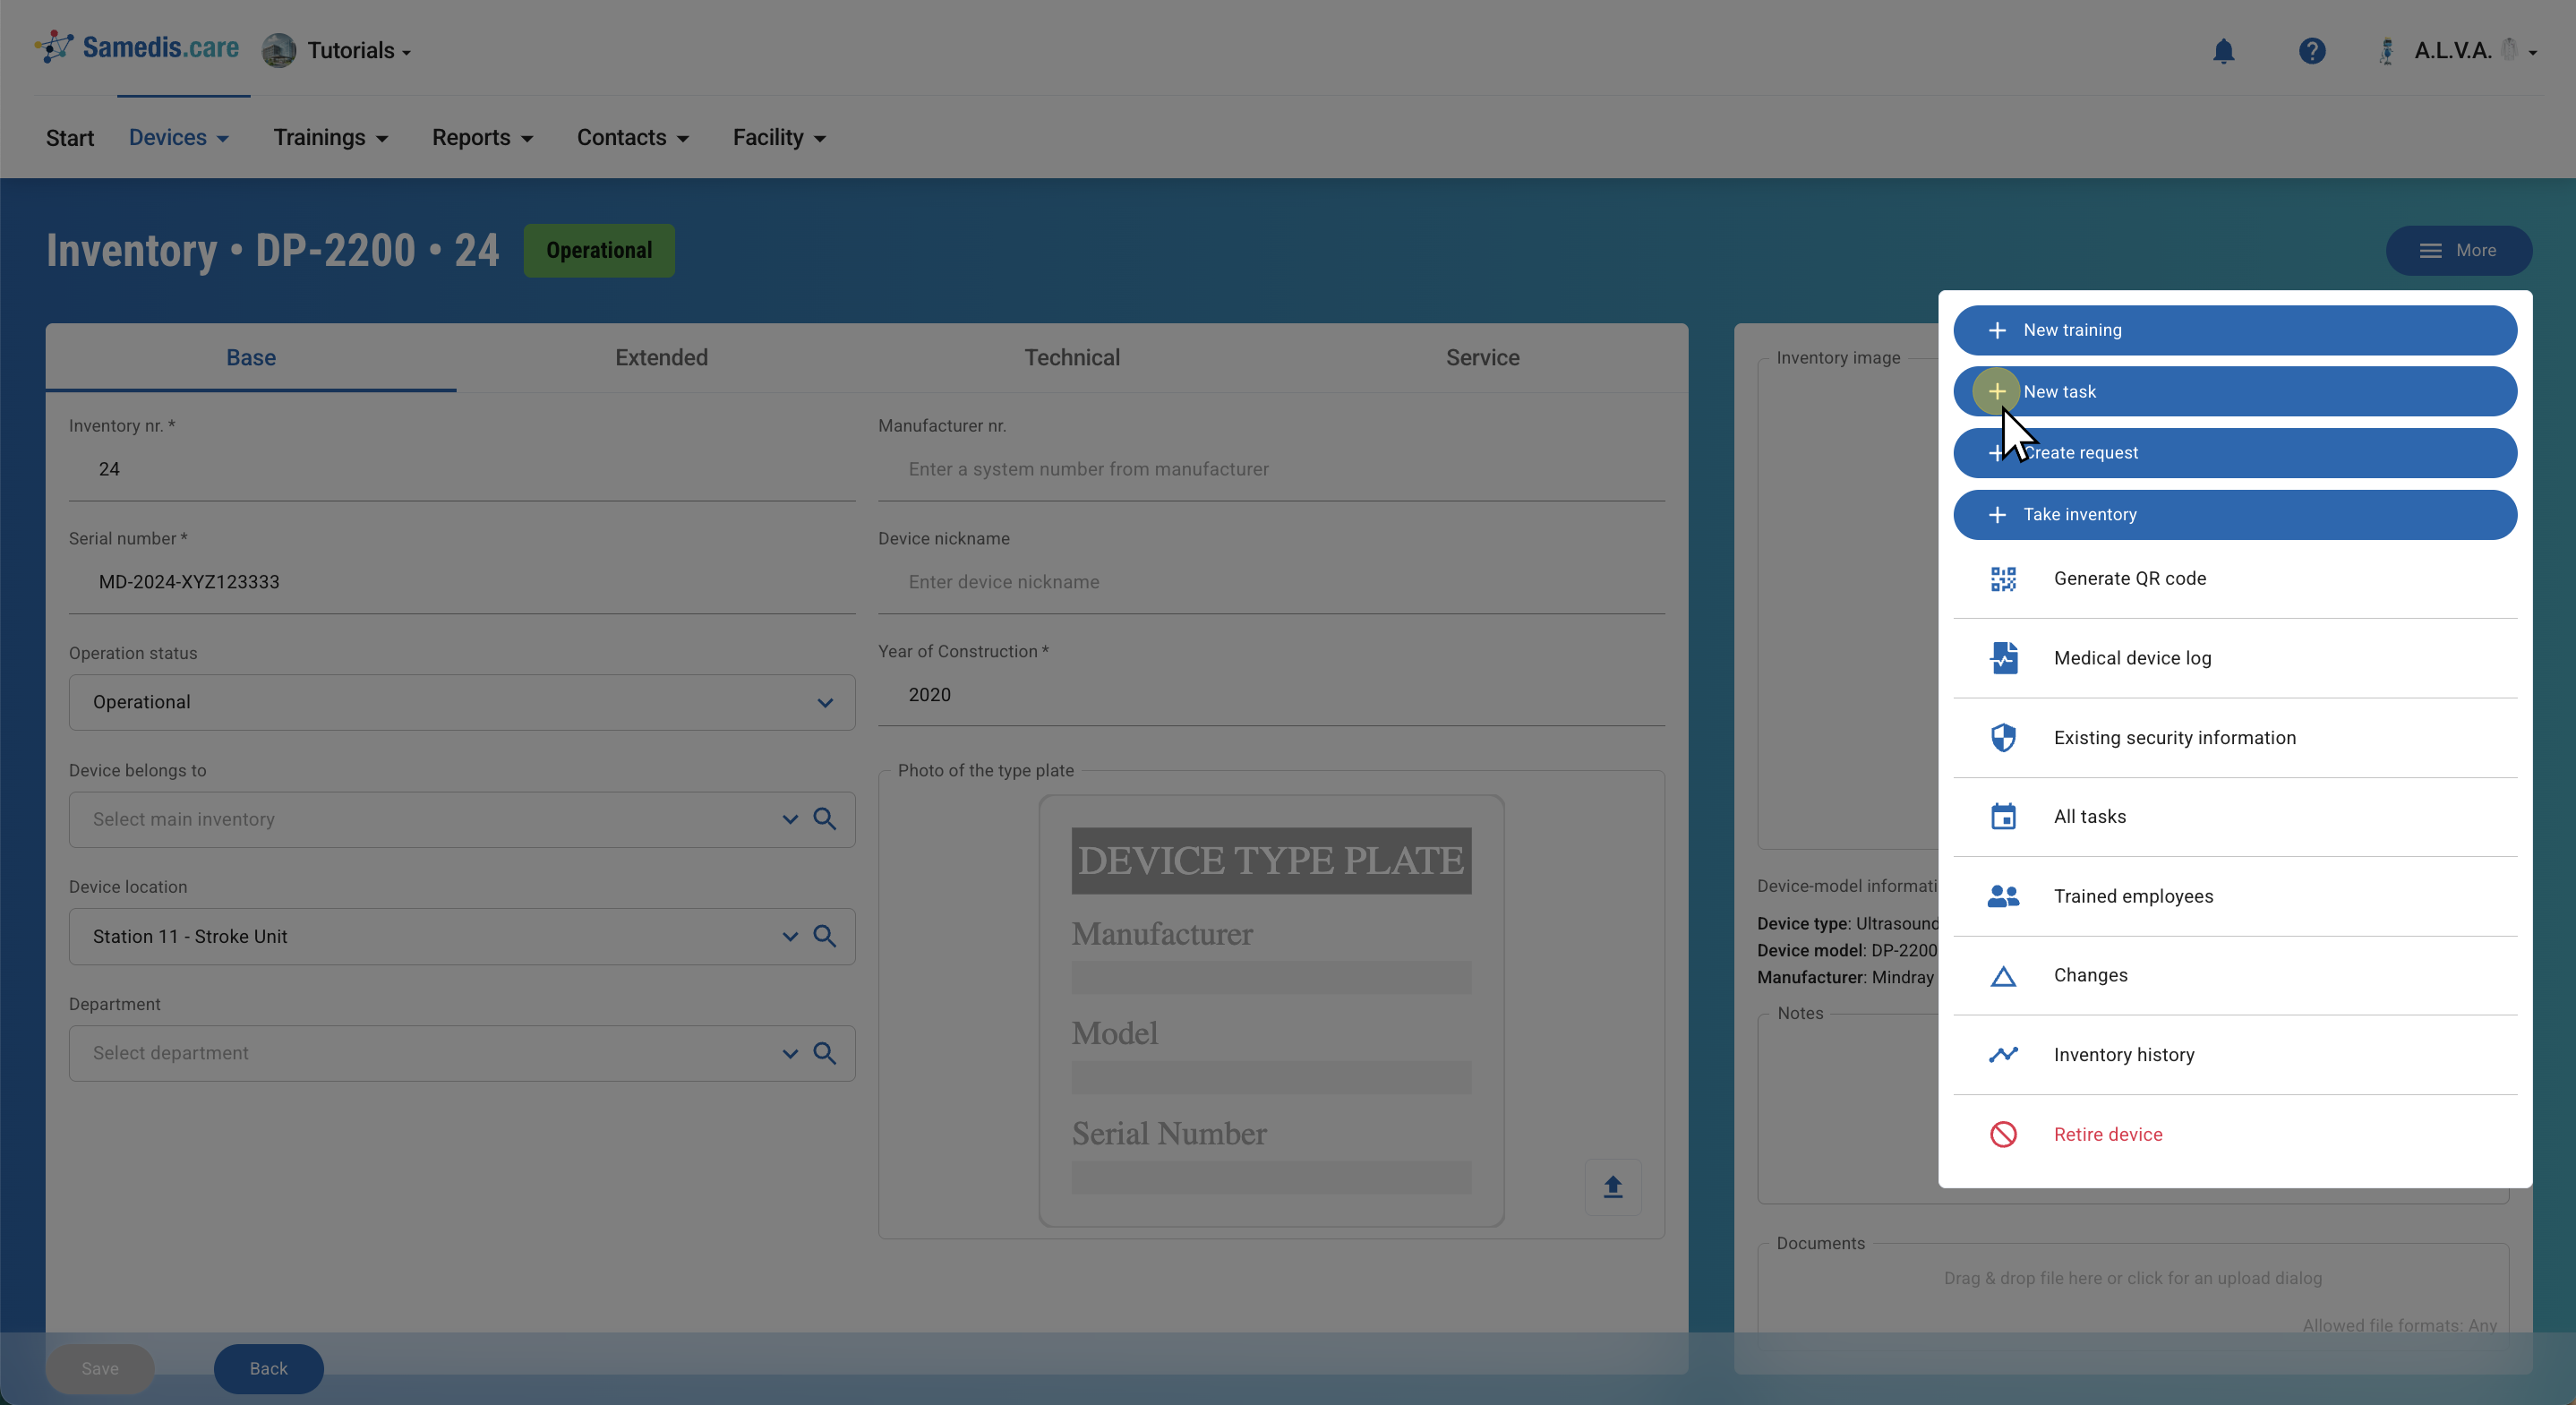
2. Document new task
Now use the New task function below More.
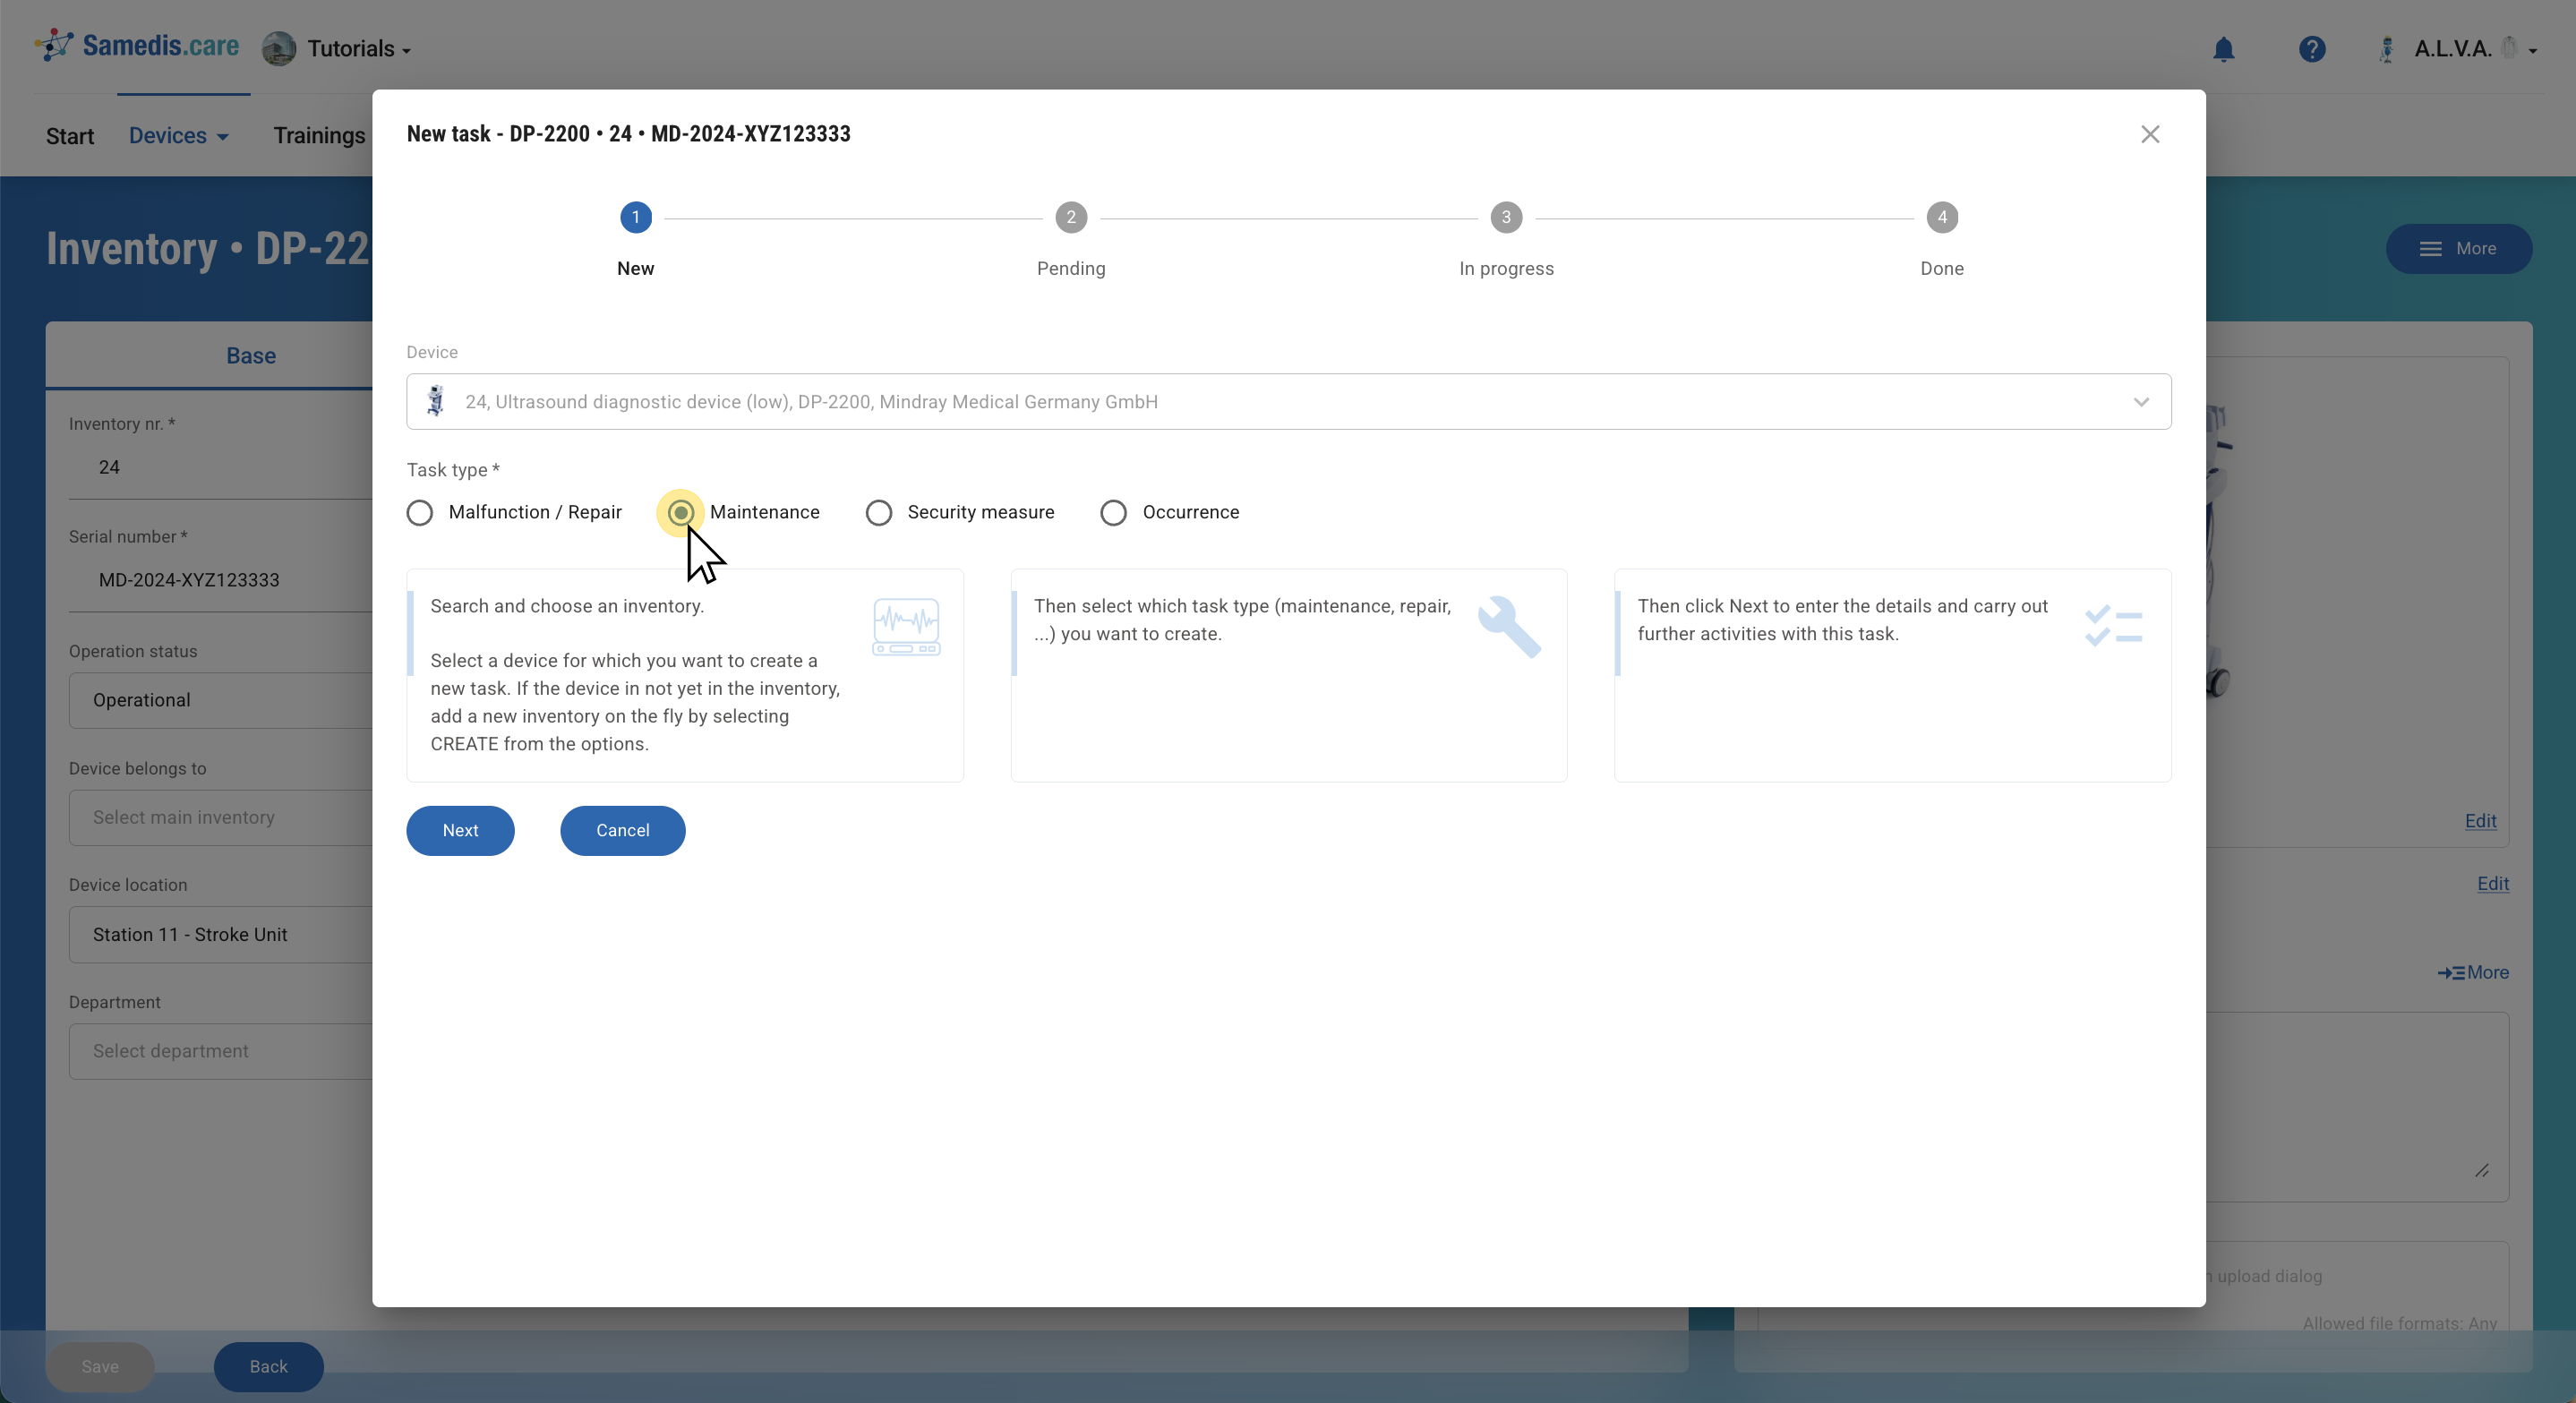
3. Select task type
Decide on the type of task you want to create.
Click Next to continue.
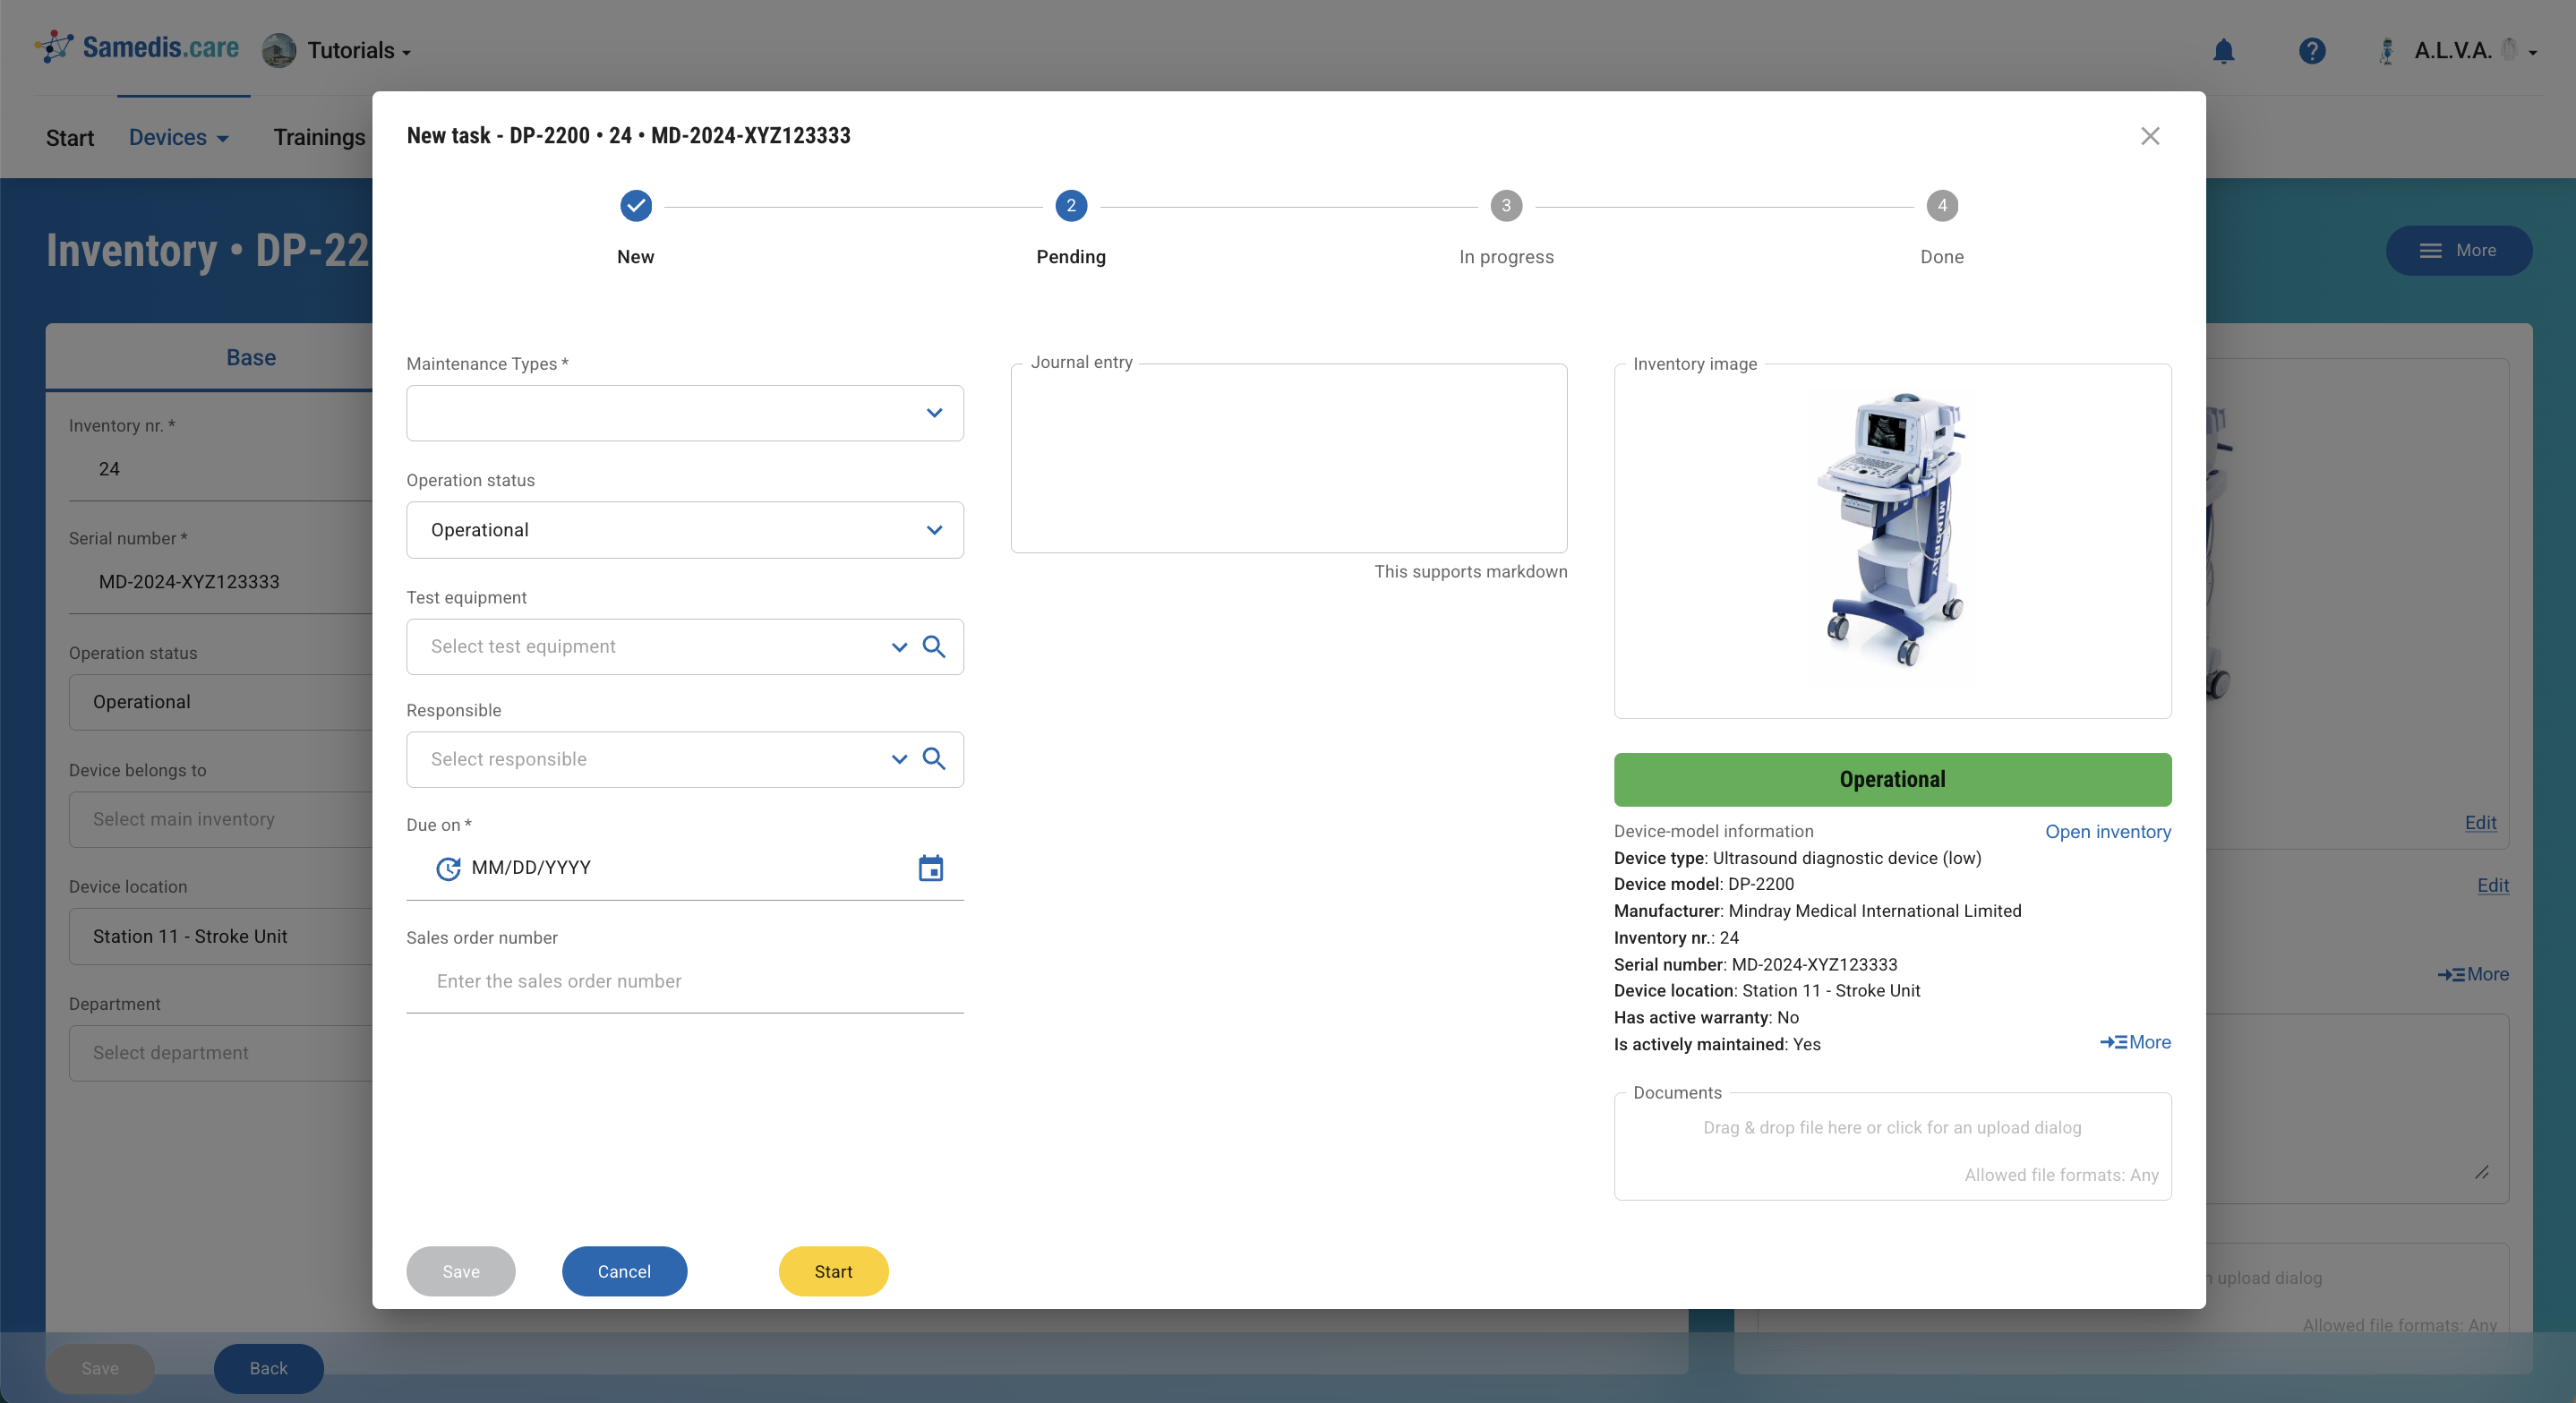
4. Add more details
Depending on the type of task, you can now add additional information:
Update the device’s operation statusor, in the case of maintenance or inspection, select the appropriate maintenance type and the test equipment used.
Also enter the due date for the task and the corresponding sales order number.
Tip
Check out our tutorial Manage test equipment to learn more about how to handle test equipment in Samedis.care.
4.1. Assign task
Use the Responsible field to assign the task to an internal or external person who has access to your Samedis.care facility.
Tip
For more information, take a look at our How-To: Setup request management.
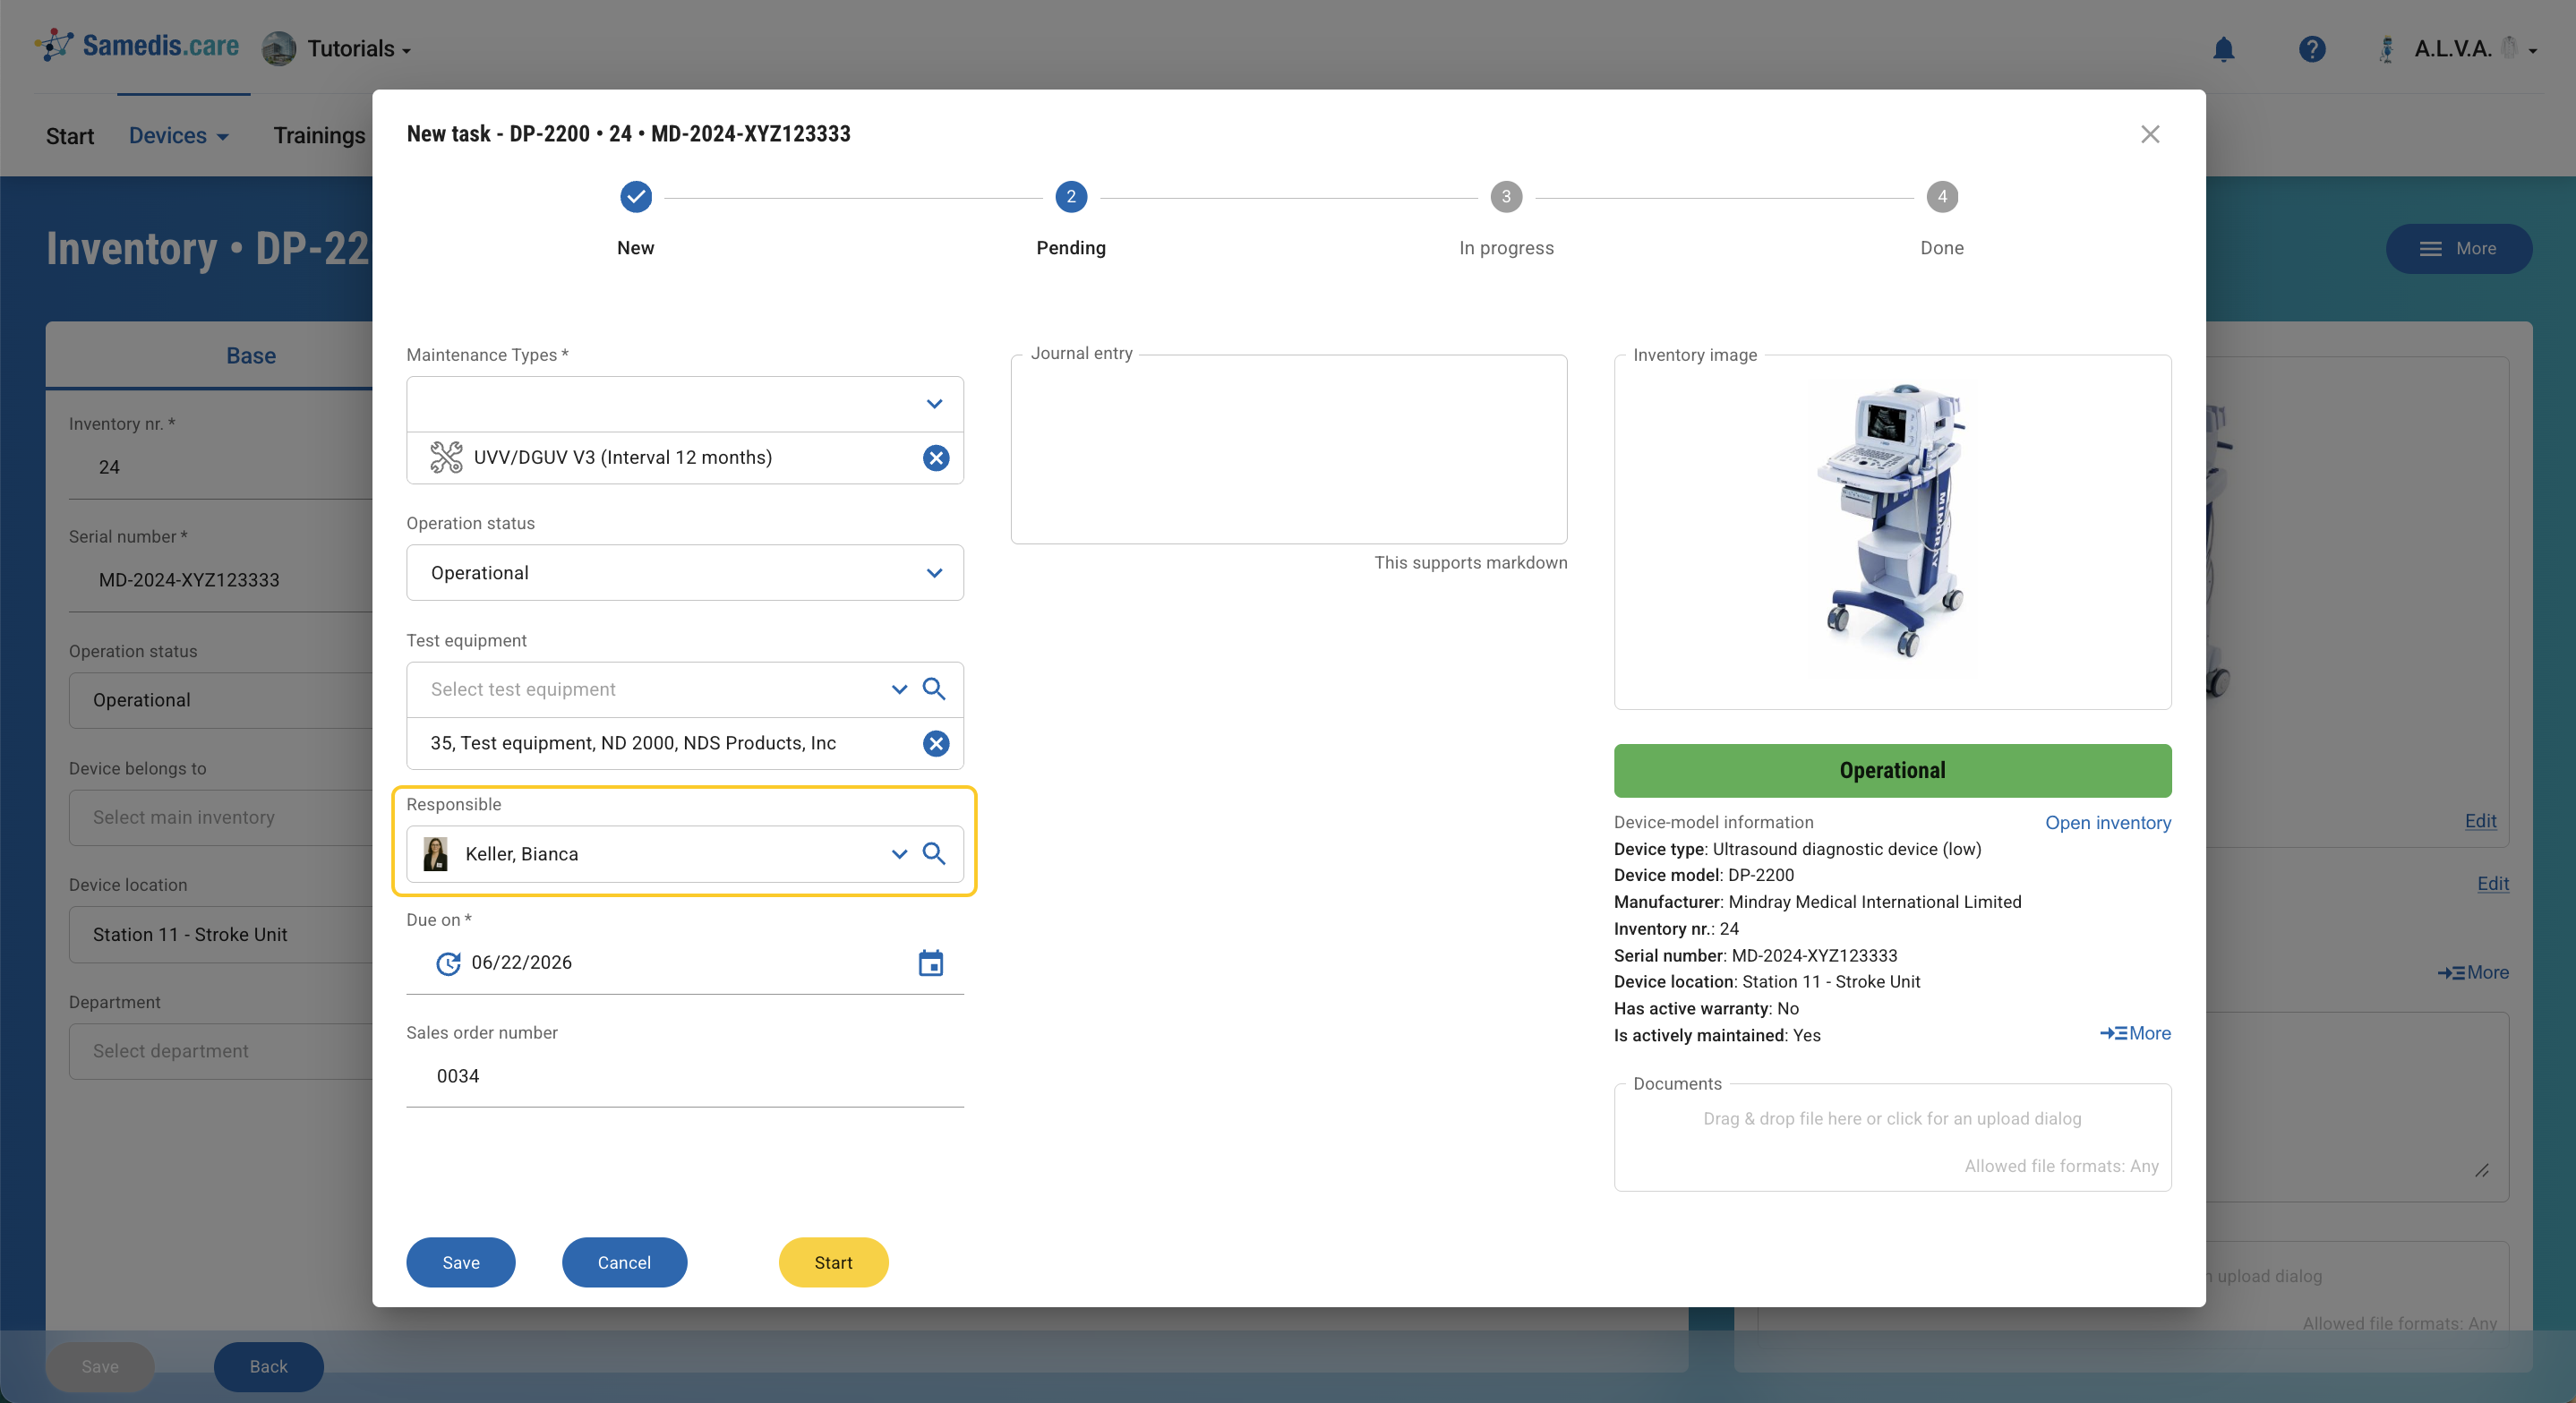
4.2. Add notes & documents
Use the free-text field Journal entry to record additional information or individual steps of the task if needed.
In the Documents section, you can directly add files related to the task, such as inspection or maintenance logs.
This ensures that all documents are always linked to the correct task.
Tip
There is also the option to add multiple notes to a task. All individual entries are automatically saved when the task is saved.

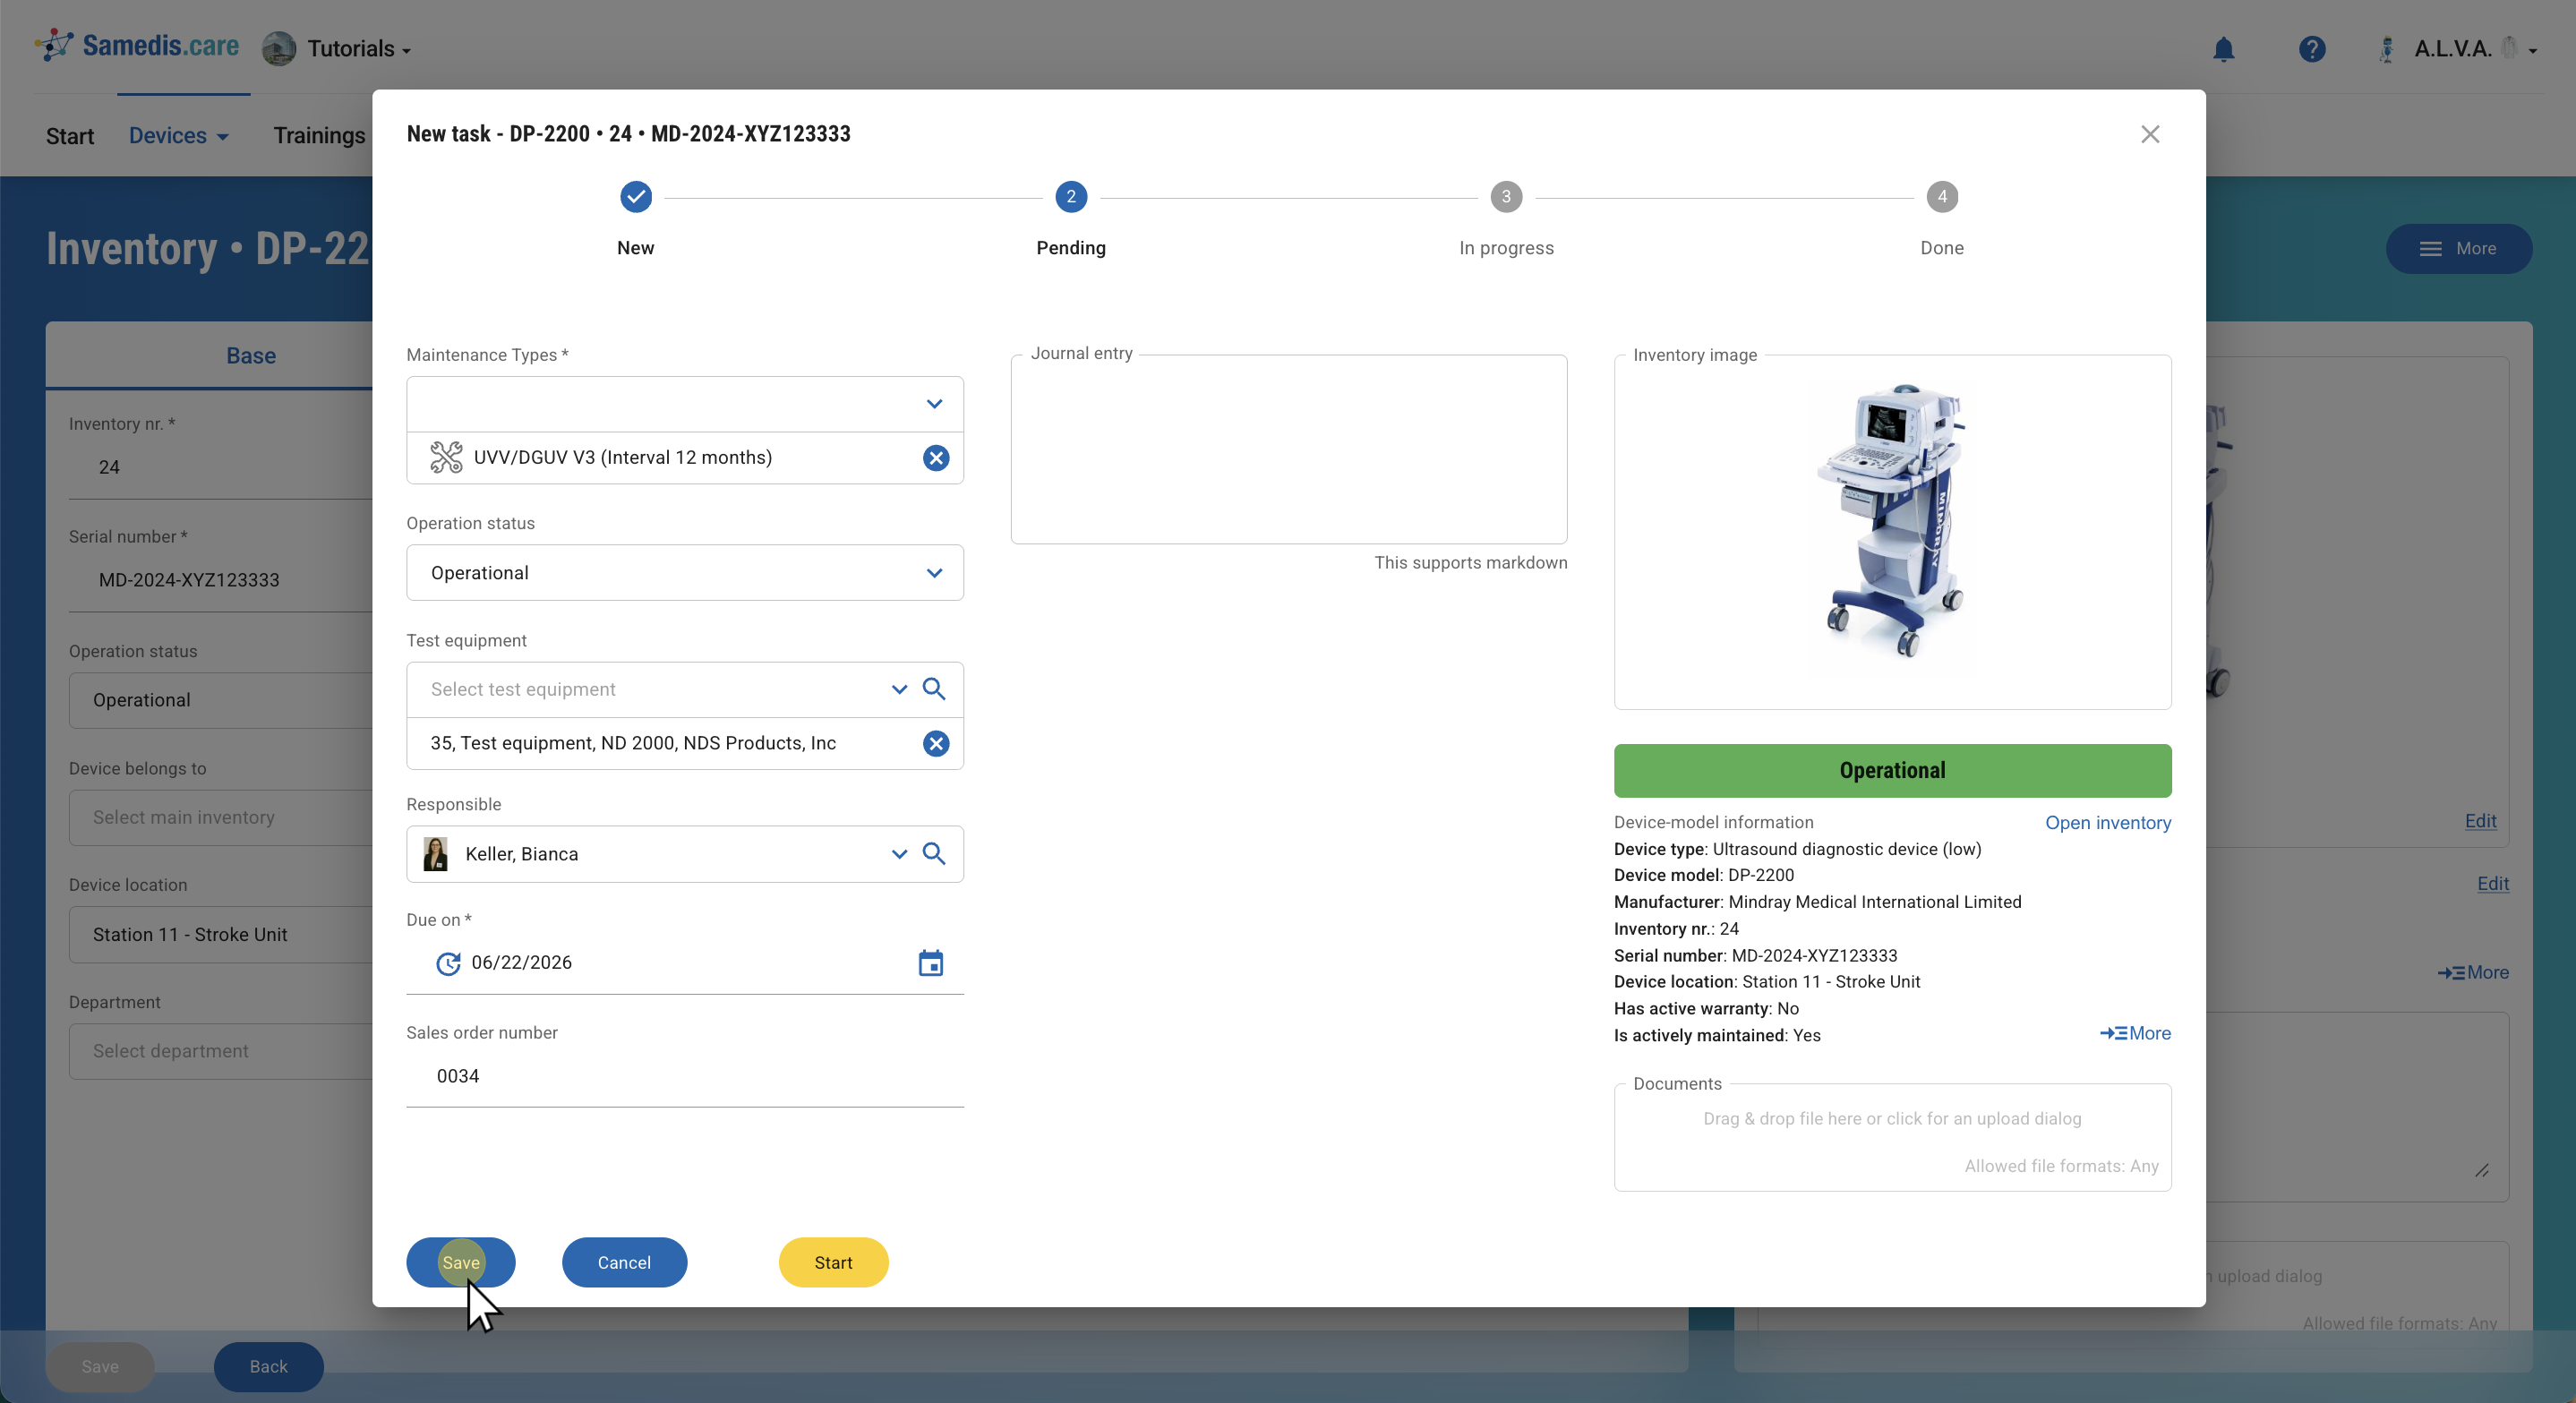
5. Save / Start
Save the task.
To begin the task immediately, click Start.
Tip
The saved task is automatically added to the medical device log.
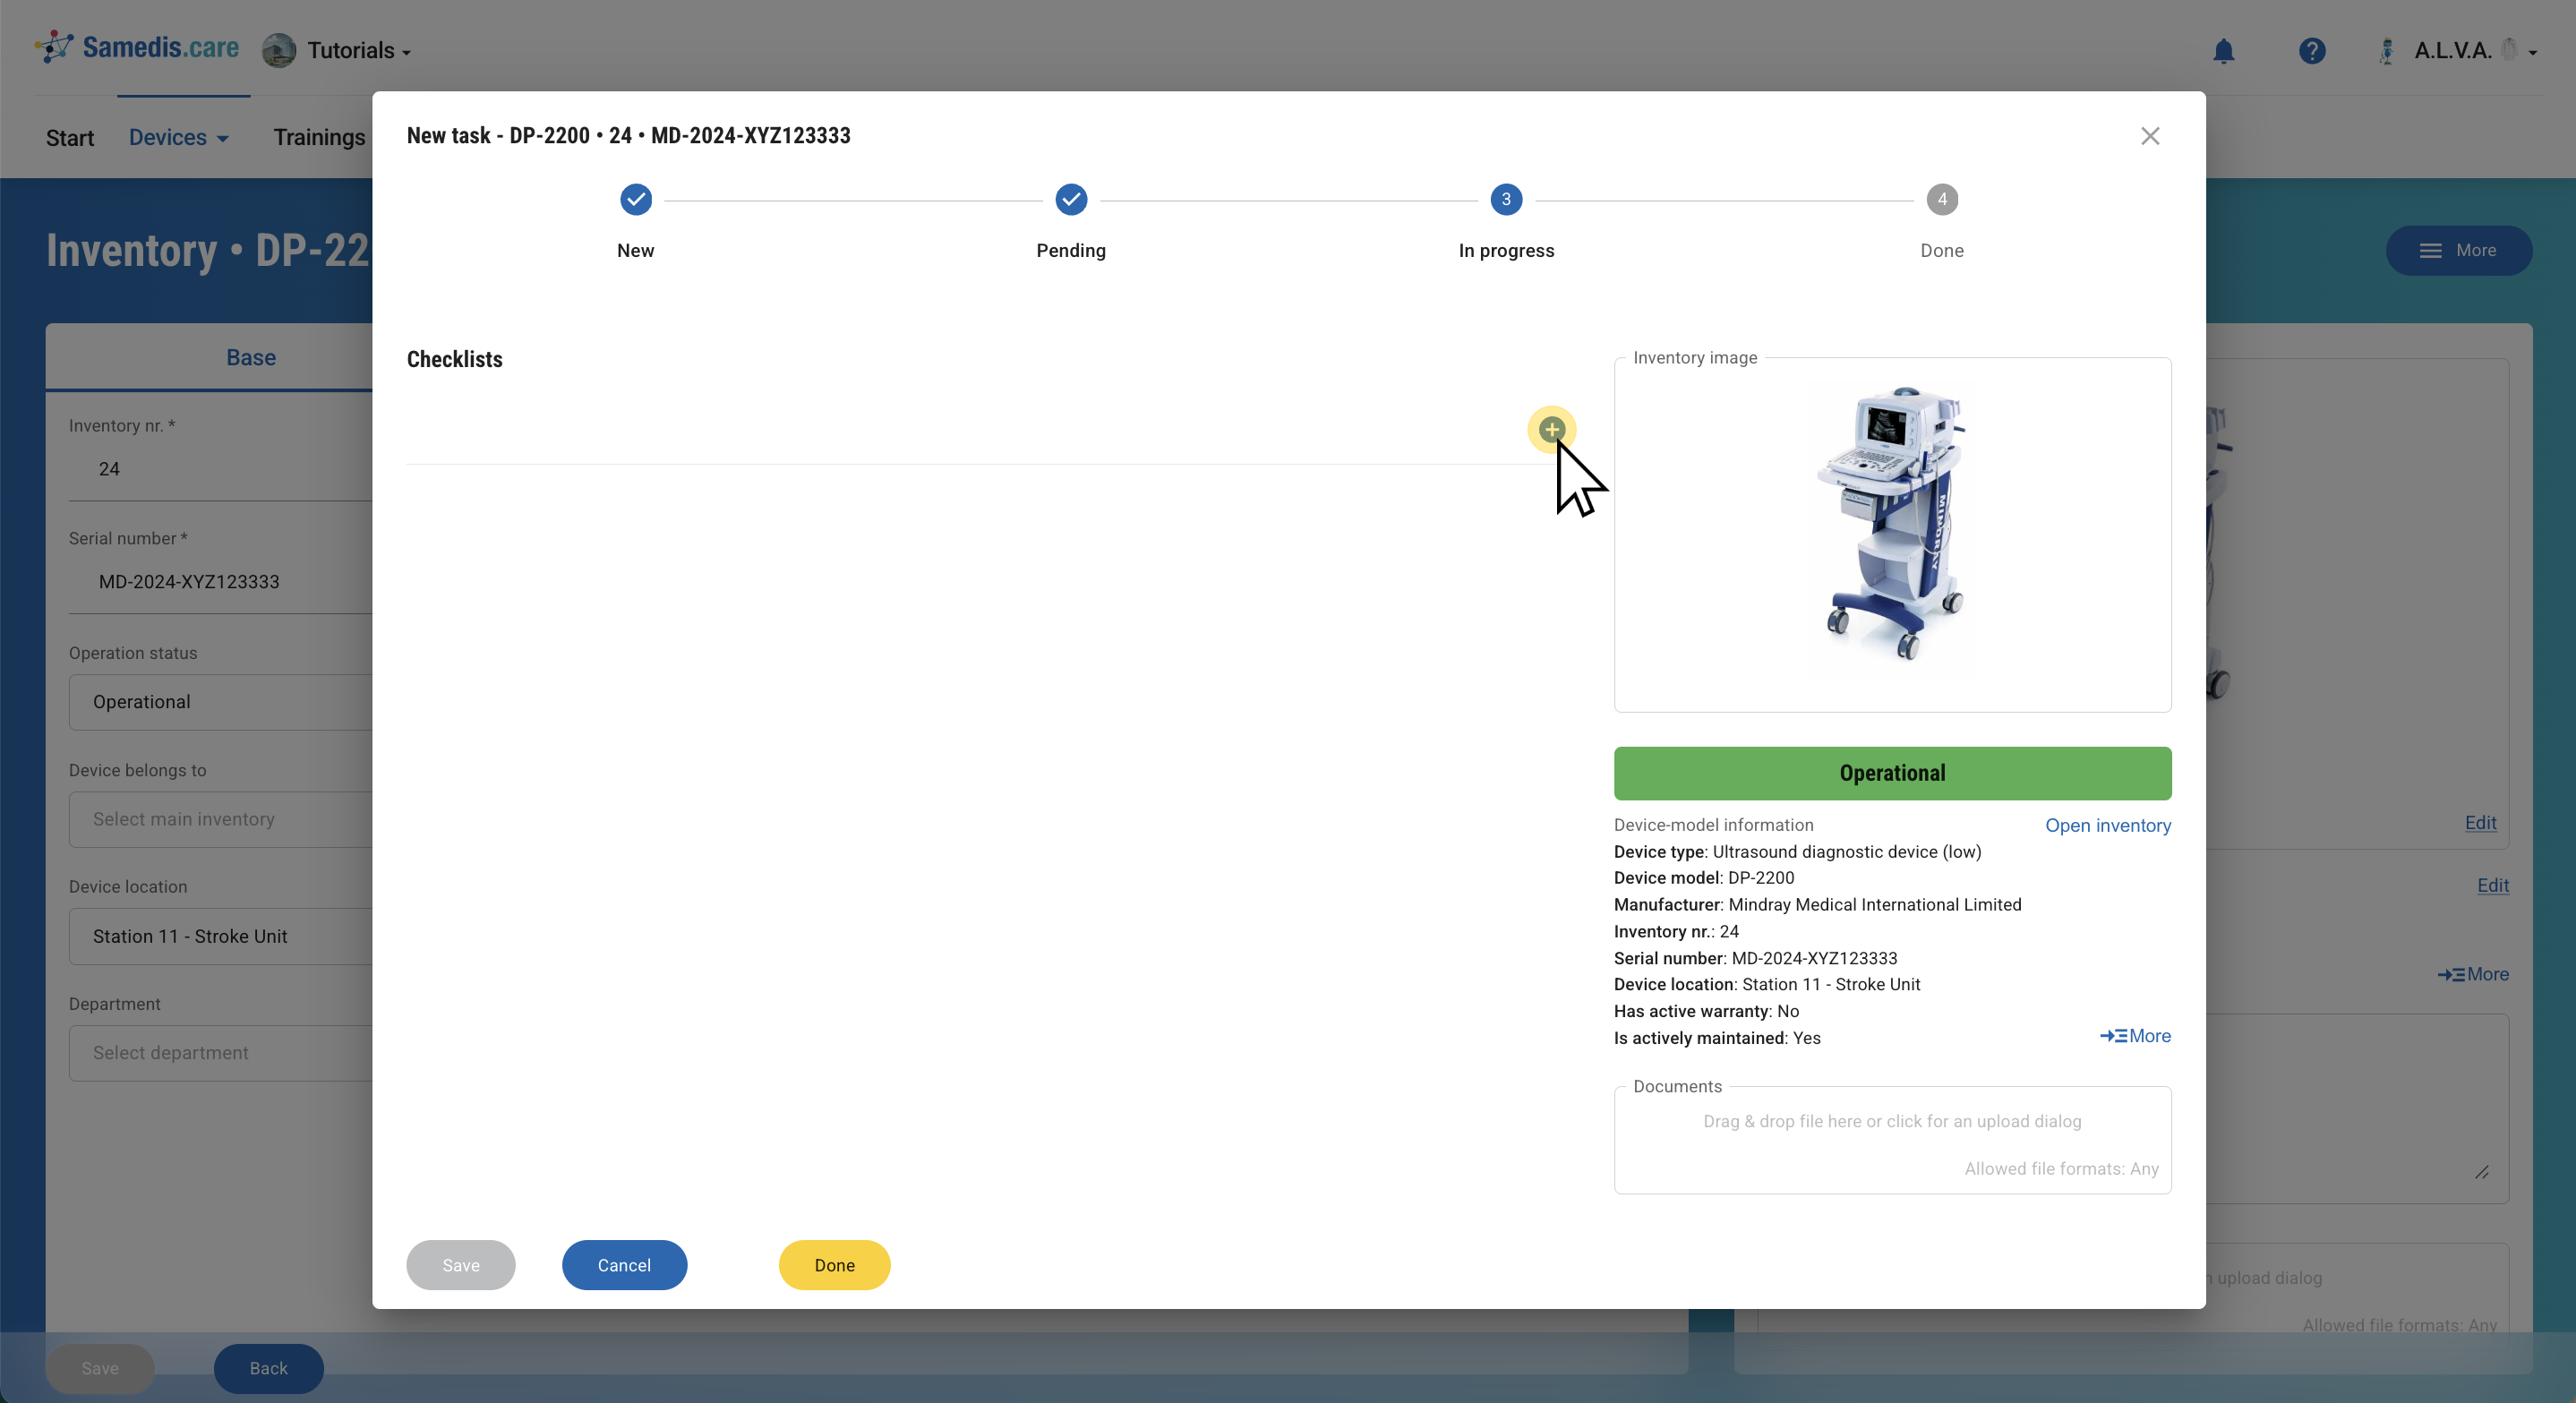
5.1. Checklist
Go through the checklist step by step, then complete the task by clicking Done.
Tip
For more details, check out the tutorial Create checklists.
5.2. Close
Enter the test result.
Click Close to finalize and save the task.

5.3. Follow-up task
As the last step, create a follow-up task.
Tip
By clicking the clock icon, a date will be automatically suggested based on the predefined maintenance interval.
